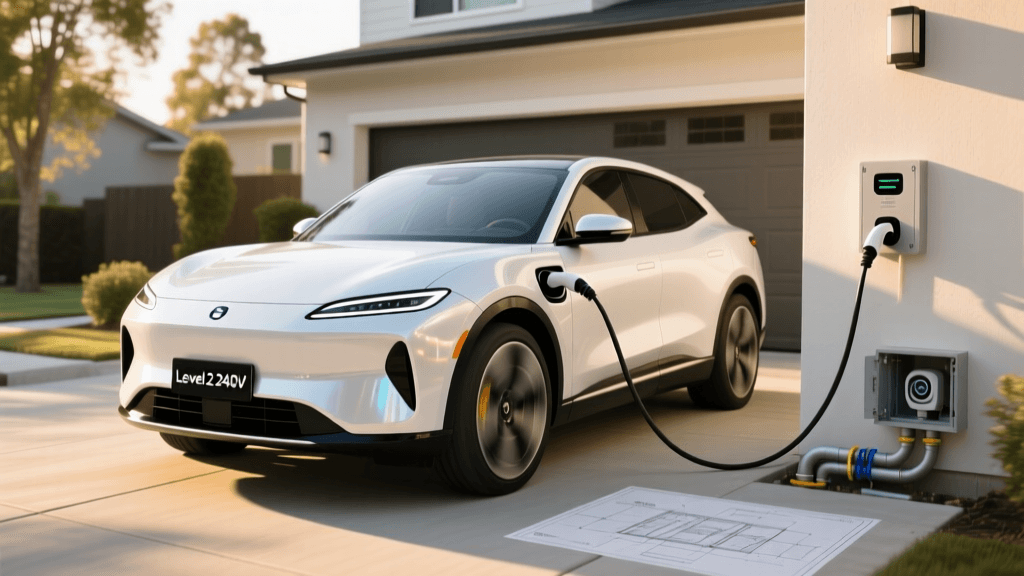
Why Upgrade to a 240V Level 2 Charger?
For electric vehicle (EV) owners, relying on a standard 120V Level 1 outlet is often a test of patience, yielding a mere 3 to 5 miles of range per hour of charging. Upgrading to a 240V Level 2 home EV charger is the single most impactful modification you can make to your EV ownership experience. A Level 2 setup delivers anywhere from 12 to 60 miles of range per hour, ensuring your vehicle is fully charged and ready to go every morning. According to the U.S. Department of Energy, over 80% of EV charging occurs at home, making a reliable, high-speed 240V installation an absolute necessity for modern drivers. This comprehensive guide walks you through the technical requirements, safety codes, and step-by-step installation process for a 240V Level 2 charger.
Pre-Installation: Assessing Your Electrical Panel
Before purchasing wire or pulling permits, you must evaluate your home's electrical service. Most modern homes have a 200-amp main service panel, while older homes may only have 100 amps. A Level 2 charger typically draws between 32 and 48 amps continuously. Under the National Electrical Code (NEC), EV chargers are classified as continuous loads, meaning they operate for three hours or more. Therefore, the circuit must be rated for 125% of the charger's maximum amperage.
NEC Article 210.20(A) dictates that a branch circuit supplying continuous loads must have an overcurrent device (breaker) rated at no less than 125% of the continuous load. For a 40-amp EV charger, you must install a 50-amp double-pole breaker.
To determine if your panel can handle the extra load, perform a basic residential load calculation. Add up the amperage of your major appliances (HVAC, electric oven, dryer, water heater). If your calculated load plus the new 50-amp EV circuit exceeds 80% of your main breaker's capacity, you may need a panel upgrade or a smart load-management system that throttles charger output when household demand peaks.
Hardwired vs. NEMA 14-50 Receptacle: Which is Right for You?
When planning your 240V installation, you must choose between hardwiring the charger directly into your electrical system or installing a NEMA 14-50 receptacle. Both have distinct advantages.
| Feature | Hardwired Connection | NEMA 14-50 Receptacle |
|---|---|---|
| Max Amperage | Up to 80A (depending on wire) | Max 50A |
| Portability | Fixed to one location | Charger can be unplugged and moved |
| Safety | No exposed contacts; lower fire risk | Prone to overheating if receptacle is low quality |
| Installation Cost | Slightly cheaper (no receptacle cost) | Requires heavy-duty industrial-grade receptacle |
| GFCI Breaker | Not required by NEC (charger has internal GFCI) | Required by NEC 2017/2020 (can cause nuisance tripping) |
For chargers exceeding 48 amps, hardwiring is mandatory. For 40-amp to 48-amp setups, hardwiring is highly recommended by electricians to avoid the notorious overheating issues associated with residential-grade NEMA 14-50 outlets.
Tools and Materials Required
If you are a seasoned DIYer working under a permit, or simply want to understand what your hired electrician will use, here is the standard bill of materials for a 50-amp hardwired circuit:
- 50-Amp Double-Pole Breaker (compatible with your specific panel brand)
- 6 AWG THHN Copper Wire (Black, Red, Green)
- 3/4-inch EMT (Electrical Metallic Tubing) or Schedule 80 PVC Conduit
- Conduit fittings, sweep elbows, and mounting straps
- Wire strippers, cable cutters, and fish tape
- Calibrated torque screwdriver (crucial for terminal connections)
- Non-contact voltage tester and digital multimeter
Step-by-Step 240V Installation Process
Step 1: Power Off and Verify
Safety is paramount. Turn off the main breaker to your electrical panel. Use a non-contact voltage tester and a multimeter on the main lugs to verify that absolutely zero current is flowing into the bus bars. Never assume a breaker is off; always test.
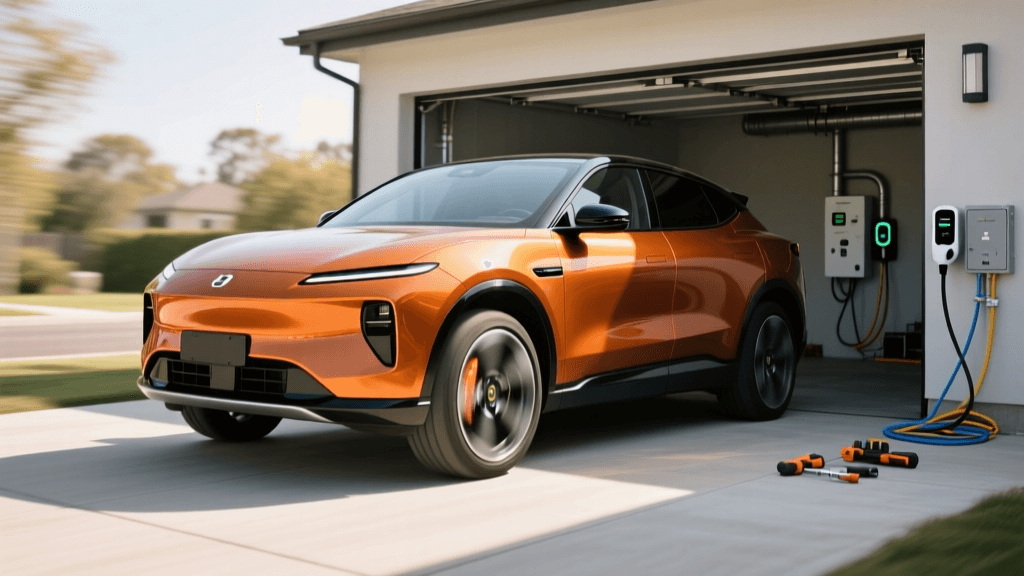
Step 2: Mount the Charger and Run Conduit
Mount the EV charger backplate to your garage wall, ideally centered on your vehicle's charging port location and at a height of 48 inches from the floor to comply with ADA accessibility guidelines if applicable. From the panel to the charger, map out your conduit route. Secure the conduit using straps every 3 to 4 feet. Ensure all bends are smooth to allow the wire to pull through without damaging the insulation.
Step 3: Pulling the Wire
Feed your 6 AWG THHN copper wires through the conduit. For a hardwired 240V EV charger, you only need three wires: two hots (Black and Red) and one equipment grounding conductor (Green). Unlike a NEMA 14-50 setup, a neutral wire (White) is not required for hardwired EV chargers because the vehicle does not utilize 120V power. Use fish tape and wire lubricant if navigating multiple conduit bends.
Step 4: Panel Termination
Route the wires into the electrical panel. Connect the Green ground wire to the grounding bus bar. Seat the Black and Red hot wires into the terminals of the new 50-amp double-pole breaker. Use a calibrated torque screwdriver to tighten the terminal screws to the exact pound-inch specification listed on the breaker's label. Over-tightening can strip threads, while under-tightening causes arcing and fires. Snap the breaker into the bus bar stabs.
Step 5: Charger Termination
At the charger end, strip the wire insulation to the exact length specified in the manufacturer's manual. Connect the Black and Red wires to the L1 and L2 terminals, and the Green wire to the Ground terminal. Again, use a torque screwdriver to achieve the manufacturer's specified torque. Secure the charger housing to the backplate and seal any exterior conduit fittings with silicone to prevent moisture ingress.
Post-Installation Testing and Commissioning
Before plugging in your vehicle, turn the main breaker back on, followed by the new 50-amp EV breaker. Use a multimeter to test the voltage across the L1 and L2 terminals at the charger; you should read between 230V and 250V. Once verified, power up the charger. Most modern units will run an internal self-diagnostic test, indicated by a solid green or blue LED ring. Finally, plug the connector into your EV and monitor the first full charging cycle to ensure the breaker does not overheat.
Navigating Permits, Codes, and Tax Credits
Skipping permits is a common but dangerous mistake. Your local Authority Having Jurisdiction (AHJ) requires an electrical permit for any new 240V circuit. An inspector will verify your wire gauge, conduit fill capacity, and torque marks. Furthermore, unpermitted work can void your home insurance in the event of an electrical fire. The National Fire Protection Association (NFPA) provides extensive guidelines on EV charging safety and code compliance that local inspectors use as a benchmark.
On the financial side, the federal government offers the Alternative Fuel Vehicle Refueling Property Credit (IRS Form 8911). According to the Internal Revenue Service, eligible taxpayers can claim a tax credit of up to 30% of the cost of purchasing and installing a home EV charger, capped at $1,000, provided the installation meets specific census tract requirements.
When to Hire a Licensed Electrician
While this guide provides a comprehensive technical overview, working inside a 200-amp main service panel carries lethal risks. If your home requires a service upgrade, if you are unfamiliar with NEC conduit fill charts, or if your local jurisdiction prohibits homeowner electrical permits, you must hire a licensed and insured electrician. A professional will handle the load calculations, pull the permits, and provide a warranty on the labor, ensuring your home and your vehicle remain safe for years to come.