Introduction to ADAS and the Modern Windshield
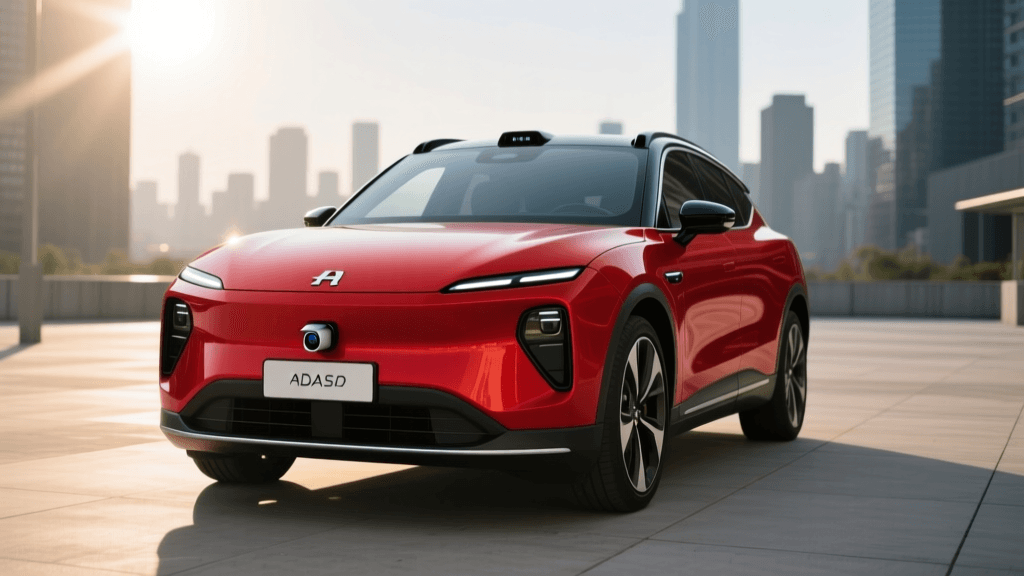
The automotive industry has undergone a massive technological shift over the last decade. Modern vehicles are no longer just mechanical machines; they are highly sophisticated, rolling computer networks equipped with Advanced Driver Assistance Systems (ADAS). These systems rely on a complex network of radar, ultrasonic sensors, LiDAR, and high-resolution cameras to monitor the vehicle's surroundings. While many sensors are located in the bumpers or side mirrors, the most critical component for forward-facing safety features is mounted directly behind your rearview mirror, firmly attached to the windshield.
According to the National Highway Traffic Safety Administration (NHTSA), ADAS technologies like Automatic Emergency Braking (AEB), Lane Keeping Assist (LKA), and Adaptive Cruise Control (ACC) are proven to significantly reduce crash rates. However, these systems are only as effective as their calibration. When you replace a damaged windshield, you are not just swapping a piece of glass; you are disrupting the precise optical alignment of your vehicle's primary safety brain. This comprehensive guide will walk you through everything you need to know about ADAS calibration after a windshield replacement, ensuring your vehicle remains safe and road-ready.
Why Windshield Replacement Triggers ADAS Calibration
The forward-facing camera module (often called the mono or stereo camera) is responsible for reading lane lines, identifying traffic signs, detecting pedestrians, and measuring the distance to the vehicle ahead. This camera is calibrated at the factory to look through a very specific, optically pure section of the windshield glass. When a windshield is shattered and replaced, the new glass and the newly applied urethane adhesive introduce minute variables.
Even if the new windshield is installed perfectly, the camera bracket might shift by a fraction of a millimeter. While a one-degree misalignment sounds negligible to the human eye, it translates to a massive error over distance. At 100 meters down the road, a one-degree camera shift means your vehicle's computer thinks the car in front of you is several feet to the left or right of its actual position. This can cause your Adaptive Cruise Control to track the wrong vehicle, or your Lane Keep Assist to steer you dangerously close to the shoulder or into oncoming traffic. Therefore, recalibration is not an optional upsell; it is a mandatory safety procedure.
Static vs. Dynamic Calibration: Understanding the Methods
Depending on your vehicle's make, model, and year, the ADAS calibration process will require either a static calibration, a dynamic calibration, or a combination of both. Understanding the difference is crucial for knowing what to expect from your auto glass provider.
Static Calibration
Static calibration is performed in a controlled shop environment. It involves placing specialized, high-contrast optical targets at exact, laser-measured distances and heights in front of the vehicle. The shop must have a perfectly level floor, specific lighting conditions, and adequate space. A diagnostic scan tool is then plugged into the vehicle's OBD2 port to instruct the camera to learn the target's position, resetting its internal alignment parameters to the factory baseline.
Dynamic Calibration
Dynamic calibration requires the vehicle to be driven on the road. A technician connects a scan tool to the OBD2 port and drives the vehicle at specific speeds (usually between 40 and 60 mph) on roads with highly visible, well-maintained lane markings. The camera uses the passing lane lines and roadside environment to recalibrate its internal geometry. Some manufacturers, like Subaru with its EyeSight system, historically relied heavily on dynamic calibration, though many are now shifting to static or hybrid requirements.
Calibration Method Comparison Chart
| Feature | Static Calibration | Dynamic Calibration |
|---|---|---|
| Environment | Controlled indoor shop setting | Open road with clear lane markings |
| Equipment Needed | Laser levels, OEM targets, scan tools, alignment racks | OBD2 scan tool, GPS, speedometer |
| Time Required | 45 minutes to 2 hours | 30 minutes to 1 hour of active driving |
| Accuracy | Highly precise (OEM standard) | Dependent on road, weather, and traffic conditions |
| Common Brands | Honda, Toyota, Nissan, VW, Ford | Subaru (older models), Volvo, Mazda (select models) |
Step-by-Step Guide: The Calibration Process
If you are taking your vehicle to a certified auto glass shop or a dealership, here is the exact workflow you should expect. If your shop skips these steps, your vehicle's safety systems may be compromised.
- Pre-Scan and Diagnostic Check: Before the old glass is even touched, a technician will plug in an OEM-level scan tool to check for existing ADAS fault codes. This establishes a baseline and ensures no underlying issues exist prior to the glass replacement.
- Windshield Removal and Preparation: The old glass is cut out, and the pinch weld (the metal frame) is cleaned and primed. The camera bracket, if attached to the glass, is carefully transferred or replaced according to OEM procedures.
- Glass Installation and Curing: The new windshield is set using high-quality urethane adhesive. The vehicle must sit for the adhesive's safe drive-away time (SDAT) to cure, ensuring the glass will not shift during calibration or a collision.
- Environment Setup (For Static): The vehicle is moved to the calibration bay. Technicians use laser levels to ensure the floor is flat and the vehicle's tire pressures are set to exact specifications, as even a low tire can alter the camera's pitch angle.
- Target Placement: The specific OEM target for your exact make and model is positioned. For example, a Honda Sensing target must be placed at a precise distance from the front axle and centered to the vehicle's thrust line.
- The Calibration Execution: Using the scan tool, the technician initiates the calibration sequence. The camera captures the target, and the module updates its software parameters. This can take anywhere from 15 to 45 minutes.
- Post-Scan and Verification: A final scan is performed to ensure all fault codes are cleared and the system reports a pass status. The technician may perform a short test drive to verify that the Lane Departure Warning chimes appropriately when crossing a line.
OEM vs. Aftermarket Glass: A Crucial Decision
When scheduling your replacement, you will likely be asked whether you want Original Equipment Manufacturer (OEM) glass or aftermarket (OEE - Original Equipment Equivalent) glass. For vehicles equipped with forward-facing ADAS cameras, OEM glass is highly recommended.
Aftermarket glass manufacturers sometimes produce windshields with slight optical distortions or variations in the glass thickness around the camera mounting bracket. While these distortions are invisible to the human eye, the ADAS camera's software may struggle to interpret the refracted light, leading to calibration failures or erratic behavior in rain and low light. Furthermore, some aftermarket windshields lack the exact acoustic or heating layers found in OEM glass, which can interfere with sensor performance.
The Insurance Institute for Highway Safety (IIHS) notes that the proper function of crash avoidance technologies relies heavily on the integrity of the sensors and their mounting environments. Compromising the optical clarity of the windshield directly compromises the safety of the vehicle's occupants.
Costs, Timing, and Navigating Insurance
ADAS calibration adds a significant layer of complexity and cost to a windshield replacement. While a standard windshield might cost between $300 and $500, adding ADAS calibration can increase the total bill by $250 to $600 or more, depending on the complexity of the vehicle's sensor suite.
Timing: Expect your vehicle to be at the shop for at least 3 to 5 hours. This accounts for the glass replacement, urethane curing time, the meticulous setup of the static calibration bay, and the software processing time.
Insurance Coverage: If you have comprehensive auto insurance, windshield replacements are usually covered, often with zero deductible depending on your state's laws and policy terms. Most major insurance providers recognize ADAS calibration as a mandatory, inseparable part of the glass replacement process and will cover the calibration fee under the same claim. However, you must ensure your chosen shop is an approved vendor in your insurance network and that they itemize the calibration clearly on the invoice.
The Hidden Dangers of Skipping Calibration
Some unethical or under-equipped mobile glass installers may offer to replace your windshield at a steep discount by skipping the calibration step entirely. They might claim that the camera looks fine or that the system will figure it out. This is incredibly dangerous.
If the calibration is skipped, your Automatic Emergency Braking system might fail to recognize a stopped vehicle in your lane, resulting in a rear-end collision. Alternatively, phantom braking can occur, where the misaligned camera mistakes a shadow or an overhead sign for an obstacle, slamming on the brakes on a busy highway. Lane Centering Assist may continuously fight you for control of the steering wheel, pulling the vehicle toward the rumble strips. Always demand a printed calibration report from your shop upon vehicle pickup.
How to Verify Your Shop is Qualified
Not all auto glass shops possess the expensive, space-consuming equipment required for static ADAS calibration. Before booking your appointment, ask the shop the following questions:
- Do you perform calibrations in-house, or do you sublet them? Subletting to a dealership or a specialized calibration service is common and acceptable, but it will increase the time your car is out of commission.
- Are you AGSC Certified? The Auto Glass Safety Council (AGSC) sets the gold standard for glass installation and ADAS recalibration. An AGSC-registered shop is audited regularly to ensure they follow OEM procedures.
- Do you use OEM targets and OEM-level scan tools? Generic scan tools often fail to complete the deep-level calibrations required by modern EV and hybrid platforms.
By understanding the vital importance of ADAS calibration after windshield replacement, you can ensure that your vehicle's advanced safety nets remain fully functional, protecting you and your passengers on every journey.


