When Tesla offers a free year of Supercharging for Model 3 buyers, it's a compelling incentive — but it doesn't eliminate the need for a solid home charging strategy. Most EV owners do 80% or more of their charging at home, and relying solely on public DC fast charging accelerates battery degradation and costs more per mile than a properly installed Level 2 setup. This guide breaks down exactly what the free-charging promotion covers, how to build a home charging infrastructure around it, and the real costs involved — from electrical panel upgrades to equipment selection.
What the Free Supercharging Year Actually Covers
Tesla periodically offers complimentary Supercharging as a purchase incentive, typically providing 10,000 miles (roughly 2,500–3,000 kWh) of free DC fast charging over 12 months. For a Model 3 Long Range with its EPA-estimated 341-mile range and 75 kWh usable battery, that translates to approximately 29 full charges. It's a meaningful offset during your first year, but consider the math: the average American drives 13,500 miles annually (FHWA data). You'll still need to cover roughly 3,500+ miles of charging — almost certainly at home.
More critically, exclusive reliance on DC fast charging (150–250 kW peak) generates sustained heat in the battery pack. While Tesla's battery management system is robust, repeated high-heat cycles accelerate long-term degradation. A home Level 2 charger operating at 7–11.5 kW keeps battery temperatures moderate and preserves State of Health (SoH) over the vehicle's lifetime.
Charging Levels Explained: Speed, Power, and Real-World Range Gains
Understanding the three charging tiers is essential before investing in equipment. Remember: kW (kilowatts) measures power — the rate of energy delivery. kWh (kilowatt-hours) measures energy — the total capacity stored in your battery. Think of kW as water flow rate and kWh as the size of the tank.
| Level | Voltage | Power (kW) | Miles of Range/Hour | 10–80% Time (75 kWh Battery) | Best For |
|---|---|---|---|---|---|
| Level 1 | 120V AC | 1.0–1.4 kW | 3–5 mi/hr | ~38–52 hours | Overnight top-up, PHEVs, emergency |
| Level 2 | 240V AC | 3.3–19.2 kW | 12–75 mi/hr | ~3.5–8 hours | Daily home charging, workplace |
| DC Fast | 400–800V DC | 50–350 kW | 150–1,000+ mi/hr | ~18–35 minutes | Road trips, rapid top-up |
A critical nuance: DC fast charging speeds are peak rates, not sustained. A Model 3 Long Range may peak at 250 kW at a V3 Supercharger, but the charge curve tapers significantly above 50–60% State of Charge (SoC). The 10–80% time of roughly 25–30 minutes reflects this taper. Charging from 80–100% on DC fast can take nearly as long as 10–80% — which is why Tesla's navigation system typically recommends charging to 80% at Superchargers and why home Level 2 is better for completing a full charge overnight.
Home Charger Installation: Electrical Requirements and Real Costs
Installing a Level 2 home charger is an electrical project, not just a hardware purchase. The total cost depends on your panel capacity, the distance from the panel to the charging location, and local permit requirements.
Electrical Specifications
A typical home Level 2 installation requires:
- Voltage: 240V (same as a dryer or oven circuit)
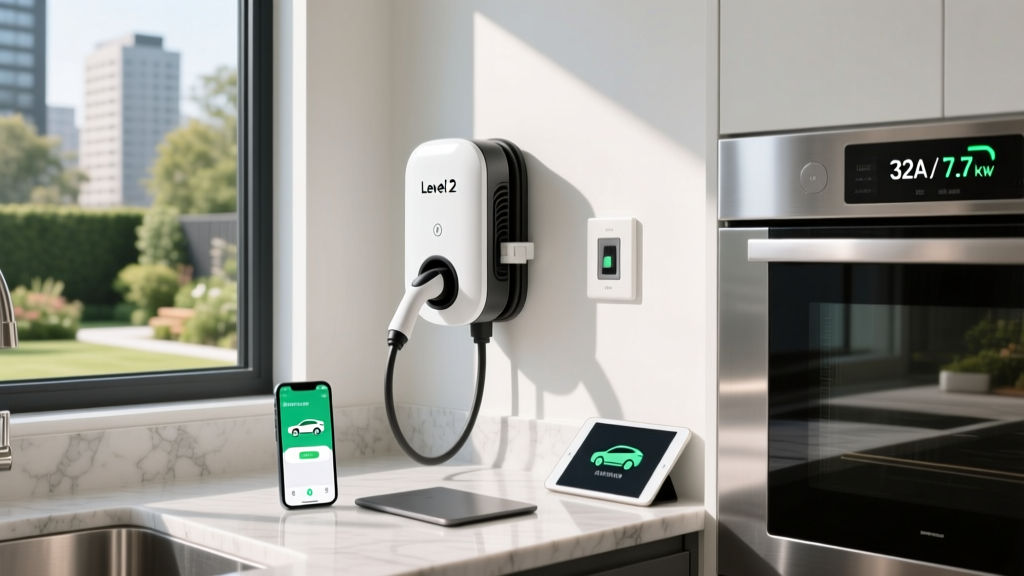
- Amperage: 40A dedicated circuit for a 32A continuous-draw charger (National Electrical Code requires circuits rated 125% of continuous load), or 60A circuit for a 48A charger
- Wire gauge: 6 AWG copper for 40A; 4 AWG for 60A (varies by run length and local code)
- Breaker: Double-pole, appropriately sized
- GFCI protection: Required by NEC 2020+ for EV circuits in most jurisdictions
Panel Capacity: The Hidden Cost Driver
Most homes built after 1990 have 200A electrical service panels. A 40A EV circuit consumes 20% of that capacity. If your panel is already heavily loaded (electric heat, electric dryer, electric range, central AC), a licensed electrician will perform a load calculation per NEC Article 220. If the calculation shows insufficient headroom, you face either:
- Panel upgrade: Upgrading from 100A or 200A to 200A or 400A service — $2,000–$5,000+
- Load management device: An automatic load-sharing system that throttles the charger when other appliances draw heavily — $300–$600 for the device plus installation
- Lower-amperage circuit: Dropping to a 20A or 30A circuit (giving 16A or 24A to the charger), which still adds 12–25 miles of range per hour — sufficient for many drivers
| Component | Simple Install (Panel Adjacent) | Complex Install (Long Run / Panel Upgrade) |
|---|---|---|
| Level 2 Charger (Equipment) | $350–$700 | $350–$700 |
| Electrical Permit | $50–$200 | $50–$200 |
| Electrician Labor (2–4 hrs simple; 6–12 hrs complex) | $300–$800 | $1,000–$2,500 |
| Wire, Conduit, Breaker | $100–$300 | $300–$800 |
| Panel Upgrade (if needed) | $0 | $2,000–$5,000 |
| Total | $800–$2,000 | $3,700–$9,200 |
The federal Residential Clean Energy Credit (IRC §25D) covers 30% of home EV charger equipment and installation costs, up to $1,000, for equipment placed in service through 2032. Some states and utilities layer additional rebates on top — check your local utility's EV program and the AFDC state incentive database for current offerings.
Connector Compatibility: NACS, CCS, and Adapter Realities
As of 2026, the North American Charging Standard (NACS) — originally Tesla's proprietary connector — has become the dominant standard. Tesla vehicles (Model 3, Model Y, Model S, Model X) ship with the NACS port natively. Most legacy non-Tesla EVs from 2024 and earlier use CCS1, while a small number of older Nissan Leafs and Mitsubishi Outlander PHEVs use CHAdeMO.
| Connector | Native Vehicles | DC Fast Availability | Adapter Needed For |
|---|---|---|---|
| NACS (Tesla) | Tesla (all), Ford (2025+), GM (2025+), Rivian (2025+), Volvo, Polestar | Tesla Superchargers, Electrify America (new stations), growing network | CCS1 vehicles need NACS-to-CCS adapter (~$200–$250) |
| CCS1 | Hyundai, Kia, BMW, VW, Mercedes (pre-2025) | Electrify America, EVgo, ChargePoint DC, Ionity (EU) | Tesla vehicles need CCS adapter (~$175 from Tesla) |
| CHAdeMO | Nissan Leaf (legacy), Mitsubishi Outlander PHEV (older) | Declining network — limited new installations | No practical adapter to NACS/CCS |
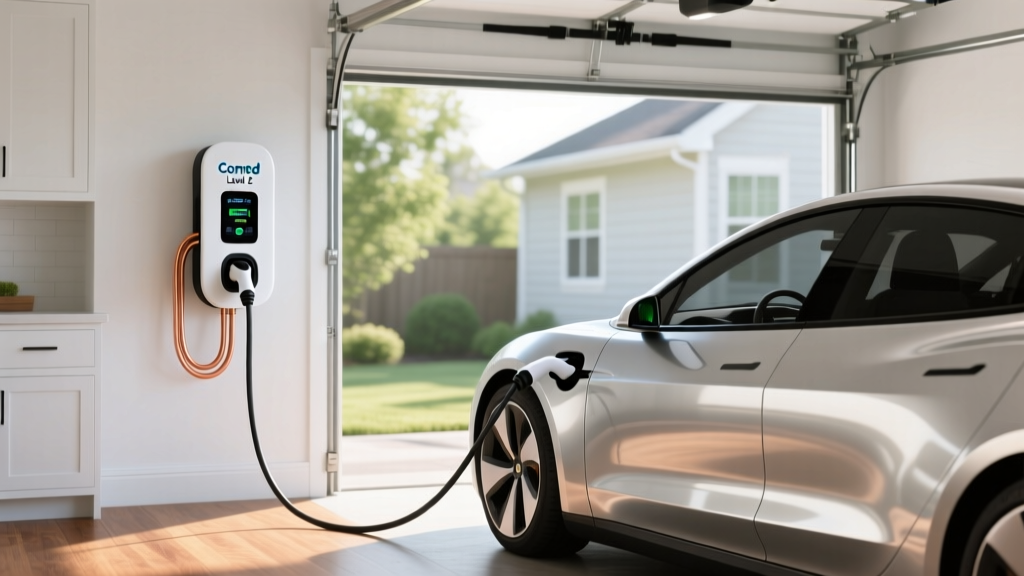
For home Level 2 charging, the connector matters less than you might think. Level 2 uses the J1772 standard for non-Tesla vehicles, and Tesla includes a J1772 adapter with every vehicle. If you install a third-party Level 2 charger with a J1772 connector, your Tesla will charge fine with the included adapter. If you install a Tesla Wall Connector, it ships with the NACS connector natively — non-Tesla NACS-equipped vehicles (2025+ Fords, GMs) can use it directly.
Cost to Charge: Home vs. Public vs. Gas Per Mile
Charging economics vary dramatically by location, time of day, and charger type. Here's how the numbers stack up for a Model 3 Long Range (averaging 3.5 miles per kWh, or roughly 120 MPGe combined):
| Scenario | Rate | Cost Per kWh | Cost Per Mile (Model 3 LR) |
|---|---|---|---|
| Home Level 2 — Off-Peak (utility time-of-use) | $0.08–$0.14/kWh | $0.11 avg | $0.031 |
| Home Level 2 — Standard Rate | $0.12–$0.22/kWh | $0.17 avg | $0.049 |
| Public Level 2 (ChargePoint, workplace) | $0.20–$0.40/kWh | $0.30 avg | $0.086 |
| DC Fast — Electrify America / EVgo | $0.35–$0.55/kWh | $0.45 avg | $0.129 |
| Tesla Supercharger (V3/V4, pay-per-use) | $0.25–$0.40/kWh | $0.32 avg | $0.091 |
| Gasoline — 30 MPG car at $3.50/gal | $3.50/gal | — | $0.117 |
| Gasoline — 25 MPG car at $3.50/gal | $3.50/gal | — | $0.140 |
The takeaway is clear: home off-peak charging at $0.03/mile costs roughly one-quarter of gasoline per mile. Even pay-per-use Supercharging at $0.09/mile undercuts a 30 MPG gas car. During your free Supercharging year, those road-trip miles cost $0.00 — but your daily home charging still needs infrastructure.
For context, driving 13,500 miles annually:
- Home off-peak charging: ~$419/year
- Mixed home + public: ~$700–$900/year
- Gasoline (30 MPG): ~$1,575/year
Equipment Recommendations: Level 2 Chargers That Deliver
Not all Level 2 chargers are equal. Key differentiators include maximum power output, cable length, smart features (scheduling, energy monitoring, load management), connector type, and build quality. Here are proven options for 2026:
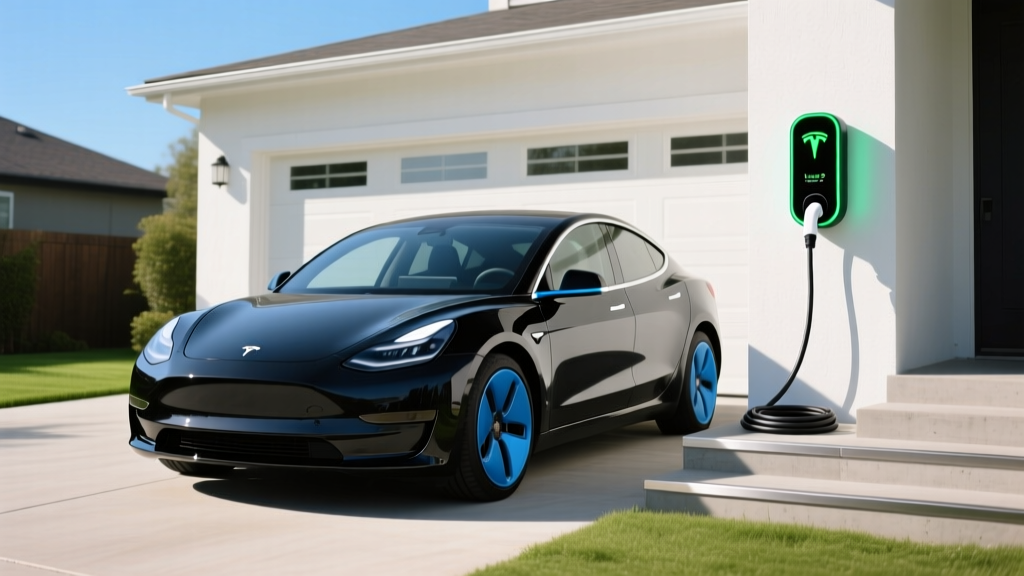
Tesla Wall Connector (Gen 4)
- Power: Up to 11.5 kW (48A) on a 60A circuit
- Connector: NACS native
- Cable Length: 24 ft
- Smart Features: Wi-Fi, OTA updates, Power Sharing (load management with a second unit), energy tracking via Tesla app
- Price: ~$475
- Best For: Tesla-only households; highest power output in its class
ChargePoint Home Flex
- Power: Up to 12 kW (50A) on a 60A circuit; configurable down to 16A for smaller panels
- Connector: J1772 (works with Tesla via included adapter)
- Cable Length: 23 ft
- Smart Features: Wi-Fi, Alexa integration, flexible amperage settings, detailed energy reporting, scheduled charging
- Price: ~$550–$650
- Best For: Multi-EV households (Tesla + non-Tesla); adjustable amperage for panel-constrained homes
Emporia Vue Level 2 Charger
- Power: Up to 11.5 kW (48A) on a 60A circuit
- Connector: J1772
- Cable Length: 24 ft
- Smart Features: Wi-Fi, integration with Emporia Vue energy monitor for whole-home tracking, solar-aware scheduling, load management
- Price: ~$399–$499
- Best For: Solar-equipped homes; budget-conscious buyers wanting smart features
Grizzl-E Smart
- Power: Up to 10 kW (40A) on a 50A circuit
- Connector: J1772
- Cable Length: 24 ft
- Smart Features: Wi-Fi, OCPP-compatible, adjustable amperage, extreme cold rated (-40°F)
- Price: ~$449
- Best For: Cold-climate installations; outdoor mounting; rugged build
Safety, Code Compliance, and Installation Best Practices
EV charging circuits carry significant continuous current — this is not a DIY electrical project. Key safety and code requirements include:
- Dedicated circuit: Your EV charger must have its own breaker — never share a circuit with other appliances
- GFCI protection: NEC 2020 and later require ground-fault circuit interrupter protection on EV charging circuits (some chargers have built-in GFCI; confirm with your electrician to avoid nuisance tripping from double-GFCI configurations)
- Outdoor rating: If mounting outdoors, the charger must carry a NEMA 4 or NEMA 4X rating for weather resistance. All recommended chargers above meet this standard
- Permit and inspection: Most jurisdictions require an electrical permit and post-installation inspection. Skipping this can void homeowner's insurance coverage for electrical fires
- Hardwired vs. plug: Chargers above 40A should be hardwired (no plug). A 14-50 or 6-50 NEMA receptacle is acceptable for 40A or below, but hardwiring eliminates a common failure point and is preferred for permanent installations
- Cable management: Use a holster or cable management system to keep the cord off the ground and protected from vehicle traffic in the garage
Maximizing Your Free Supercharging Year: A Practical Strategy
With the free Supercharging year, the optimal approach is layered:
- Install a home Level 2 charger immediately. Don't wait until the free year ends. You need the infrastructure regardless, and daily Level 2 charging preserves battery SoH better than exclusive DC fast charging.
- Use Supercharging for road trips and high-mileage weeks. Reserve your free miles for highway driving where you'd otherwise pay $0.35–$0.55/kWh at public DC chargers.
- Set your Tesla to charge at home during off-peak hours. Tesla's scheduled charging feature lets you plug in at 6 PM but delay charging until 10 PM when utility rates drop. This maximizes savings on the miles not covered by the free Supercharging benefit.
- Precondition before Supercharging. Navigate to a Supercharger in the Tesla's built-in navigation — the car will automatically precondition the battery to optimal temperature, enabling peak 250 kW charge rates and minimizing your stop time to 18–25 minutes for a 10–80% session.
- Track your free charging balance. Monitor remaining free miles in the Tesla app. As the year end approaches, shift to primarily home charging to preserve any remaining free balance for a final road trip.
Frequently Asked Questions
How much does it cost to install a home EV charger?
A straightforward Level 2 installation with adequate panel capacity typically costs $800–$2,000 all-in (equipment, labor, permit, materials). If your electrical panel needs an upgrade from 100A to 200A, total costs can reach $3,700–$9,200. The federal §25D credit covers 30% of installation costs up to $1,000.
How fast will each charging level add range to my Model 3?
Level 1 (120V) adds 3–5 miles per hour. Level 2 at 11.5 kW (48A) adds roughly 40–44 miles per hour to a Model 3 Long Range. DC fast charging at a V3 Supercharger peaks at 250 kW, adding up to 175 miles in 15 minutes, though the rate tapers above 50–60% SoC.
Which connector and charger is compatible with my Tesla Model 3?
Your Model 3 uses the NACS connector natively. The Tesla Wall Connector is the most seamless home option. Any J1772 Level 2 charger (ChargePoint, Emporia, Grizzl-E) also works using the J1772 adapter included with your vehicle. For DC fast charging, your Model 3 accesses Tesla Superchargers directly and can use CCS stations with Tesla's optional CCS adapter (~$175).
How much does charging cost per mile compared to gas?
Home off-peak charging costs approximately $0.03/mile. Standard-rate home charging runs about $0.05/mile. A comparable 30 MPG gasoline car at $3.50/gallon costs $0.12/mile. Even pay-per-use Supercharging at ~$0.09/mile is cheaper than gasoline. During your free Supercharging year, road-trip miles cost $0.00.
What electrical upgrades might I need for a Level 2 charger?
The most common upgrade is a panel capacity increase if your existing 100A or 200A panel lacks headroom for a 40–60A dedicated circuit. Alternatives include installing a load-management device ($300–$600) that dynamically reduces charger amperage when other appliances draw power, or simply installing a lower-amperage circuit (20–30A) that still provides adequate overnight charging for most daily driving needs.