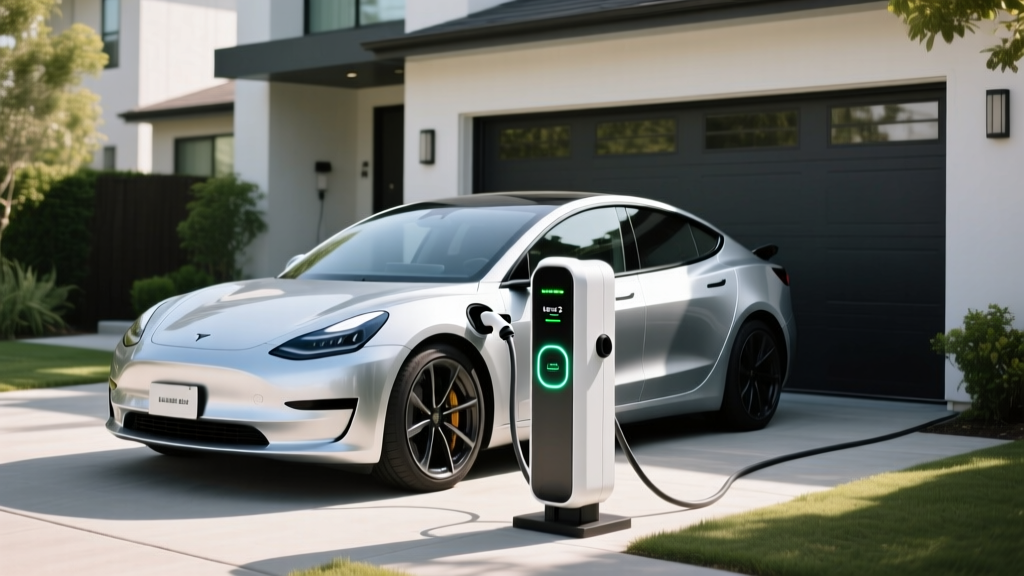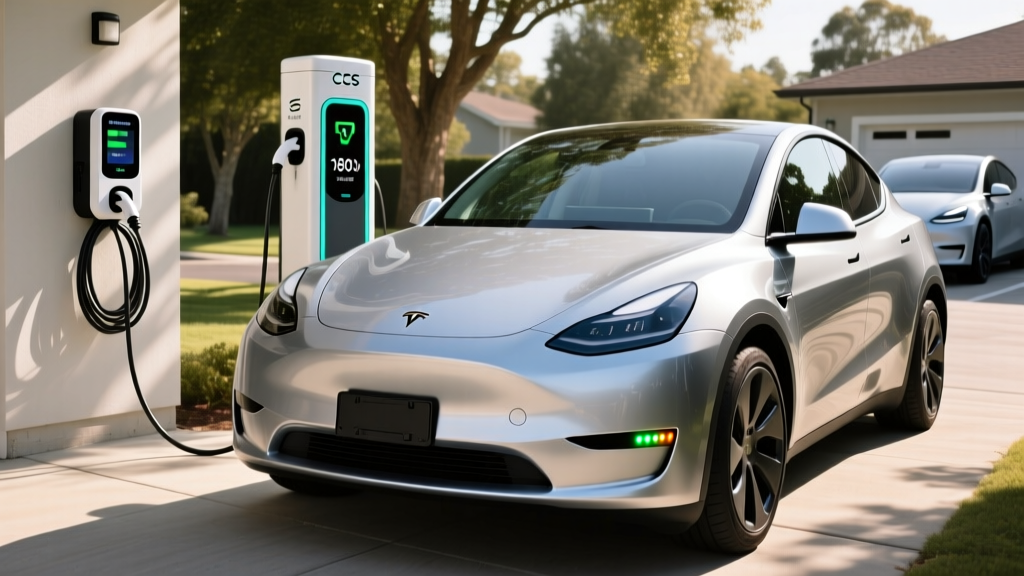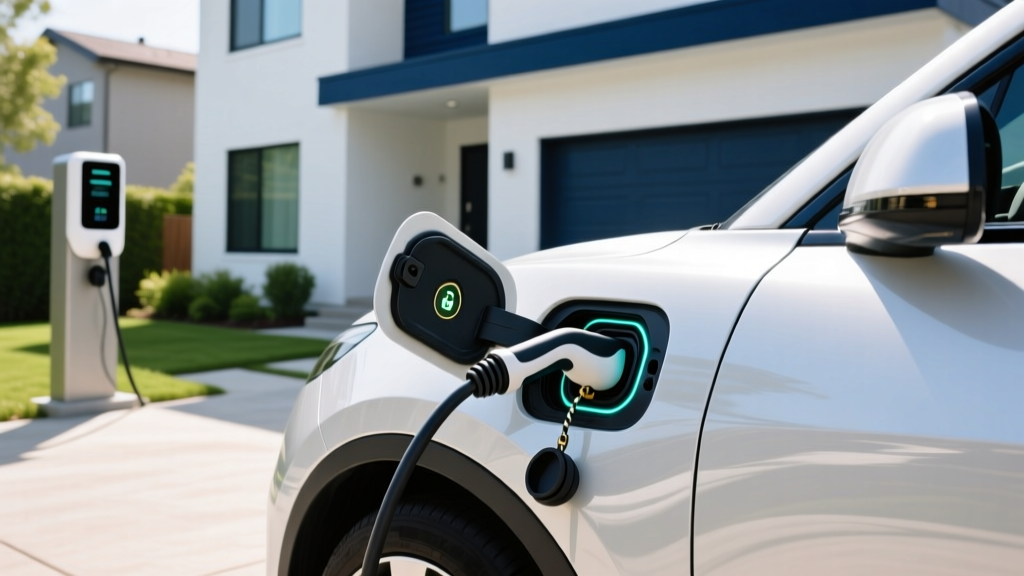
Transitioning to an electric vehicle (EV) is an exciting step toward sustainable driving, but the true convenience of EV ownership begins at home. Relying solely on public charging networks can be time-consuming and expensive. Installing a dedicated Level 2 home charging station allows you to wake up to a full battery every morning, seamlessly integrating your vehicle into your daily routine. If you have been searching for the ultimate one EV charger installation guide to demystify the process, you are in the right place.
Before diving into the technical details, it is important to set realistic expectations regarding the project's scope. Difficulty Level: Advanced DIY / Professional Electrician Highly Recommended. Working with 240-volt circuits carries significant safety risks and requires strict adherence to local electrical codes. Estimated Cost: $500 to $2,500+ depending on your existing electrical panel capacity, the distance from the panel to the garage, and local labor rates. In this comprehensive guide, we will walk you through every phase of the installation process, from initial load calculations to final inspections, ensuring your setup is safe, efficient, and code-compliant.
Understanding Your Electrical Requirements & Panel Capacity
The foundation of any successful EV charger installation lies in understanding your home’s electrical infrastructure. Most modern Level 2 EV chargers require a 240-volt circuit, similar to what powers a heavy-duty electric dryer or an oven. Before purchasing a charger or scheduling an electrician, you must evaluate your electrical panel’s capacity.
The 80% Continuous Load Rule
According to the National Electrical Code (NEC), EV charging is classified as a “continuous load” because it can operate at maximum current for three hours or more. The NEC mandates that continuous loads must not exceed 80% of the circuit breaker’s rated capacity. For example, if you want to install a 40-amp EV charger, you must install a 50-amp breaker. If you opt for a 48-amp charger, you will need a 60-amp breaker. This rule prevents the breaker from overheating and nuisance-tripping during long charging sessions.
Performing a Load Calculation
Your home’s electrical service is measured in amps, with most modern homes featuring a 150-amp or 200-amp main panel. A licensed electrician will perform a Manual J or standard NEC load calculation to determine how much spare capacity your panel has. If your panel is already near its limit with HVAC systems, electric water heaters, and kitchen appliances, you may need a panel upgrade or an energy management system before adding a high-amperage EV circuit.
Plug-In vs. Hardwired Connections
You must also decide between a plug-in unit (typically utilizing a NEMA 14-50 receptacle) or a hardwired unit. Hardwired chargers are generally preferred for their safety and reliability, as they eliminate the risk of receptacle overheating and do not require GFCI breakers, which are prone to nuisance tripping in EV applications. Plug-in units offer portability but require strict adherence to receptacle installation standards.
Step-by-Step Installation Process
While we strongly advise hiring a licensed professional, understanding the step-by-step installation process will help you communicate effectively with your contractor and ensure the job is done correctly.
- Route Planning & Conduit Selection: The electrician will map the shortest, most protected route from your main electrical panel to the charging location. They will select the appropriate conduit—typically PVC for underground or exterior runs, and EMT (metal) for interior garage walls.
- Pulling the Wire: For a 50-amp circuit (40-amp charger), 6 AWG copper wire is standard, though some jurisdictions require 4 AWG for 50-amp receptacles due to temperature rating terminations. The wires pulled will include two hot wires (X and Y), one neutral (if required by the specific NEMA plug), and one equipment grounding conductor.
- Mounting the EVSE: The Electric Vehicle Supply Equipment (EVSE) backplate is mounted to the wall studs using heavy-duty lag screws. The ideal height is typically between 18 and 48 inches from the floor to comply with ADA guidelines and prevent cord damage.
- Terminating the Connections: This is the most critical step. Wires are stripped, seated into the lugs, and tightened using a calibrated torque screwdriver to the exact specifications listed in the manufacturer’s documentation. Loose connections cause resistance, heat, and eventual fire hazards.
- System Testing: Once wired, the electrician will use a multimeter to verify voltage and polarity before energizing the circuit and initiating a test charge with an EV.
Navigating Permits & Inspections
Skipping permits to save money is a dangerous and costly mistake. The Department of Energy (DOE) and local Authorities Having Jurisdiction (AHJ) require permits for any new 240-volt circuit installation. Permits ensure that your installation meets current safety codes and protects your home from electrical fires.
The Permitting Process
Your electrician will submit an application to your local building department, detailing the scope of work, wire sizes, breaker amperage, and equipment specifications. Once approved, the work can commence. In some municipalities, a “rough-in” inspection is required before the walls are closed up or conduit is sealed, followed by a “final” inspection once the charger is mounted and energized.
What Inspectors Look For
During the final inspection, the electrical inspector will verify several key elements:
- Proper breaker sizing relative to the continuous load.
- Correct wire gauge and insulation type (e.g., THHN/THWN).
- Adequate support and securing of conduit runs.
- Proper grounding and bonding.
- Torque marks on terminal lugs, proving a calibrated tool was used.
DIY vs. Professional Installation
The internet is full of tutorials encouraging homeowners to tackle electrical projects themselves. However, when it comes to high-amperage EV charging, the consensus among experts and manufacturers is clear: hire a licensed electrician.
The Risks of DIY
Working inside a live main electrical panel exposes you to lethal arc flash hazards and fatal electrocution risks. Furthermore, improper wire stripping, inadequate torque on lugs, or failing to account for voltage drop over long distances can lead to melted wires, destroyed EVSE units, or house fires. Most premium smart home EV chargers explicitly state in their warranty terms that the unit must be installed by a licensed electrician to maintain warranty coverage. A DIY installation will almost certainly void your equipment warranty.
The Value of a Professional
A licensed, bonded, and insured electrician brings expertise in local code nuances, load calculations, and proper permitting. They carry the liability insurance necessary to protect your property and possess the specialized tools—such as conduit benders, fish tapes, and torque screwdrivers—required for a flawless installation.
Comprehensive Cost Breakdown
The cost of installing a home EV charger varies wildly based on your home’s unique layout and electrical health. Here is a detailed breakdown of potential expenses:
- The EV Charger Unit: $300 to $700. Check out our Level 2 charger reviews to find the best model for your vehicle.
- Standard Installation (Short Run): $500 to $1,200. This assumes your panel has spare capacity, is located in the garage, and requires less than 20 feet of wiring.
- Long Wire Runs & Trenching: $1,500 to $3,000+. If your panel is on the opposite side of the house or requires underground trenching to reach a detached garage, costs for copper wire and labor increase significantly.
- Electrical Panel Upgrade: $1,500 to $3,500. If your home has an older 100-amp service or a maxed-out 150-amp panel, upgrading to a 200-amp or 400-amp service is mandatory.
- Permits & Inspections: $100 to $300, depending on local municipality fees.
Pro Tip: Always check with your local utility provider and state government for EV charging rebates. Many utilities offer substantial credits that can cover the cost of the charger unit or offset installation labor.
Essential Safety Tips & Best Practices
Safety should never be compromised when dealing with high-voltage equipment. Incorporate these best practices into your installation plan:
- Implement a Drip Loop: If your charger is installed outdoors or in an exposed garage, ensure the charging cable and any exterior wiring form a “drip loop.” This prevents rainwater from traveling down the cord or wire directly into the receptacle or EVSE housing.
- Use High-Quality Receptacles: If you opt for a NEMA 14-50 plug-in setup, do not use cheap, residential-grade receptacles from big-box hardware stores. Invest in industrial-grade, heavy-duty receptacles designed to handle continuous high-amperage loads without melting.
- Consider GFCI Requirements: Recent editions of the NEC require GFCI (Ground Fault Circuit Interrupter) protection for 240-volt receptacles in garages. However, many EV chargers have built-in GFCI protection, and stacking GFCI breakers with GFCI-equipped EVSEs can cause constant nuisance tripping. Hardwiring your charger bypasses this receptacle GFCI requirement entirely, offering a smoother user experience.
- Protect the Cord: Never run your EV charging cable across high-traffic walkways or driveways where it can be run over, crushed, or degraded by UV exposure and weather.
Troubleshooting Common Installation Issues
Even with a professional installation, you may encounter a few hiccups. Here is how to troubleshoot the most common post-installation issues:
Nuisance Breaker Tripping
If your breaker trips randomly during a charge, it is usually due to one of two things: a miscalculated continuous load (e.g., trying to pull 48 amps on a 50-amp breaker instead of a 60-amp breaker) or a GFCI conflict. If you are using a plug-in unit with a GFCI breaker, try hardwiring the unit or adjusting the charger’s internal software settings to reduce the amperage draw by 10%.
Slow Charging Speeds
If your vehicle is charging slower than the advertised rate, check for voltage drop. If the wire run from your panel to the charger exceeds 100 feet, the resistance in the wire can cause a significant drop in voltage, prompting the EV to reduce its charging current to protect the system. Upgrading to a thicker wire gauge (e.g., moving from 6 AWG to 4 AWG or 2 AWG) resolves this issue.
Wi-Fi Connectivity Failures
Smart chargers rely on Wi-Fi for scheduling, energy monitoring, and firmware updates. Garages are notorious Wi-Fi dead zones due to concrete walls and metal doors. If your charger cannot connect, consider installing a Wi-Fi mesh extender in the garage or hardwiring an Ethernet connection to the EVSE if the manufacturer supports it.
Frequently Asked Questions
Can I install an EV charger on a 100-amp panel?
It is highly unlikely and generally not recommended. A 100-amp panel typically lacks the spare capacity to support a 40-amp or 50-amp continuous EV load while simultaneously running central air conditioning, electric ovens, and dryers. Attempting to do so without an automated energy management system will result in frequent main breaker trips. An upgrade to a 200-amp panel is usually required.
Do I need a Wi-Fi connection for my EV charger?
No, a Wi-Fi connection is not strictly necessary for the charger to deliver power to your vehicle. You can simply plug in and charge. However, without Wi-Fi, you will lose access to smart features like off-peak utility scheduling, remote monitoring, charging history logs, and over-the-air firmware updates.
How long does a typical home EV charger installation take?
A standard installation where the electrical panel is located inside the garage, on the same wall as the charger, typically takes 2 to 4 hours. If the project requires attic crawls, underground trenching, drywall repair, or a main panel upgrade, the project can take anywhere from one to three full days to complete.
Will my utility company offer rebates for installation?
Many utility companies and local municipalities offer lucrative rebates, tax credits, or special EV time-of-use (TOU) rate plans to encourage home charging infrastructure. Some utilities will even cover the cost of the charger unit or provide a bill credit for the installation labor. Always check your local utility’s website before purchasing equipment.
What is the difference between hardwired and plug-in EV chargers?
Plug-in chargers connect to a 240-volt wall outlet (like a NEMA 14-50), allowing you to unplug and take the charger with you if you move. Hardwired chargers are connected directly to your home’s electrical junction box. Hardwired units are generally safer, support higher amperages (up to 80 amps), do not require expensive GFCI breakers, and eliminate the risk of receptacle overheating.
By following this comprehensive one EV charger installation guide, you are well on your way to enjoying the ultimate convenience of home EV charging. Always prioritize safety, adhere to local codes, and consult with licensed professionals to ensure your electrical system is ready for the future of driving.