EV Charger Level 2 Meaning: The Complete Installation & Setup Guide
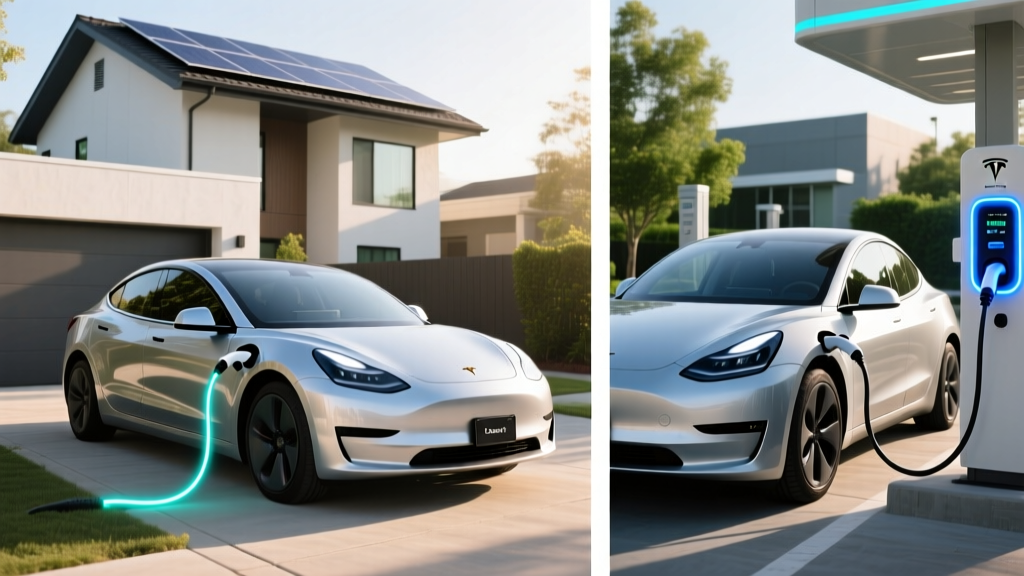
If you own an electric vehicle or are planning to make the switch, understanding what a Level 2 EV charger means for your daily driving experience is essential. A Level 2 EV charger operates on a 240-volt electrical circuit — the same type of outlet your electric dryer or oven uses — and delivers significantly faster charging speeds compared to the standard Level 1 charger that plugs into a regular 120-volt household outlet.
Level 2 chargers typically deliver between 16 to 80 amps of current, translating to roughly 12 to 80 miles of range per hour of charging, depending on the unit's amperage and your vehicle's onboard charger capacity. For most EV owners, a Level 2 home charger is the sweet spot between convenience, speed, and cost-effectiveness.
Difficulty Level: Moderate to Advanced (electrical work required)
Estimated Cost: $500 – $2,500+ (charger unit + installation)
Time Required: 4 – 10 hours for professional installation
Permit Required: Yes, in most jurisdictions
In this comprehensive guide from Auto Edge View, we will walk you through everything you need to know about Level 2 EV charger meaning, installation requirements, step-by-step setup, costs, and critical safety considerations.
What Does Level 2 EV Charger Mean? Understanding the Basics & Requirements
The term "Level 2" refers to a standardized classification of EV charging equipment defined by the U.S. Department of Energy (DOE). EV chargers are categorized into three primary levels based on their voltage, power output, and charging speed:
- Level 1: Uses a standard 120V AC outlet. Delivers approximately 2 to 5 miles of range per hour. Suitable for plug-in hybrids or overnight charging of smaller battery packs.
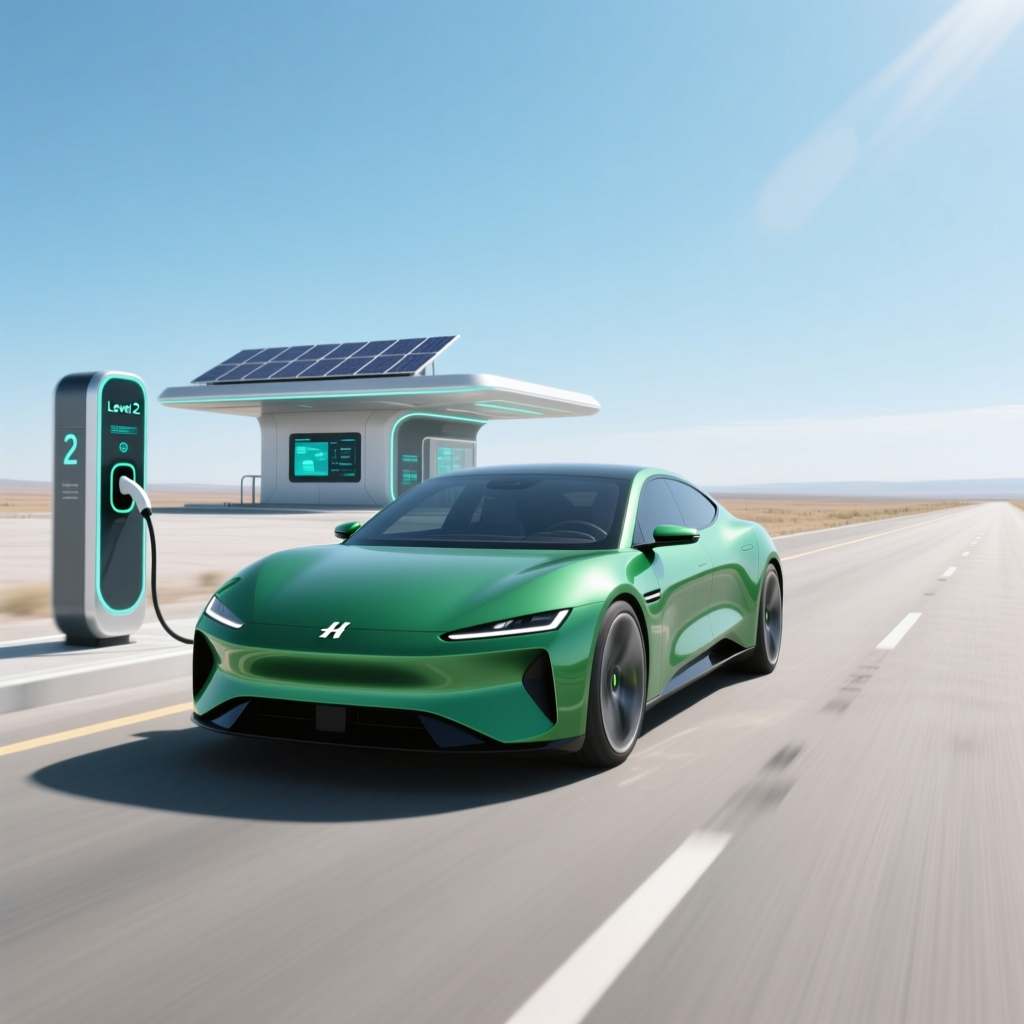
- Level 2: Uses a 240V AC circuit (residential) or 208V (commercial). Delivers 12 to 80 miles of range per hour. The most common choice for home and workplace charging.
- Level 3 (DC Fast Charging): Uses 400V to 900V DC power. Delivers 60 to 200+ miles of range in 20 to 30 minutes. Found at public charging stations along highways and corridors.
A Level 2 charger communicates with your vehicle through the SAE J1772 connector standard (or the Tesla proprietary connector/NACS for Tesla vehicles). This communication protocol ensures that the charger and vehicle negotiate the appropriate current level safely before any power flows.
Electrical Requirements for Level 2 Chargers
Before you begin planning your installation, you need to understand the electrical requirements specific to Level 2 charging equipment:
- Voltage: 240V AC (split-phase residential service)
- Amperage: Typically 16A to 80A, with 32A and 48A being the most common for residential installations
- Circuit Rating: The National Electrical Code (NEC) requires the circuit breaker to be rated at 125% of the charger's maximum continuous load. For example, a 48-amp charger requires a 60-amp circuit breaker.
- Wire Gauge: Depends on amperage — typically 6 AWG copper for 48A circuits or 4 AWG for 60A circuits
- Panel Capacity: Your home's electrical panel must have sufficient spare capacity to handle the additional load
According to the National Electrical Code (NEC) Article 625, which specifically governs Electric Vehicle Charging System Equipment, all installations must comply with local electrical codes and be performed in accordance with applicable permitting requirements.
For a deeper look at which chargers perform best for different EV models, check out our best EV chargers reviews to find the right unit for your vehicle.
Step-by-Step Level 2 EV Charger Installation Guide
Installing a Level 2 EV charger involves several critical steps, from assessing your electrical panel's capacity to mounting the unit and testing the connection. Here is a detailed walkthrough of the installation process.
Step 1: Assess Your Electrical Panel Capacity
The first and most important step is determining whether your home's electrical service panel can handle the additional load of a Level 2 charger. Most modern homes have a 200-amp main service panel, which is generally sufficient for a 48-amp Level 2 charger. However, older homes with 100-amp service may require a panel upgrade.
To calculate available capacity, add up the amperage of all existing circuits and compare the total to your panel's main breaker rating. You need at least 20% headroom above the combined load, including the new EV charger circuit. A licensed electrician can perform a proper load calculation as defined by NEC Article 220.
Step 2: Choose the Installation Location
Select a location for your Level 2 charger that meets the following criteria:
- Within reach of your vehicle's charging port (typically 18 to 25 feet of cable length)
- Close to the electrical panel to minimize wiring costs and voltage drop
- Protected from direct weather exposure if the unit is not rated for outdoor use (look for NEMA 4 or IP65 ratings for outdoor installations)
- Mounted on a structurally sound wall or pedestal
- Compliant with local building codes regarding clearance and accessibility
Step 3: Install the Dedicated Circuit
Your electrician will run a new dedicated 240V circuit from your electrical panel to the charger location. This involves:
- Installing the appropriately sized circuit breaker in your main panel
- Running conduit (EMT, PVC, or flexible metallic) from the panel to the charger location
- Pulling the correct gauge copper wire (hot-hot-neutral-ground for hardwired, or hot-hot-ground for NEMA 14-50 receptacle installations)
- Mounting either a NEMA 14-50 receptacle or hardwiring the charger directly
Hardwired vs. Plug-in: Hardwired installations are generally preferred for chargers rated above 40 amps because they eliminate the receptacle as a potential point of failure. The NEC requires that continuous loads on receptacles not exceed 80% of the receptacle's rating, making a NEMA 14-50 outlet suitable for chargers up to 40 amps only.
Step 4: Mount the Charger Unit
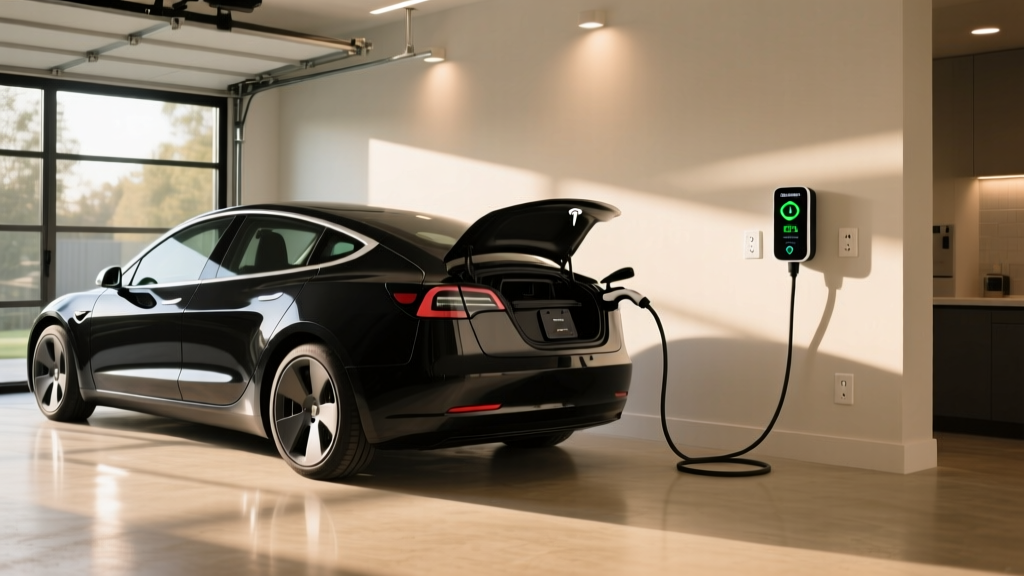
Most Level 2 chargers come with a wall-mount bracket. The unit should be mounted at a height that allows easy access to the connector — typically between 48 and 60 inches from the ground. Ensure the mounting surface can support the weight of the unit, which ranges from 10 to 30 pounds depending on the model.
If you are comparing different brands, our EV charger comparison guide breaks down features, build quality, and real-world performance across popular models.
Step 5: Connect, Configure & Test
Once the wiring is complete and the charger is mounted, your electrician will:
- Connect the charger to the circuit (hardwired or plug into the NEMA 14-50 receptacle)
- Configure the charger's amperage settings via dip switches or software to match the circuit rating
- Connect the charger to your home Wi-Fi network if the unit supports smart features
- Test the installation by initiating a charging session with your vehicle
- Verify proper grounding, GFCI protection, and correct voltage readings
Permits & Inspection: What You Need to Know
In the vast majority of jurisdictions across the United States, installing a Level 2 EV charger requires an electrical permit and a subsequent inspection by your local building department. This is not optional — it is a legal requirement designed to protect you, your home, and your insurance coverage.
Why Permits Matter
Skipping the permitting process can lead to serious consequences:
- Insurance denial: If an electrical fire occurs and the work was unpermitted, your homeowner's insurance may deny the claim
- Code violations: Unpermitted work may be flagged during a future home sale, potentially derailing the transaction
- Safety risks: The inspection process catches dangerous installation errors that could lead to fire or electrocution
- Utility rebate disqualification: Many utility companies require proof of permitted installation before issuing rebates or incentives
The Permit & Inspection Process
- Application: Your electrician (or you, if DIY) submits an electrical permit application to the local building department. Fees typically range from $50 to $200.
- Rough-in inspection: If conduit and wiring are run through walls before being closed up, an inspector may need to examine the work before drywall is replaced.
- Final inspection: After the charger is fully installed and operational, the inspector verifies that the installation meets NEC Article 625 requirements, proper grounding, correct breaker sizing, and appropriate wire gauge.
- Approval: Once the inspector signs off, you receive a certificate of completion. Keep this document with your home records.
Many jurisdictions now offer expedited permitting specifically for EV charger installations, recognizing the growing demand. Some cities even offer online permit applications that can be processed within a few business days.
DIY vs. Professional Installation: Which Is Right for You?
One of the most common questions EV owners ask is whether they can install a Level 2 charger themselves. The answer depends on your electrical experience, local regulations, and risk tolerance.
When Professional Installation Makes Sense
Hiring a licensed electrician is strongly recommended in the following situations:
- Your electrical panel needs an upgrade or sub-panel installation
- The wiring run from the panel to the charger location is long (over 50 feet) or complex (through attics, crawl spaces, or underground)
- You are installing a hardwired charger rated above 48 amps
- Your local jurisdiction requires a licensed professional to pull the permit
- You are not experienced with 240V electrical work
Professional electricians typically charge between $500 and $1,500 for a standard Level 2 charger installation, depending on the complexity of the job. This cost includes labor, materials (wire, conduit, breakers), and permit fees. While it may seem expensive, the investment protects your home and ensures code compliance.
When DIY May Be Feasible
A DIY installation may be reasonable if:
- You have prior experience with residential electrical work, including 240V circuits
- You are installing a plug-in charger using a NEMA 14-50 receptacle and the outlet already exists (for example, a dryer outlet near your garage)
- Your local jurisdiction allows homeowners to perform their own electrical work with a permit
- The wiring run is short and straightforward
Even if you choose the DIY route, you must pull a permit and have the work inspected. Working with 240V electricity carries serious risks, including arc flash, electrocution, and fire. If you have any doubt about your ability to perform the work safely, hire a professional.
For more guidance on getting started with EV ownership, read our complete EV ownership guide, which covers everything from choosing the right vehicle to optimizing your home charging setup.
Level 2 EV Charger Cost Breakdown
Understanding the full cost of a Level 2 EV charger installation helps you budget effectively and take advantage of available incentives. Here is a detailed breakdown of the expenses involved.
Charger Unit Cost
Level 2 EV chargers range widely in price based on features, amperage, and brand:
- Basic models (16A–32A, non-smart): $250 – $450
- Mid-range models (40A–48A, Wi-Fi enabled): $400 – $700
- Premium models (48A–80A, advanced smart features, load management): $600 – $1,200
Smart chargers with Wi-Fi connectivity allow you to schedule charging during off-peak hours, monitor energy usage, and receive software updates. Many utility companies offer time-of-use rates that make overnight charging significantly cheaper, and a smart charger makes it easy to take advantage of these savings.
Installation Labor & Materials
| Component | Estimated Cost |
|---|---|
| Electrician labor (4–8 hours) | $400 – $1,200 |
| Circuit breaker (40A–60A) | $20 – $80 |
| Wire (6 AWG or 4 AWG copper, per foot) | $3 – $8/ft |
| Conduit & fittings | $50 – $200 |
| NEMA 14-50 receptacle (if plug-in) | $15 – $60 |
| Permit fees | $50 – $200 |
| Panel upgrade (if needed) | $1,500 – $3,000 |
Available Incentives & Rebates
Many utility companies, state governments, and local municipalities offer financial incentives to offset the cost of Level 2 charger installation. These may include:
- Utility rebates: $200 – $500 for installing a qualifying smart charger
- State tax credits: Varies by state; some offer up to $1,000 in tax credits for home charging equipment
- Federal tax credit: The Alternative Fuel Infrastructure Tax Credit may cover up to 30% of the cost of charging equipment and installation (subject to current eligibility requirements)
- Manufacturer incentives: Some automakers include complimentary home charger units or installation credits with the purchase of a new EV
Be sure to check with your local utility provider and state energy office for current programs available in your area.
Safety Tips & Best Practices for Level 2 Charging
Safety should be your top priority when installing and operating a Level 2 EV charger. Follow these best practices to protect your home, your vehicle, and your family.
Installation Safety
- Always turn off the main breaker before working inside your electrical panel. Verify that power is off using a non-contact voltage tester.
- Use a torque screwdriver when tightening terminal connections. Loose connections create resistance, which generates heat and can cause fires. Many manufacturers, including those referenced in NEC guidelines, now specify torque values for all terminal connections.
- Install GFCI protection as required by NEC Article 625. For outdoor installations and certain indoor configurations, ground-fault circuit interrupter protection is mandatory.
- Never use an extension cord with your Level 2 charger. Extension cords are not rated for the continuous high-current draw of EV charging and pose a significant fire hazard.
- Ensure proper ventilation if charging in an enclosed garage, especially for older plug-in hybrid vehicles that may emit gases during charging.
Operational Safety
- Inspect the charging cable regularly for signs of wear, cracking, or damage. Replace the cable immediately if any damage is found.
- Keep the connector clean and dry. Wipe it with a dry cloth before plugging in, especially in wet or snowy conditions.
- Avoid daisy-charging — do not plug multiple high-draw devices into the same circuit as your EV charger.
- Consider a surge protector for your Level 2 circuit, especially in areas prone to lightning strikes or power grid fluctuations.
- Update firmware regularly on smart chargers to ensure you have the latest safety patches and performance improvements.
For more on maintaining your EV and its charging system, visit our EV maintenance tips guide.
Troubleshooting Common Level 2 Charger Issues
Even with a professional installation, you may occasionally encounter issues with your Level 2 charger. Here are the most common problems and how to resolve them.
Charger Will Not Power On
- Check the circuit breaker in your electrical panel — it may have tripped. Reset it by switching it fully off and then back on.
- For plug-in units, ensure the NEMA 14-50 plug is fully seated in the receptacle.
- Verify that the charger's power switch (if equipped) is in the "on" position.
- If the unit has a GFCI reset button, press it to restore power.
Charging Speed Is Slower Than Expected
- Confirm that the charger's amperage setting matches the circuit rating. Some chargers default to a lower amperage and must be manually configured.
- Check your vehicle's onboard charger capacity. If your vehicle has an 11.5 kW onboard charger, a 48-amp charger will not charge faster than the vehicle can accept.
- Extreme temperatures (hot or cold) can cause the vehicle's battery management system to reduce charging speed to protect the battery.
- Voltage drop over long wire runs can reduce effective charging power. If your wire run exceeds 100 feet, consult an electrician about upsizing the wire gauge.
Charger Displays an Error Code or Fault Light
- Consult your charger's user manual for the specific error code. Common faults include ground fault, over-temperature, and communication errors.
- Try a hard reset by turning off the circuit breaker for 30 seconds, then turning it back on.
- If the error persists, contact the manufacturer's support team. Most Level 2 chargers come with a 2- to 3-year warranty.
Vehicle Not Recognizing the Charger
- Ensure the J1772 connector is fully inserted into the vehicle's charge port. You should hear a click when it locks into place.
- Check the vehicle's charging settings — some EVs allow you to set a charging schedule or delay that may prevent immediate charging.
- Try a different charging cable or adapter if available to rule out a faulty connector.
- Inspect the charge port on your vehicle for debris or corrosion.
Frequently Asked Questions About Level 2 EV Chargers
How long does it take to fully charge an EV with a Level 2 charger?
Charging time depends on your vehicle's battery size and the charger's amperage. For example, a 48-amp Level 2 charger delivers approximately 11.5 kW of power, which can add roughly 44 miles of range per hour to a typical EV. Fully charging a 75 kWh battery from empty would take approximately 7 to 8 hours at this rate. Most EV owners plug in overnight and wake up to a full or nearly full battery every morning. For specific charging times by vehicle model, see our EV charging times guide.
Can I use a dryer outlet for my Level 2 EV charger?
A standard NEMA 14-30 dryer outlet provides 240V at 30 amps, which can support a Level 2 charger rated up to 24 amps (80% of the circuit rating per NEC continuous load rules). While this is technically possible, it is not recommended to share the outlet between your dryer and your EV charger. The best practice is to install a dedicated circuit for your EV charger to avoid overloading the circuit and to comply with NEC requirements. If you want to use an existing dryer outlet, consult a licensed electrician to evaluate whether the circuit and wiring can safely handle the additional use.
Do I need a smart Level 2 charger, or is a basic model sufficient?
A basic Level 2 charger will charge your vehicle just as effectively as a smart charger. However, smart chargers offer valuable features such as scheduled charging (to take advantage of off-peak electricity rates), energy monitoring, remote start/stop via smartphone apps, and integration with solar panel systems. If your utility company offers time-of-use rates, a smart charger can pay for itself through energy savings over time. Additionally, some utility rebate programs require the installation of a qualifying smart charger, making the upgrade more affordable.
Will installing a Level 2 charger increase my electric bill significantly?
The cost of charging at home depends on your local electricity rate and how much you drive. On average, charging an EV at home costs the equivalent of roughly $1.00 to $1.50 per gallon of gasoline. For a driver who travels 1,000 miles per month in a vehicle that averages 3 miles per kWh, the additional electricity cost would be approximately $40 to $55 per month at a rate of $0.12 to $0.16 per kWh. Many EV owners find that the savings on fuel far outweigh the increase in their electric bill. Using off-peak charging schedules can further reduce costs.
Is it safe to charge my EV in the rain or snow with a Level 2 charger?
Yes, Level 2 chargers rated for outdoor use (NEMA 4 or higher) are designed to operate safely in rain, snow, and other adverse weather conditions. The J1772 connector is engineered to be weather-resistant, and the charging system will not deliver power until a secure, sealed connection is established between the charger and the vehicle. However, you should avoid submerging any part of the charging equipment in standing water and inspect the connector for ice buildup before plugging in during winter months. For installations in exposed locations, consider adding a weatherproof cover or mounting the charger under an overhang for additional protection.
Final Thoughts
Understanding the Level 2 EV charger meaning goes beyond simply knowing the voltage and amperage specifications. It represents the most practical, efficient, and cost-effective way to charge your electric vehicle at home, providing the convenience of waking up to a fully charged car every morning without relying on public charging infrastructure.
Whether you choose to hire a professional electrician or tackle the installation yourself, the key to a successful Level 2 charger setup lies in proper planning, code compliance, and attention to safety. By following the guidelines outlined in this guide — from assessing your electrical panel capacity to obtaining the necessary permits and following best practices — you can enjoy fast, reliable home charging for years to come.
Ready to find the perfect Level 2 charger for your EV? Explore our complete EV charging guides and charger reviews to make an informed decision that fits your vehicle, your home, and your budget.