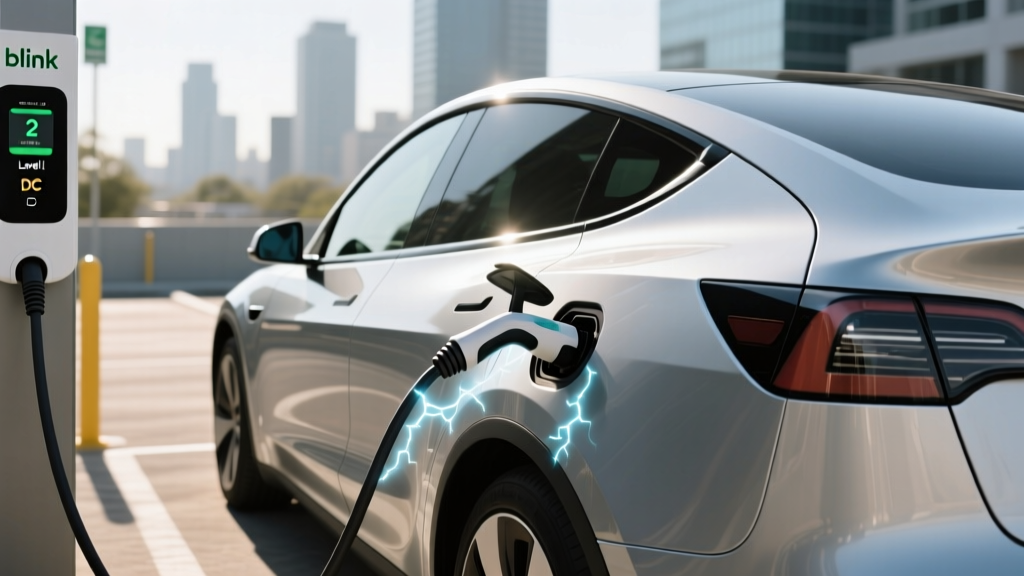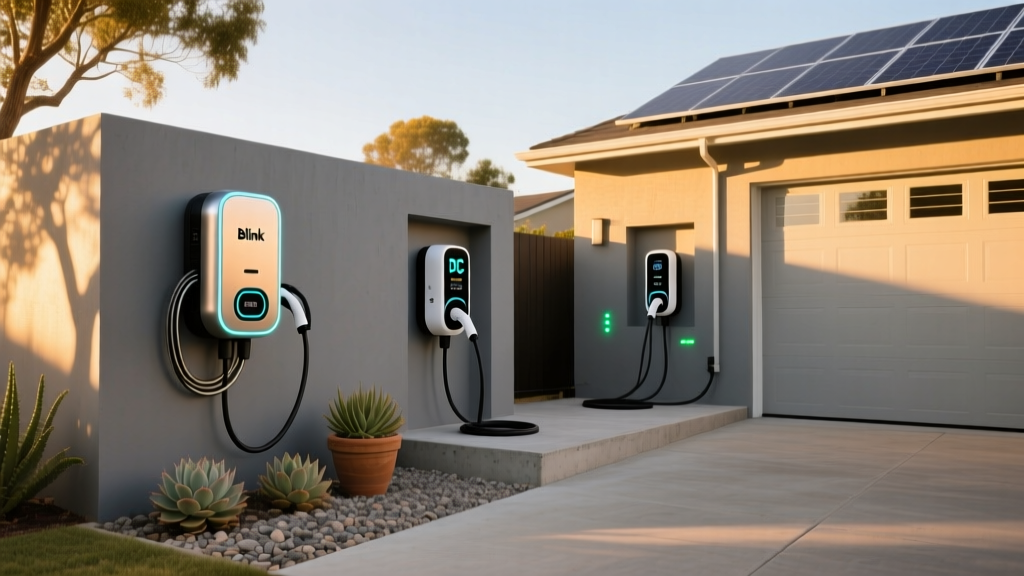
Upgrading to a Level 2 home EV charger is one of the most impactful decisions you can make as an electric vehicle owner. While Level 1 charging relies on a standard 120-volt household outlet and can take days to fully charge a modern EV battery, a Level 2 charger operates on a 240-volt circuit—the same type of power used by heavy-duty appliances like electric dryers & ovens. This upgrade drastically reduces charging times, allowing you to wake up to a full battery every morning. If you are new to the ecosystem, our guide to EV charging basics & our breakdown of Level 1 vs Level 2 vs DC Fast Charging are excellent starting points.
Before you purchase one of the best Level 2 EV chargers on the market, you must understand the installation process. Below is a quick snapshot of what to expect:
- Difficulty Level: Moderate to Hard (Electrical work requires specialized knowledge & strict adherence to safety codes).
- Estimated Cost: $500 to $2,500+ (depending on electrical panel upgrades, wiring distance, & labor).
- Estimated Time: 4 to 10 hours for a professional installation.
In this comprehensive guide, we will walk you through the electrical requirements, step-by-step installation processes, permit regulations, & essential safety tips to ensure your home charging setup is fast, efficient, & safe.
Electrical Requirements for Level 2 Chargers
Installing a Level 2 charger is not as simple as plugging in a lamp. It requires a dedicated 240-volt circuit & a thorough evaluation of your home's electrical capacity. According to the National Electrical Code (NEC), specifically Article 625, EV charging equipment is classified as a continuous load. This means the circuit must be rated for 125% of the charger's maximum amperage.
Panel Capacity & Load Calculations
Most modern homes are equipped with a 200-amp electrical panel. Before adding a 40-amp or 50-amp EV circuit, an electrician must perform a load calculation to ensure your panel can handle the additional draw without overloading the main breaker. If your home has an older 100-amp panel, or if you frequently run high-draw appliances like electric heat, tankless water heaters, & electric ovens simultaneously, you may need a panel upgrade or a smart load-management system.
Hardwired vs. Plug-In Receptacles
You have two primary options for connecting your Level 2 charger:
- Plug-In (NEMA 14-50 or 6-50): This involves installing a 240-volt receptacle on your garage wall. The NEMA 14-50 is the most common, capable of delivering up to 50 amps. The benefit of a plug-in setup is portability; you can unplug the charger & take it with you if you move. However, the NEC requires a GFCI (Ground Fault Circuit Interrupter) breaker for receptacles, which can sometimes cause nuisance tripping with certain EV chargers.
- Hardwired: The charger's internal wires are connected directly to your electrical panel via a junction box or direct conduit connection. Hardwired installations are generally safer, more reliable, & do not require a GFCI breaker (as the charger has built-in ground fault protection). They also allow for higher amperage outputs, typically up to 48 amps or 80 amps, depending on the unit.
Wire Gauge & Conduit
The thickness of the copper wire you use is critical. For a 40-amp charger (requiring a 50-amp breaker), 6 AWG copper wire is standard. For a 48-amp charger (requiring a 60-amp breaker), you must step up to 4 AWG copper wire. These wires must be routed through proper conduit, such as rigid metal conduit (RMC) or PVC, to protect them from physical damage & moisture.
Step-by-Step Installation Process
While we strongly recommend hiring a licensed electrician, understanding the step-by-step process helps you oversee the project & ensures the work is done to code.
Step 1: Site Selection & Planning
Choose a location for the charger that minimizes the distance to your electrical panel. Every extra foot of wire & conduit adds to the material cost. Ensure the charger's cable (usually 18 to 24 feet long) can comfortably reach your EV's charge port without stretching across walkways or creating a tripping hazard.
Step 2: Routing Conduit & Pulling Wire
The electrician will map out the conduit route, which may involve running PVC or EMT (Electrical Metallic Tubing) along the garage walls, through the attic, or even trenching underground if the panel is on the opposite side of the house. Once the conduit is secured, the individual THHN wires (two hots, one neutral, & one ground for a 14-50; or two hots & one ground for hardwired) are pulled through the tubing using fish tape & wire lubricant.
Step 3: Terminating Connections
At the panel, the new double-pole breaker is installed, & the wires are terminated. It is crucial that the connections are torqued to the manufacturer's exact specifications using a calibrated torque screwdriver. Loose connections generate heat & are a leading cause of electrical fires. At the charger end, the wires are either wired into a NEMA receptacle or directly into the charger's internal terminal block.
Step 4: Mounting the Unit
The charger's mounting bracket is secured to the wall studs using heavy-duty lag bolts. Drywall anchors are never sufficient to hold the weight of a Level 2 charger & its thick, heavy cable. The unit is then hung on the bracket, & the cable management holster is installed nearby.
Step 5: Testing & Commissioning
Before plugging in a vehicle, the electrician will use a multimeter to verify the voltage (typically 240V to 245V) & ensure proper grounding. Once verified, the charger is powered on, connected to Wi-Fi, & tested with an EV to confirm the handshake protocol initiates charging correctly.
Permits & Inspections: Why They Matter
Skipping the permitting process is a dangerous & costly mistake. Almost all municipalities require an electrical permit for installing a new 240-volt circuit. The Department of Energy & local authorities having jurisdiction (AHJ) mandate these permits to ensure the installation meets current safety codes.
When you pull a permit, a licensed city or county inspector will visit your home after the installation is complete. They will check wire sizing, breaker ratings, grounding integrity, torque marks on terminals, & proper conduit usage. If you install a charger without a permit & an electrical fire occurs, your home insurance provider may deny your claim. Furthermore, unpermitted electrical work can cause significant issues when you eventually decide to sell your home.
DIY vs. Professional Installation
The internet is full of tutorials showing homeowners wiring their own EV chargers. But is DIY the right choice for you?
When DIY Makes Sense
If you already have a properly installed, code-compliant NEMA 14-50 outlet in your garage (perhaps left behind by a previous owner's electric range or welder), a DIY installation is as simple as plugging the charger into the wall & mounting the holster with a drill. However, you should still have an electrician verify the outlet's wiring & torque, as improperly wired 14-50 receptacles are a known fire hazard in older homes.
When to Hire a Professional
If you need a new circuit run from your electrical panel, hire a licensed, insured electrician. Working inside a live electrical panel carries a severe risk of arc flash, electrocution, & fatal injury. Additionally, professional electricians carry the expensive tools required for proper conduit bending, wire pulling, & torque verification. Most manufacturer documentation explicitly states that hardwired installations must be performed by a qualified electrician to keep the product warranty valid.
Cost Breakdown: What to Expect
The total cost of a Level 2 home EV charger installation varies wildly based on your home's existing infrastructure. Here is a general breakdown of where your money goes:
- The Charger Unit: $300 to $700. Smart chargers with Wi-Fi, app scheduling, & load balancing sit at the higher end of this spectrum.
- Standard Installation (Short Run): $500 to $900. This applies if your electrical panel is in the garage, right behind where the charger will be mounted, requiring minimal wire & conduit.
- Complex Installation (Long Run): $1,000 to $2,000+. If the wire must be routed through finished drywall, attics, crawlspaces, or trenched underground, labor & material costs rise significantly.
- Electrical Panel Upgrade: $1,500 to $3,500+. If your home requires an upgrade from 100 amps to 200 amps to support the EV charger alongside your other appliances, this is a major investment.
- Permits: $50 to $200, depending on your local municipality.
Pro Tip: Always check with your local utility company & state government for EV rebates. Many utilities offer incentives that cover the cost of the charger or provide rebates for panel upgrades, significantly offsetting your out-of-pocket expenses.
Essential Safety Tips for Home Charging
Safety should be your primary concern when dealing with high-voltage equipment. Adhere to these critical safety guidelines:
- Avoid Extension Cords: Never use an extension cord with a plug-in Level 2 charger. The high continuous current will overheat standard extension cords, melting the insulation & causing a fire. If the cable doesn't reach your car, you need to relocate the charger or buy a unit with a longer integrated cable.
- Weatherproofing for Outdoor Installations: If your charger is mounted outside, ensure it is rated NEMA 4 or NEMA 4X, which protects against rain, snow, & hose-directed water. Furthermore, outdoor receptacles must be fitted with an in-use weatherproof cover.
- Create a Drip Loop: When plugging into an outdoor receptacle, ensure the cable forms a "drip loop" (a U-shape below the outlet) before entering the socket. This prevents rainwater from traveling down the cable & into the electrical contacts.
- Cable Management: Use a proper holster & cable organizer to keep the heavy charging cable off the garage floor. This prevents the cable from being run over by your vehicle, tripping hazards, & degradation from concrete moisture.
Troubleshooting Common Issues
Even with a flawless installation, you may occasionally encounter issues with your Level 2 charger. Here is how to troubleshoot the most common problems:
The Charger Won't Power On
If the unit is completely dead, check your electrical panel to ensure the double-pole breaker hasn't tripped. If the breaker is on, use a multimeter to check for voltage at the terminal block. If voltage is present but the unit is dead, the internal logic board may have failed, requiring a warranty replacement.
Charging Starts but Stops Intermittently
This is often caused by a ground fault or a loose neutral wire. If you are using a plug-in setup with a GFCI breaker, the breaker may be detecting minor, harmless leakage currents & tripping to protect you. Many EV manufacturers now recommend hardwired installations or standard (non-GFCI) breakers to prevent this nuisance tripping, provided the charger has internal GFCI protection.
Slow Charging Speeds
If your 48-amp charger is only pulling 32 amps, check the charger's internal software settings. Many smart chargers allow you to dial down the amperage via the companion app to accommodate weaker electrical systems. Additionally, extreme battery temperatures (very hot or very cold) will cause the EV's internal Battery Management System (BMS) to throttle charging speeds to protect the battery cells.
Wi-Fi Connectivity Drops
Garages are notoriously bad for Wi-Fi signals due to concrete walls, metal siding, & distance from the router. If your smart charger frequently disconnects from the app, consider installing a Wi-Fi extender in the garage or upgrading to a mesh network system to ensure a stable connection for firmware updates & charging schedules.
Frequently Asked Questions (FAQ)
Can I plug a Level 2 charger into a regular household outlet?
No. Standard household outlets in North America provide 120 volts (Level 1). Level 2 chargers require a 240-volt supply to operate at their rated speeds. Some dual-voltage portable chargers exist that can adapt to both 120V & 240V outlets, but to get true Level 2 speeds, you must plug them into a dedicated 240V receptacle like a NEMA 14-50.
How long does it take to install a Level 2 home charger?
A straightforward installation where the electrical panel is located in the garage, just a few feet from the charger mounting location, typically takes 2 to 4 hours. Complex installations involving attic routing, drywall patching, or underground trenching can take 8 to 12 hours or span multiple days. The permitting & inspection process can add a few weeks to the overall project timeline.
Will installing an EV charger increase my home insurance premium?
In most cases, adding a permitted, professionally installed Level 2 EV charger will not significantly increase your home insurance premium. However, you should always notify your insurance provider. An unpermitted, DIY installation that results in a fire will almost certainly void your coverage. Providing your insurer with the electrical permit & inspection sign-off ensures you remain fully protected.
Do I need a smart EV charger or is a dumb charger fine?
A "dumb" (non-connected) charger will charge your vehicle perfectly fine & is often cheaper. However, a smart charger offers immense benefits. Wi-Fi connectivity allows you to schedule charging during off-peak hours when electricity rates are lowest, potentially saving you hundreds of dollars annually. Smart chargers also provide detailed energy tracking, remote start/stop capabilities, & over-the-air firmware updates that can improve charging efficiency & safety over time.
Can my solar panels power my Level 2 EV charger?
Yes, but with caveats. If you have a robust solar array & a home battery system, you can charge your EV using renewable energy. Some advanced smart chargers even feature "solar matching" or "eco-charging" modes, which communicate with your solar inverter to dynamically adjust the charging amperage based on the exact amount of excess solar power your panels are producing at any given moment. This ensures you never pull from the grid while the sun is shining.