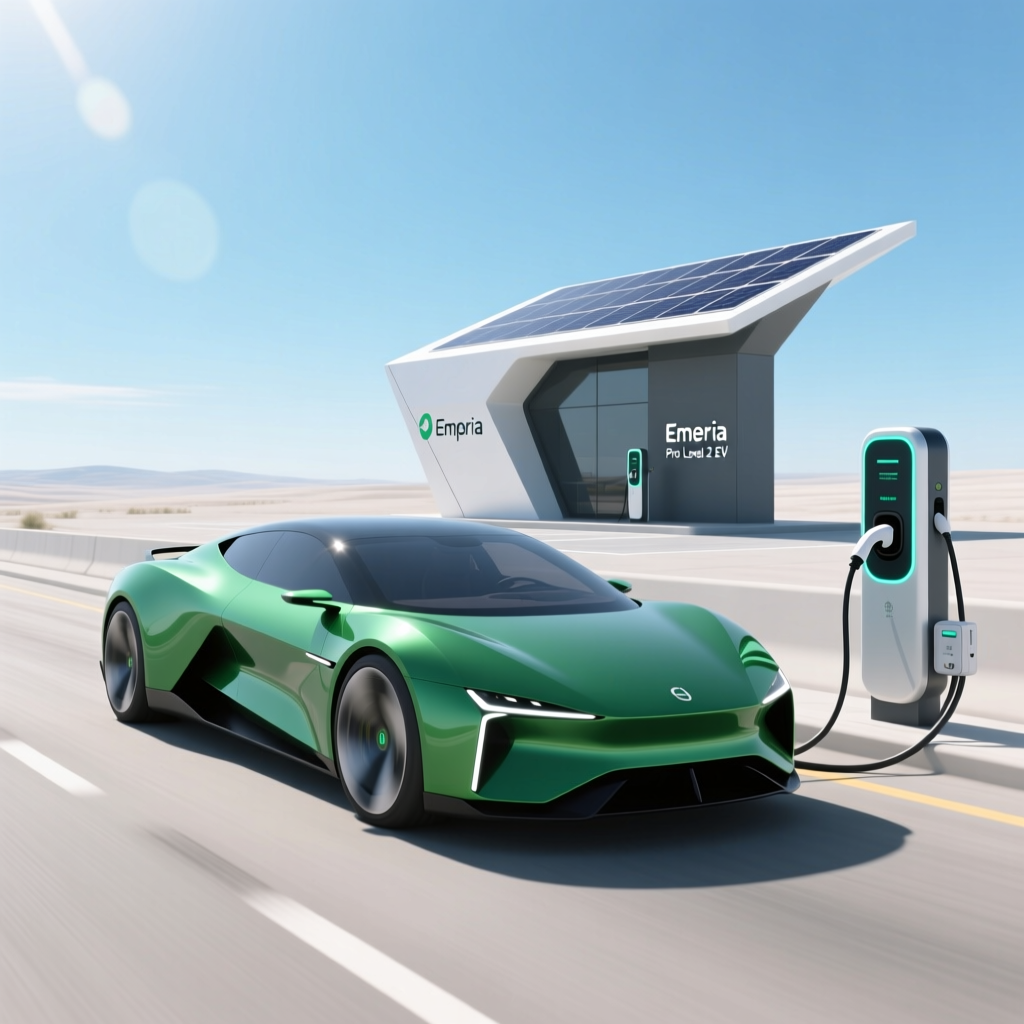
Upgrading to a smart home electric vehicle charging solution is one of the most impactful decisions an EV owner can make. The Emporia Pro Level 2 EV Charger stands out in the market due to its advanced energy monitoring, solar integration capabilities, and competitive pricing. However, unlike simple plug-and-play appliances, a high-capacity Level 2 charger requires a dedicated electrical circuit, proper wiring, and strict adherence to safety codes. This comprehensive Emporia Pro Level 2 EV charger installation manual will walk you through everything from pre-installation requirements to final app setup.
Difficulty Level: Advanced DIY / Professional Recommended
Estimated Cost: $500 to $2,000+ (including charger, materials, and potential panel upgrades)
Time Required: 3 to 6 hours
Whether you are comparing this unit against other options in our best Level 2 EV chargers roundup or preparing for your first home EV charging setup, understanding the installation process is critical for safety and optimal performance.
Pre-Installation Requirements & Tools
Before unboxing your Emporia Pro, you must ensure your home electrical system can handle the additional load. Level 2 chargers operate on 240-volt split-phase power, similar to an electric oven or clothes dryer.
Electrical Panel Capacity
The Emporia Pro can be configured to charge at various amperages, typically up to 48 amps. According to the National Electrical Code (NEC), EV charging is considered a 'continuous load,' meaning the circuit must be rated for 125% of the maximum continuous draw. Therefore, a 48-amp charger requires a 60-amp breaker, while a 40-amp configuration requires a 50-amp breaker. Your main electrical panel should ideally be a 200-amp service to accommodate this new load alongside your home's existing appliances.
Hardwired vs. NEMA 14-50 Receptacle
The Emporia Pro supports both hardwired and plug-in installations. Hardwiring is generally recommended for higher amperages (48A) as it eliminates the risk of receptacle overheating and ensures a cleaner aesthetic. If you opt for a plug-in setup, you will need a NEMA 14-50 receptacle installed on a 50-amp breaker, which limits the charger to a maximum of 40 amps continuous output.
Required Tools & Materials
- Voltage tester or multimeter
- Wire strippers and cutters
- Torque screwdriver (essential for NEC compliance)
- Drill with masonry and wood bits
- 4 AWG or 6 AWG copper wire (THHN/THWN-2) depending on breaker size
- Conduit and fittings (if running wire externally or through unfinished spaces)
- 50-Amp or 60-Amp double-pole circuit breaker
Step-by-Step Emporia Pro Installation Guide
Disclaimer: Working with 240-volt electricity carries a high risk of shock, fire, or fatal injury. If you are not entirely confident in your electrical skills, hire a licensed electrician. Always consult the Emporia Energy official documentation for model-specific wiring diagrams.
Step 1: Power Off & Verify
Locate your main electrical panel and switch off the main breaker to cut power to the entire house. Use a non-contact voltage tester or a multimeter on a known live circuit to verify that power is completely disconnected. Never assume a breaker is off just because the switch is flipped.
Step 2: Mounting the Unit
Choose a location that is within reach of your vehicle's charge port and close to the electrical panel to minimize wire runs. The Emporia Pro is rated for indoor and outdoor use (NEMA 4 enclosure), but placing it under an eave or in a garage will prolong its lifespan. Use the included mounting template to mark your drill holes. Ensure you are anchoring into wall studs or using appropriate masonry anchors for concrete walls.
Step 3: Wiring the Connection
For a hardwired installation, route your conduit and pull the 4 AWG or 6 AWG wires (Line 1, Line 2, and Ground) from the panel to the charger location. Strip the wire ends and connect them to the Emporia Pro's internal terminal block. Line 1 and Line 2 connect to the two hot terminals, and the bare copper or green wire connects to the ground terminal. Use your torque screwdriver to tighten the terminal screws to the exact specification listed in the manual—this prevents loose connections that can cause arcing and fires.
For a NEMA 14-50 plug-in installation, wire the receptacle to the wall, ensuring the ground pin is oriented correctly (usually at the top or bottom, depending on local code preferences). Plug the Emporia Pro's attached cord into the receptacle.
Step 4: Panel Termination
At the main electrical panel, install the new double-pole breaker. Connect the two hot wires to the breaker terminals and the ground wire to the grounding bus bar. Secure all connections with a torque screwdriver. Once all wiring is complete and the charger enclosure is sealed, restore power at the main breaker.
Step 5: Wi-Fi & App Setup
Download the Emporia Energy app on your smartphone. The Emporia Pro relies on a 2.4 GHz Wi-Fi network for its smart features. Follow the in-app prompts to pair the charger via Bluetooth, then connect it to your home Wi-Fi. You can now configure maximum amperage, set charging schedules, and integrate with Time-of-Use (TOU) utility rates.
Permits, NEC Codes, & Inspections
Skipping the permitting process is a common mistake that can lead to fines, voided home insurance, and severe safety hazards. The National Electrical Code (NEC) Article 625 specifically governs Electric Vehicle Charging System Equipment.
Key NEC Article 625 Requirements
- GFCI Protection: If you install a NEMA 14-50 receptacle outdoors, the NEC requires Ground Fault Circuit Interrupter (GFCI) protection. Hardwired connections often bypass this specific receptacle GFCI requirement, which is another reason professionals prefer hardwiring.
- Disconnecting Means: A dedicated breaker in the main panel serves as the disconnecting means, provided it is within sight of the charger or lockable.
- Cable Management: The charging cable must be managed so it does not cross pedestrian walkways or create a tripping hazard.
Always pull an electrical permit from your local Authority Having Jurisdiction (AHJ) before beginning work. After installation, a city or county inspector will verify that the wire gauge, breaker size, and grounding meet local codes. For more information on federal and local incentives, the Department of Energy (DOE) provides excellent resources on home charging infrastructure and potential tax credits.
DIY vs. Professional Installation: Which is Right for You?
Deciding whether to install the Emporia Pro yourself or hire a certified electrician depends on your skill level, local laws, and the complexity of your electrical panel.
The Case for Professional Installation
Hiring a licensed electrician guarantees that the work meets all local codes and passes inspection. More importantly, it protects your home's warranty and insurance policy. If an electrical fire occurs and the investigation reveals unpermitted DIY work, your insurance claim may be denied. Furthermore, Emporia's hardware warranty may require proof of professional installation if a defect is suspected to be caused by improper wiring.
The Case for DIY
If you have extensive experience with high-voltage residential wiring, pulling permits, and navigating local building codes, a DIY installation can save you $500 to $1,500 in labor costs. However, you must still pull a permit and schedule an inspection. If your panel needs an upgrade or you need to trench conduit across a driveway, DIY quickly becomes impractical.
For a broader look at home charging infrastructure, check out our complete home EV charging setup guide to see how the Emporia Pro compares to other systems in a real-world garage environment.
Cost Breakdown: What to Expect
The total cost of installing an Emporia Pro Level 2 EV charger varies wildly based on your home's existing electrical infrastructure. Here is a realistic breakdown of potential expenses:
- Emporia Pro Charger Unit: $400 - $600 (depending on sales and cable length options)
- Basic Wiring & Breaker (Under 20ft run): $150 - $300 in materials
- Professional Labor (Standard Install): $400 - $800
- Permit Fees: $50 - $250
- Electrical Panel Upgrade (100A to 200A): $1,500 - $3,500 (Only required if your current panel lacks capacity)
- Trenching / Long Conduit Runs: $15 - $30 per linear foot
If you have a modern 200-amp panel and the charger is mounting on the garage wall directly behind the electrical panel, your total out-of-pocket cost (excluding the charger itself) could be as low as $500. Conversely, older homes requiring a service upgrade and a 100-foot underground conduit run to a detached garage could see costs exceed $4,000. If you are weighing the costs & benefits of smart chargers, reading our ChargePoint Home Flex review can provide a helpful price-to-feature comparison.
Essential Safety Tips for EV Charger Setup
Safety must be the paramount concern when dealing with 240-volt continuous loads. Keep these critical safety tips in mind:
- Always Use a Torque Screwdriver: The NEC now mandates that all terminal connections be tightened to the manufacturer's specified torque. Hand-tightening can lead to loose connections, which generate immense heat over time and cause fires.
- Verify Grounding: A proper equipment grounding conductor is non-negotiable. Never use the neutral wire as a ground, and never install a 240V EV charger on an ungrounded circuit.
- Weatherproofing: While the Emporia Pro is NEMA 4 rated for outdoor use, ensure that the conduit fittings entering the bottom of the unit are sealed with appropriate silicone or duct seal to prevent moisture and insects from entering the electronics bay.
- Thermal Imaging: After your first month of use, consider using a thermal imaging camera to scan the breaker panel and the charger's internal connections while the vehicle is actively charging. This will quickly reveal any loose connections generating excess heat.
Troubleshooting Common Emporia Pro Issues
Even with a flawless installation, smart chargers can occasionally experience software or network hiccups. Here is how to troubleshoot the most common Emporia Pro issues.
Charger Will Not Connect to Wi-Fi
The Emporia Pro requires a 2.4 GHz Wi-Fi network. If your router uses a combined 2.4 GHz and 5 GHz SSID, the charger may fail to handshake. Temporarily separate your router's bands or use a mobile hotspot set to 2.4 GHz to complete the initial setup. Once configured, the charger will remember the network.
Charging Starts & Stops Intermittently
If your vehicle is receiving power but the charging session constantly drops, check the amperage settings in the Emporia app. If the app is set to output 48 amps, but the physical breaker is only 50 amps, the continuous load rule is being violated, and the breaker may be thermally tripping. Lower the software amperage limit to 40 amps and monitor the situation.
App Shows 'Offline' but Car is Charging
The Emporia Pro will continue to deliver power to the vehicle even if the Wi-Fi network goes down. The 'Offline' status simply means real-time energy monitoring data cannot reach the cloud. Reboot your home router, and ensure the charger's internal antenna is not being blocked by thick concrete or metal siding.
GFCI Breaker Tripping on Plug-in Models
If you installed a NEMA 14-50 receptacle outdoors and used a GFCI breaker, nuisance tripping is common due to minor electrical leakage in the vehicle's onboard charger or moisture in the receptacle. If local code permits, switching to a hardwired installation often resolves this issue, as the charger's internal software handles ground-fault monitoring.
Frequently Asked Questions
Can I install the Emporia Pro outdoors in extreme climates?
Yes, the Emporia Pro features a NEMA 4 enclosure, meaning it is rated for outdoor use and can withstand rain, snow, sleet, and hose-directed water. It is designed to operate in extreme temperatures, but installing it under an awning or using a protective cover will prevent UV degradation of the charging cable over time.
Does the Emporia Pro require a neutral wire?
For standard 240-volt hardwired installations, the Emporia Pro typically only requires Line 1, Line 2, and a Ground wire. It does not require a neutral wire unless specifically dictated by a unique local code or a specific 120/240V split-phase accessory setup. Always refer to the wiring diagram inside the unit's terminal bay to confirm.
How long does a full installation take?
A straightforward hardwired installation in a garage where the electrical panel is on the same wall takes most professionals 2 to 3 hours. If the installation requires running conduit through attics, crawlspaces, or trenching underground to a detached garage, the project can easily take 6 to 10 hours spread over multiple days.
Will installing this charger void my home insurance?
No, installing an EV charger will not void your home insurance, provided the installation is done legally. To ensure your coverage remains intact, you must pull the appropriate local electrical permits, pass the city or county inspection, and use a licensed electrician if required by your municipality. Keep the final inspection card on file in case your insurance provider ever requests proof of compliant electrical work.
Can I use the Emporia Pro to charge my car using only solar power?
Yes, one of the standout features of the Emporia ecosystem is its solar integration. If you have Emporia Vue energy monitors installed on your solar inverter circuits, the Emporia app can dynamically adjust the charger's amperage to match your home's excess solar production. This allows you to charge your vehicle using 'free' solar energy without pulling excess power from the grid.