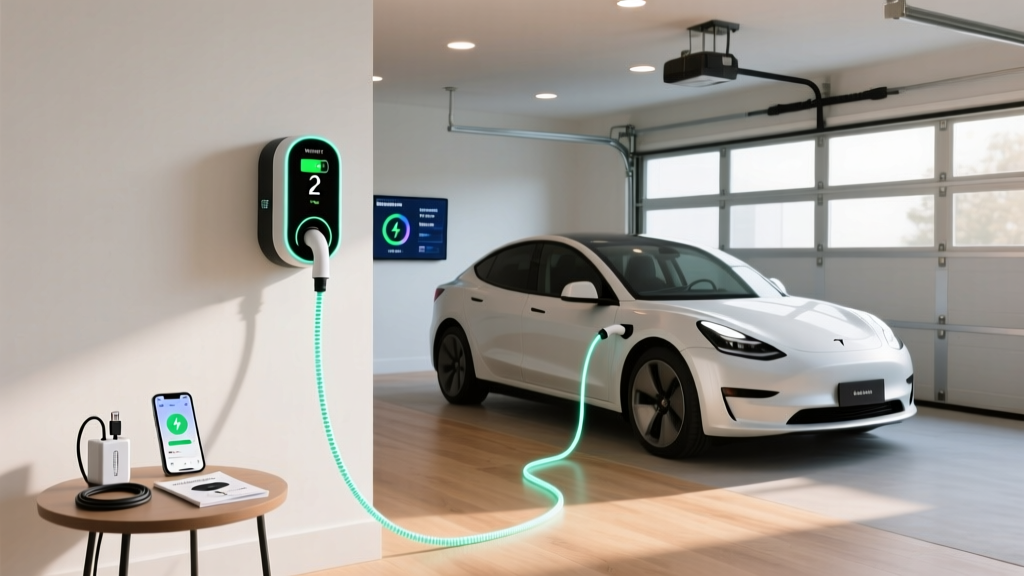
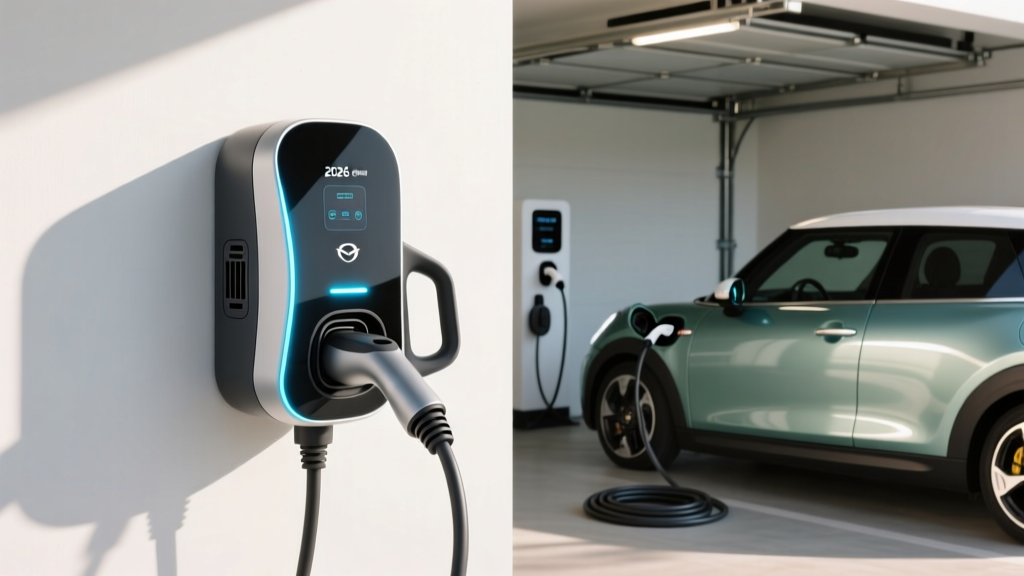
The transition to electric vehicle (EV) ownership brings a wave of exciting changes, but one of the most immediate questions new owners face is about home charging. Specifically: Can I install an EV charger myself? The short answer is yes, but with significant caveats. While plugging in a standard Level 1 charger is as easy as using a household appliance, installing a high-speed Level 2 charging station involves complex electrical work, strict building codes, and serious safety considerations.
In this comprehensive guide, we will break down everything you need to know about DIY EV charger installation. We will cover the technical requirements, step-by-step installation processes, permit regulations, cost breakdowns, and crucial safety tips to help you decide whether to tackle the project yourself or hire a licensed professional.
Quick Project Overview
- Difficulty Level: Advanced / Expert (for 240V hardwired or receptacle installation)
- Estimated Time: 4 to 8 hours (excluding permit approval & inspections)
- Estimated Cost: $300 to $800 (DIY materials) vs. $1,000 to $2,500+ (Professional installation)
Understanding EV Charger Requirements
Before picking up any tools, it is essential to understand the different types of home charging and the electrical infrastructure they demand. For a deeper dive into the basics, check out our guide on EV charging basics.
Level 1 Charging (120V)
Level 1 charging utilizes a standard 120-volt household outlet (NEMA 5-15). Every EV comes with a portable Level 1 charging cord. There is zero installation required; you simply plug it into a dedicated, grounded wall outlet. However, Level 1 charging is incredibly slow, typically adding only 3 to 5 miles of range per hour of charging. For most modern EV owners, this is insufficient for daily needs.
Level 2 Charging (240V)
Level 2 charging operates on 240 volts—the same voltage used by heavy-duty appliances like electric dryers and ovens. Level 2 chargers can add 20 to 40 miles of range per hour, making them the gold standard for home charging. You can explore our curated list of the best Level 2 EV chargers to find the right unit for your garage.
Level 2 installations generally fall into two categories:
- Plug-In (NEMA 14-50 Receptacle): Requires installing a 240V, 50-amp outlet. This is the most common route for DIYers because the charger itself can be unplugged and moved if necessary.
- Hardwired: The charger’s internal wiring is connected directly to a dedicated circuit breaker in your electrical panel. Hardwired units often support higher amperages (up to 80 amps) and bypass certain receptacle code requirements, but they are permanent fixtures.
DIY vs. Professional Installation: Which is Right for You?
Deciding whether to install an EV charger yourself or hire a licensed electrician comes down to your skill level, local laws, and risk tolerance. Working inside a main electrical panel exposes you to lethal voltage, and mistakes can lead to electrical fires or voided insurance policies.
When to Consider DIY
You should only consider a DIY installation if you have advanced electrical experience, understand the National Electrical Code (NEC), and are comfortable performing load calculations, bending conduit, pulling thick-gauge wire, and terminating connections with precision. Even then, many jurisdictions legally require a licensed electrician to pull permits for new 240V circuits.
When to Hire a Professional
If your home requires an electrical panel upgrade, if the run from your panel to the garage exceeds 100 feet (requiring complex voltage drop calculations), or if you simply lack the specialized tools like a torque screwdriver and conduit bender, hire a professional. Furthermore, some EV charger manufacturers stipulate that a licensed electrician must perform the installation to validate the equipment warranty. Always review the manufacturer’s installation manual before starting.
Step-by-Step Guide to Installing a 240V NEMA 14-50 Outlet
If you have the expertise and local approval to proceed, here is the general workflow for installing a 50-amp NEMA 14-50 receptacle for a plug-in Level 2 charger. For more context on optimizing your garage, read our home charging setup guide.
Step 1: Perform a Residential Load Calculation
According to NEC Article 220, you must ensure your main electrical panel can handle the additional load. A 50-amp circuit draws a significant amount of continuous power. If you have a 100-amp main panel, adding a 50-amp EV circuit will likely overload the system, necessitating a costly panel upgrade to 200 amps. If you have a 200-amp panel, you must calculate your existing peak loads to ensure compliance with the 80% continuous load rule.
Step 2: Select the Correct Wire and Conduit
For a 50-amp circuit, the NEC generally requires 6 AWG copper wire (THHN/THWN-2) or 4 AWG aluminum wire. You will need three current-carrying conductors (two hots and one neutral) plus a ground wire. The wire must be routed through approved conduit, such as EMT (metal) or PVC (schedule 80 for physical protection in garages), adhering strictly to conduit fill capacity rules.
Step 3: Route the Conduit and Pull the Wire
Secure the conduit to the walls and ceiling using appropriate straps and fasteners. Use a fish tape and wire-pulling lubricant to guide the stiff 6 AWG wires through the conduit. Avoid sharp bends that could damage the wire insulation, which is a primary cause of electrical fires.
Step 4: Install the Breaker and Terminate Connections
Turn off the main breaker to your home. Install a 50-amp, 240V double-pole breaker into the panel. Route the wires into the receptacle box, strip the insulation to the exact length required, and terminate them to the NEMA 14-50 outlet. Critical Step: Use a calibrated torque screwdriver to tighten the terminal screws to the manufacturer’s specified inch-pound rating. The NEC mandates proper torquing to prevent loose connections that generate heat.
Step 5: Test the Circuit
Before plugging in your expensive EV charger, restore power and use a digital multimeter to test the receptacle. You should read approximately 120V from each hot leg to neutral/ground, and 240V across the two hot legs. Only after confirming correct voltage and polarity should you connect your charging station.
Permits, Inspections, and the National Electrical Code (NEC)
Navigating the legal and regulatory landscape is a mandatory part of EV charger installation. The National Electrical Code (NEC), specifically Article 625, governs Electric Vehicle Charging System Equipment.
Why Permits Matter
Almost all municipalities require an electrical permit for installing a new 240V circuit. The permit process ensures that your planned installation meets local safety codes. After the work is completed, a city or county inspector will visit your home to verify the wire gauge, conduit routing, breaker sizing, and physical placement of the outlet.
The GFCI Requirement Dilemma
Recent editions of the NEC require Ground Fault Circuit Interrupter (GFCI) protection for 240V receptacles installed in garages. This presents a unique challenge for EV owners. Most high-quality Level 2 EV chargers already have internal GFCI protection. Stacking a GFCI breaker on top of a GFCI charger often results in “nuisance tripping,” where the breaker randomly shuts off during a charging session. Many professional electricians solve this by hardwiring the charger (which often exempts it from the receptacle GFCI rule, depending on local interpretations) or by utilizing specialized breakers approved for EVSE (Electric Vehicle Supply Equipment).
Insurance Implications
If you perform an unpermitted DIY electrical installation and an electrical fire subsequently damages your home, your homeowner’s insurance company may deny your claim. Always prioritize safety & compliance over saving a few dollars on permit fees. The Department of Energy (DOE) strongly recommends using certified electricians to ensure compliance with all local and national codes.
EV Charger Installation Cost Breakdown
Understanding the financial commitment is crucial when weighing the pros & cons of DIY versus professional installation. Here is a general breakdown of the costs involved.
DIY Material Costs ($300 - $800)
- 50-Amp Double Pole Breaker: $40 - $80
- 6 AWG Copper Wire (per foot): $4 - $8
- Conduit, Fittings, & Boxes: $50 - $150
- NEMA 14-50 Industrial Receptacle: $40 - $80 (Always buy industrial grade, not residential)
- Permit Fees: $50 - $200
- Specialty Tools (Torque Screwdriver, Multimeter): $100 - $250
Professional Installation Costs ($1,000 - $2,500+)
Hiring a licensed electrician includes labor, materials, permit pulling, and warranty backing. The price fluctuates wildly based on the distance from your electrical panel to the garage, whether trenching is required, and the condition of your existing electrical panel. If your home requires a heavy-up (panel upgrade from 100A to 200A), expect to add $2,000 to $4,000 to the total project cost.
Crucial Safety Tips for DIY Electrical Work
If you are determined to proceed with a DIY installation, you must adhere to strict safety protocols. Electricity is unforgiving, and a single mistake can be fatal.
- Lockout / Tagout: Always turn off the main breaker to the entire house before opening the panel. Use a padlock or warning tags to ensure no one accidentally restores power while you are working.
- Verify with a Multimeter: Never trust the labeling on a breaker. Use a non-contact voltage tester and a digital multimeter to physically verify that the bus bars and wires are completely dead before touching them.
- Wear Proper PPE: Use insulated gloves, safety glasses, and non-conductive footwear when working inside an electrical panel.
- Respect the 80% Rule: EV charging is considered a “continuous load” by the NEC (running for 3 hours or more). Therefore, a 40-amp charger requires a 50-amp breaker, and a 48-amp charger requires a 60-amp breaker. Never size your breaker to the exact amperage of the continuous load.
Troubleshooting Common Installation Issues
Even with a meticulous installation, you may encounter issues when firing up your new charging station for the first time. Here is how to troubleshoot the most common problems.
The Breaker Trips Immediately
If the breaker trips the moment you plug in the car or initiate a charge, you likely have a short circuit, a ground fault, or a GFCI mismatch. Check your wiring terminations to ensure no stray strands of copper are touching the ground wire or the metal box. If you are using a GFCI breaker, consult the charger manufacturer’s documentation regarding GFCI compatibility.
The Charger Connects but Charges at Half Speed
If your 48-amp charger is only pulling 16 or 24 amps, you may be experiencing severe voltage drop, or one of the 120V hot legs is not making proper contact. Turn off the power and inspect the panel and receptacle terminations. Ensure the wires are fully seated and torqued correctly. Loose connections cause resistance, which the EV’s onboard computer will detect, prompting it to throttle the charging speed to prevent a fire.
Wi-Fi and Smart Charger Connectivity Issues
Many modern Level 2 chargers require a Wi-Fi connection for scheduling, utility rebates, and firmware updates. Garages are notorious Wi-Fi dead zones due to concrete walls and metal doors acting as a Faraday cage. If your charger cannot connect, consider installing a Wi-Fi mesh node in the garage or running a hardwired Ethernet connection to the charger location if the unit supports it.
Frequently Asked Questions (FAQ)
Do I need a permit to install a 240V outlet for my EV?
Yes, in almost all jurisdictions, adding a new 240-volt circuit requires an electrical permit and a subsequent inspection. This ensures the installation meets the National Electrical Code and local fire safety standards. Skipping the permit can result in fines and may void your homeowner’s insurance coverage in the event of an electrical fire.
Can I plug my EV charger into a standard household outlet?
Yes, you can use the portable Level 1 charging cord that came with your vehicle and plug it into a standard 120V (NEMA 5-15) household outlet. However, this method is very slow, providing roughly 3 to 5 miles of range per hour. It is best suited for plug-in hybrids or EV owners with very short daily commutes. For faster charging, a dedicated 240V Level 2 setup is highly recommended.
Will a DIY installation void my EV charger warranty?
It depends on the manufacturer. Some premium EV charger brands explicitly state in their terms & conditions that the unit must be installed by a licensed, certified electrician to qualify for the multi-year warranty. If a DIY installation results in a power surge that fries the unit, the manufacturer may deny your warranty claim. Always read the installation manual and warranty documentation before deciding to do the work yourself.
How do I know if my electrical panel has enough capacity?
You must perform a Residential Load Calculation as outlined in NEC Article 220. This involves tallying the square footage of your home, major appliances (HVAC, electric oven, dryer), and existing lighting loads to determine your peak amperage draw. If your calculated load plus the new EV charger exceeds 80% of your main breaker’s rating (e.g., 160 amps on a 200-amp panel), you will need to upgrade your electrical service or install an automated energy management system that throttles the charger when the house demands high power.
Is it better to hardwire the charger or install a plug?
Both methods have distinct advantages. A NEMA 14-50 plug offers portability; if you move or upgrade your charger, you can simply unplug it and take it with you. However, hardwiring is often preferred by professionals because it eliminates the receptacle as a potential point of failure, avoids the NEC GFCI receptacle nuisance-tripping issue, and allows for higher amperage circuits (like 60A or 80A) that do not have standardized plug configurations. Review your specific Level 1 vs Level 2 charging needs to make the best choice for your garage.