If you're searching for a "DIY EV" charger installation, here's the direct answer: you can handle parts of the setup yourself—mounting a wall bracket, running conduit in an unfinished garage, or plugging in a NEMA 14-50 outlet-based charger—but the hardwired electrical work and any panel upgrades must be done (or at minimum inspected and signed off) by a licensed electrician to meet NEC code and keep your homeowner's insurance valid. A professional Level 2 home charger installation typically costs $500–$2,500 on top of the $300–$700 charger unit itself, depending on panel capacity and wire run length. Attempting to bypass permitting or DIY a 240V hardwired circuit risks fire, voided warranties, and insurance claim denials.
Quick Answer: DIY EV Charger Feasibility
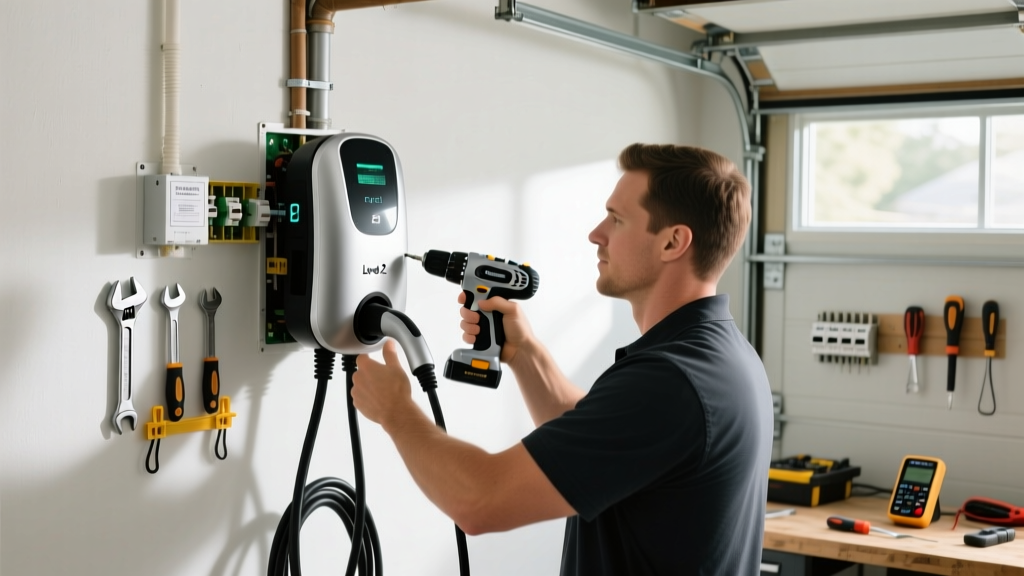
DIY-safe tasks: Mounting bracket installation, selecting charger location, plugging into an existing 240V outlet, configuring Wi-Fi/app settings.
Electrician-required tasks: Installing a new 240V circuit, hardwiring a charger, upgrading a 100A panel to 200A, pulling permits, final inspection sign-off.
Total typical cost: $800–$3,200 (charger + professional install), or $300–$700 if you already have a suitable 240V outlet.
Understanding Level 1, Level 2, and Why DIY Applies Mostly to Level 2
Before deciding what you can do yourself, you need to understand the three charging levels and where the electrical complexity sits.
| Level | Voltage | Power (kW) | Miles of Range/Hour | DIY Feasibility |
|---|---|---|---|---|
| Level 1 | 120V (standard outlet) | 1.0–1.4 kW | 3–5 mi/hr | Full DIY — plug into any grounded 120V outlet on a dedicated 15A/20A circuit |
| Level 2 | 240V (dryer-style) | 3.3–11.5 kW | 14–46 mi/hr | Partial DIY — plug-in version if 240V outlet exists; electrician needed for new circuit |
| DC Fast | 400–800V DC | 50–350 kW | 150–1,000+ mi/hr | Not applicable — commercial/industrial installation only |
Level 1 charging is the one truly DIY-friendly option: you unbox the mobile charger that came with your EV (or buy one for $200–$400), plug it into a standard 120V household outlet, and you're charging. The limitation is speed. If you drive a 2026 Hyundai Ioniq 6 with its 77.4 kWh battery and 361-mile EPA range, Level 1 adds roughly 4 miles per hour of charging—meaning a full recharge from 10% takes over 3 days. For commuters driving under 30 miles daily, this can work. For everyone else, Level 2 is the practical minimum.
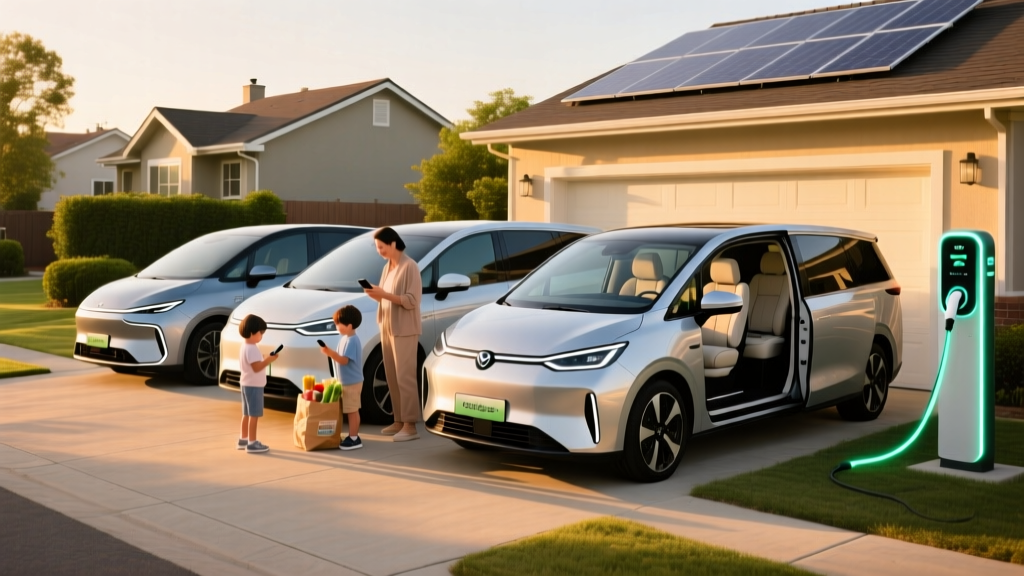
Level 2 is where the DIY conversation gets nuanced. If your garage already has a NEMA 14-50 outlet (the same type used for electric ranges and some RV hookups), you can buy a plug-in Level 2 charger like the ChargePoint Home Flex or Tesla Wall Connector with a NACS plug, hang it on the wall yourself, and start charging. That's a legitimate DIY EV charger setup. But if you need a new 240V circuit run from your panel, that's where codes, permits, and safety requirements mean you need a professional.
The Real Cost: DIY vs. Professional EV Charger Installation
The appeal of a DIY approach is cost savings. Let's break down what you're actually spending in each scenario, based on 2026 national averages.
| Component | DIY Scenario (Existing 240V Outlet) | Professional Install (New 50A Circuit) | Professional Install (Panel Upgrade + New Circuit) |
|---|---|---|---|
| Level 2 charger unit (40A–48A) | $400–$700 | $400–$700 | $400–$700 |
| Electrical materials (wire, conduit, breaker) | $0 | $150–$400 | $200–$500 |
| Electrician labor | $0 | $400–$1,200 | $1,500–$3,000 |
| Permit and inspection | $0–$150 (varies by jurisdiction) | $50–$200 | $100–$350 |
| Panel upgrade (100A → 200A) | $0 | $0 | $1,500–$3,500 |
| Total | $400–$850 | $1,000–$2,500 | $3,700–$8,050 |
The gap between the cheapest DIY scenario and a full professional install with panel upgrade is massive: $400 versus $8,000+. Most homeowners fall in the middle—a straightforward 50A circuit run through an unfinished garage with the panel nearby typically lands around $1,200–$1,800 all-in.
Before you commit to any path, check your electrical panel. Look at the main breaker rating (usually 100A, 150A, or 200A) and count the occupied breaker slots. A 48A Level 2 charger on a 60A breaker requires significant headroom. The NEC 80% rule means a continuous load (which EV charging is) can only use 80% of a circuit's rated capacity—so a 50A breaker supports a maximum 40A continuous draw. If your panel is already near capacity with HVAC, an electric range, and a dryer, adding a 40–48A EV circuit may trigger a panel upgrade.
What You Can Legally and Safely DIY
Here's where the DIY EV charger approach makes genuine sense, with clear boundaries.
Scenario 1: You Already Have a 240V NEMA 14-50 Outlet
This is the cleanest DIY path. Many homes built after the 1990s have these outlets for electric dryers or ranges. If yours is in or near the garage:
- Buy a plug-in Level 2 charger with a NEMA 14-50 plug (e.g., Tesla Mobile Connector with 14-50 adapter, Emporia Level 2, or Lectron V-Box)
- Verify the outlet is on a dedicated 50A breaker—sharing with another appliance is a fire hazard and code violation
- Mount the charger's wall holster using basic tools (drill, drywall anchors or lag bolts into studs)
- Plug in, connect to Wi-Fi, and configure your charging schedule in the app
Important caveat: Have an electrician inspect the outlet before heavy use. Older 14-50 outlets can have loose connections, undersized wiring, or be on shared circuits. A $100–$150 inspection can prevent a $50,000 garage fire.
Scenario 2: You're Running Conduit for a Future Circuit
In some jurisdictions, homeowners can pull their own low-voltage or even line-voltage conduit runs as long as a licensed electrician does the final wire pull, termination, and connection. If your garage is unfinished and the path from panel to charger location is accessible, you might save $200–$400 in labor by mounting conduit and junction boxes yourself. Check with your local building department first—rules vary enormously.
Scenario 3: Level 1 Charging as a Stopgap
While you plan a professional Level 2 install, Level 1 is a fully DIY zero-cost option. Plug your EV's included mobile charger into a dedicated 120V/15A outlet (not on a shared circuit with a freezer or sump pump) and charge overnight. It's slow—roughly 30–40 miles added in a 10-hour session—but functional for light drivers.
Why Hardwired 240V Circuits Require a Licensed Electrician
The temptation to DIY a hardwired 240V circuit is understandable when you see YouTube tutorials. Here's why it's a hard boundary:
NEC Article 625 specifically governs electric vehicle charging system equipment. It mandates that EVSE (Electric Vehicle Supply Equipment) installations meet specific grounding, GFCI protection, ventilation, and disconnect requirements that go beyond a standard 240V outlet install. An electrician licensed in your jurisdiction will know these requirements; a homeowner watching a video will not.
Permit and inspection requirements: Most US jurisdictions require an electrical permit for any new 240V circuit. The permit triggers an inspection that verifies wire gauge, breaker sizing, grounding, and physical installation meet code. If you do the work without a permit and it causes a fire, your homeowner's insurance carrier can deny the claim. This isn't hypothetical—insurance investigators routinely check permit records after electrical fires.
Load calculation: A proper electrician will perform a NEC Article 220 load calculation on your panel to verify it can handle the added continuous load. This isn't just adding up breaker sizes—it accounts for demand factors, continuous vs. intermittent loads, and the largest motor load. Getting this wrong means nuisance tripping at best, overheated bus bars at worst.
Warranty protection: Most Level 2 charger manufacturers (ChargePoint, Wallbox, Emporia) specify in their warranty terms that installation must comply with local electrical codes and be performed by a qualified electrician. A DIY hardwired install that fails may void both the charger warranty and any claim against the manufacturer.
Common DIY EV Charger Myths vs. Facts
| Myth | Fact |
|---|---|
| "I can just wire a 240V outlet myself like a YouTube tutorial" | NEC Article 625 has EV-specific requirements (GFCI, disconnect, ventilation) that generic 240V tutorials don't cover. Unpermitted work risks insurance denial. |
| "Any outlet in my garage will work for Level 1" | Shared circuits with freezers, sump pumps, or power tools can overload. You need a dedicated 15A or 20A circuit for safe continuous Level 1 charging. |
| "I don't need a permit—it's just a charger" | Most jurisdictions require permits for new 240V circuits. Fines for unpermitted work range from $200–$2,000, plus potential insurance complications. |
| "A 50A breaker means I can charge at 50 amps" | The NEC 80% continuous-load rule means a 50A breaker supports a maximum 40A continuous draw. A 48A charger requires a 60A breaker. |
| "I'll save money skipping the electrician" | Botched DIY electrical work costs $5,000–$25,000+ to remediate after a failure, plus potential fire damage and insurance denial. |
Smart Alternatives: Maximizing Value Without Full DIY Risk
If cost is the primary motivator behind the DIY search, there are legitimate strategies to reduce your installation expense without crossing into unsafe territory.
Utility Rebates and Federal Credits
Many utilities offer rebates of $250–$1,000 for Level 2 charger installation, often requiring a licensed electrician and a smart (Wi-Fi-connected) charger. Check your utility's EV program page. At the federal level, the Residential Clean Energy Credit (IRS Form 5695) previously covered 30% of home EVSE costs up to $1,000 through 2025 under IRC §30C. For 2026, verify current status on irs.gov as provisions have been subject to legislative changes. Some states offer additional incentives—your state energy office or AFDC database lists current programs.
Choose a Plug-In Charger Over Hardwired
Hardwired chargers offer marginally faster charging (48A vs. 40A on a NEMA 14-50) and a cleaner look, but plug-in chargers connected to a professionally installed 14-50 outlet give you portability and a simpler install. If you move, you take the charger with you. The outlet also serves other uses (welder, RV charging).
Load Management Devices
If your panel is tight on capacity, devices like the Emporia Smart Load Manager or Tesla's built-in load-sharing can dynamically reduce EV charging current when other large loads (dryer, HVAC) are active. This can avoid a $2,000–$4,000 panel upgrade entirely, and a qualified electrician can install one for $200–$400 in labor.
EV Charging Cost vs. Gas: The Ownership Math
Once your charger is installed, the economics shift dramatically in your favor. Here's how home charging compares to fueling a comparable gas vehicle, using 2026 national averages.
| Metric | EV (Home Level 2 Charging) | Gas Vehicle (28 MPG Combined) |
|---|---|---|
| Energy cost per gallon-equivalent | $1.10–$1.60 (at $0.13–$0.19/kWh national avg) | $3.40–$3.80 (national avg regular unleaded) |
| Cost per mile | $0.04–$0.06 | $0.12–$0.14 |
| Annual fuel/energy cost (12,000 mi/yr) | $480–$720 | $1,440–$1,680 |
| Annual maintenance | $300–$500 (no oil changes, less brake wear) | $800–$1,200 |
| 5-year fuel + maintenance total | $3,900–$6,100 | $11,200–$14,400 |
Source: Efficiency figures from fueleconomy.gov; electricity rates from EIA state averages; gas prices from EIA weekly retail survey.
The installation cost of your Level 2 charger—let's say $1,500 all-in—pays for itself in fuel savings within 18–30 months for a typical driver covering 12,000 miles annually. After that, you're saving $800–$1,100 per year versus a gas car, plus reduced maintenance costs.
Actionable Decision Framework: Should You DIY Your EV Charger?
If-Then EV Charger Installation Guide
- IF you have an existing dedicated NEMA 14-50 outlet near your parking spot AND it passes an electrician's inspection → THEN buy a plug-in Level 2 charger ($400–$700), mount the bracket yourself, and start charging. Total DIY cost: $400–$850.
- IF you need a new 240V circuit but your panel has 200A capacity and open slots → THEN hire a licensed electrician for a permitted install. Budget $1,000–$2,500 total. Consider getting 3 quotes.
- IF your panel is 100A or near capacity → THEN get a load calculation from an electrician. You may need a panel upgrade ($1,500–$3,500) or a load management device ($200–$500 additional). Budget $3,700–$8,000+.
- IF you drive under 30 miles daily and can charge 10+ hours overnight → THEN Level 1 on a dedicated 120V circuit is a viable zero-install-cost option while you plan a Level 2 upgrade.
- IF you rent or live in a condo → THEN talk to your landlord or HOA about shared charging infrastructure. You likely cannot modify the electrical system yourself. Look into public charging networks or workplace charging as alternatives.
Frequently Asked Questions
Can I install a NEMA 14-50 outlet myself for my EV charger?
Technically, some jurisdictions allow homeowners to pull their own electrical permits and do their own wiring if they pass inspection. However, most areas require a licensed electrician for 240V work, and the NEC Article 625 requirements for EVSE are specific enough that errors are common. The risk-to-savings ratio strongly favors professional installation for any new 240V circuit.
Do I need a permit to plug a charger into an existing outlet?
No. Plugging a UL-listed EV charger into an existing, code-compliant outlet does not require a permit. The permit requirement applies to new electrical circuits, panel modifications, and hardwired installations. That said, having an electrician verify your existing outlet's wiring and breaker is still recommended before sustained high-amperage use.
How do I know if my electrical panel can handle an EV charger?
Check your main breaker rating (printed on the main breaker switch—typically 100A, 150A, or 200A). Then look at your existing loads: electric range, dryer, HVAC, and water heater are the big ones. A 200A panel with gas appliances usually has ample headroom for a 40–48A EV circuit. A 100A panel with all-electric appliances likely does not. A licensed electrician will perform a formal NEC Article 220 load calculation for a definitive answer, typically for $100–$200.
Is a plug-in or hardwired Level 2 charger better?
Plug-in chargers (NEMA 14-50) offer portability—you can take them when you move, and the outlet serves other purposes. Hardwired chargers can support slightly higher amperage (48A vs. 40A on a 14-50), which translates to roughly 5–8 more miles of range per hour of charging. For most drivers charging overnight, the difference is negligible. Choose plug-in for flexibility; choose hardwired if you want maximum speed and a clean installation.
What about the federal tax credit for home charger installation?
The IRC §30C Alternative Fuel Vehicle Refueling Property Credit previously offered 30% of home EV charger installation costs up to $1,000. This credit was available through 2025, but eligibility and availability for 2026 depend on current legislation. Always verify the latest rules on irs.gov and consult a tax professional before claiming. Note: this credit is separate from the §30D new vehicle tax credit of up to $7,500, which has its own income, MSRP, and battery-sourcing requirements.
Can I use an extension cord for my Level 1 EV charger?
EV manufacturers universally advise against extension cords for Level 1 charging. The sustained 12A draw over 10+ hours can overheat undersized or damaged extension cords. If your outlet is too far from your parking spot, have an electrician install a dedicated 120V outlet closer to your vehicle—this typically costs $150–$400 and is far safer than running a cord across a garage floor.