Introduction: Installing an EV Charger at Home
Owning an electric vehicle is only half the equation — figuring out where to install an EV charger at home is the other. A well-placed home charging station transforms your daily routine, letting you wake up to a fully charged battery every morning without ever visiting a public charging station. But choosing the right location involves more than simply picking a spot near your parking space. You need to consider electrical panel capacity, wiring distances, local building codes, weather exposure, and everyday convenience.
Difficulty Level: Moderate to Advanced (electrical work required)
Estimated Cost: $500 – $2,500+ depending on panel upgrades, wiring distance, and charger type
Time Required: 4 – 12 hours for professional installation; longer for DIY with permits
This comprehensive guide walks you through every factor that influences where to install your EV charger, from assessing your garage layout to navigating permits and inspections. Whether you drive a Tesla, Ford Mustang Mach-E, Hyundai Ioniq 5, or any other electric vehicle, these principles apply universally. For a broader look at what is available on the market, check out our best EV chargers roundup to find the unit that fits your needs before planning your installation.
1. Electrical Requirements for Home EV Charger Installation
Before deciding where to mount your charger, you need to understand the electrical requirements that will ultimately dictate viable installation locations. Most home EV chargers fall into two categories:
Level 1 Charging (120V)
Level 1 chargers plug into a standard household outlet and deliver roughly 3–5 miles of range per hour of charging. They require a dedicated 15-amp or 20-amp circuit. While technically you can plug these in anywhere, the National Electrical Code (NEC) recommends a dedicated circuit to prevent overloading. Level 1 charging works best for plug-in hybrids or EV owners with short daily commutes.
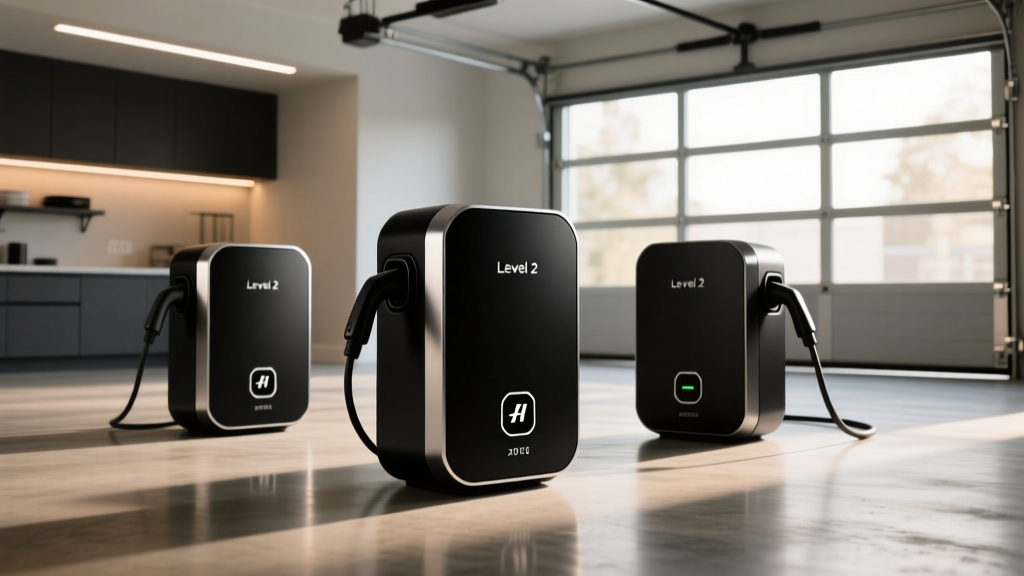
Level 2 Charging (240V)
Level 2 chargers are the gold standard for home charging, delivering 15–30 miles of range per hour. These require a 240-volt circuit — the same type of outlet your electric dryer or oven uses — typically rated between 30 and 60 amps. The NEC requires that continuous loads (like EV charging) not exceed 80% of a circuit's rated capacity. So a 40-amp charger needs a 50-amp circuit, and a 48-amp charger needs a 60-amp circuit.
According to the U.S. Department of Energy, most homeowners will need a licensed electrician to install a new 240V circuit, especially if the electrical panel is far from the desired charging location. The distance between your panel and the charger directly affects wire gauge, conduit requirements, and overall cost.
Assessing Your Electrical Panel
Your home's electrical panel is the starting point for every installation decision. Here is what to evaluate:
- Total amperage: Most modern homes have 100-amp or 200-amp service. A 200-amp panel typically has enough headroom for a Level 2 charger.
- Available breaker slots: You need at least two adjacent slots for a double-pole breaker.
- Current load: Calculate your existing electrical load to ensure adding a 30–60 amp circuit will not overload your system.
- Panel location: The closer your panel is to the desired charger location, the lower your installation cost.
If your panel is maxed out, you may need a panel upgrade or a sub-panel installed closer to your garage — both of which add to the total cost but expand your options for where to place the charger.
2. Best Locations to Install Your EV Charger
Choosing the ideal location is a balance of convenience, cost, safety, and aesthetics. Here are the most common installation spots, ranked by practicality:
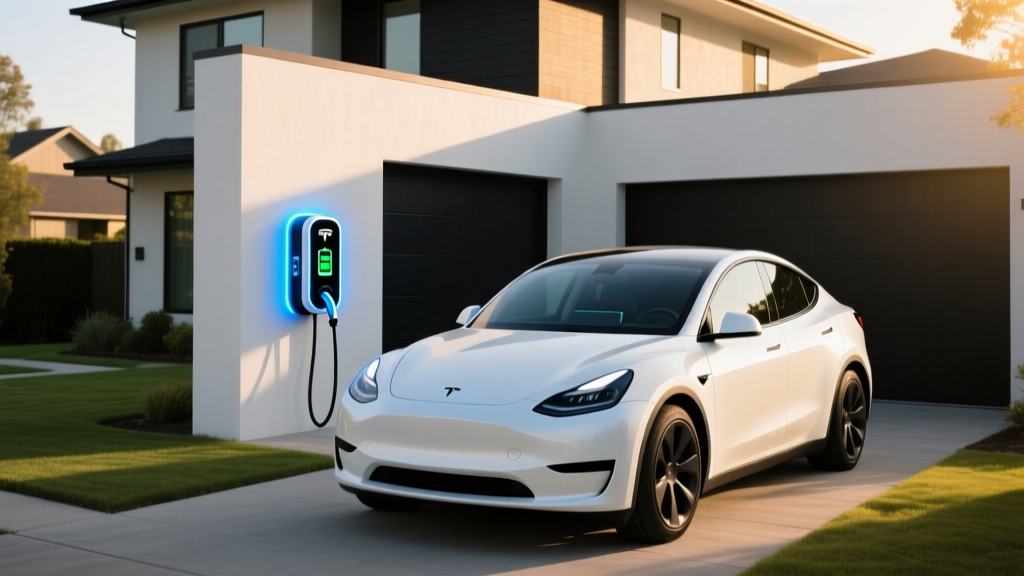
Inside the Garage (Most Popular)
The garage is the most common and generally the best location for a home EV charger. Advantages include:
- Weather protection: The charger and your vehicle are shielded from rain, snow, UV rays, and extreme temperatures.
- Shorter wiring runs: Garages often share a wall with the home's interior where electrical panels are located, reducing wire costs.
- Security: Your expensive charging equipment is protected from theft and vandalism.
- Cable management: You can mount cable organizers and hooks on garage walls to keep cords tidy and prevent tripping hazards.
Mount the charger on the wall closest to where your vehicle's charge port is located. This minimizes cable stretch and wear. Most EV charge ports are on the driver's side front fender or rear quarter panel, so plan accordingly. Take a look at our cable management guide for tips on keeping your setup organized.
Carport or Covered Parking Area
If you have a carport, installing the charger on a support post or adjacent wall is a solid option. You still get some weather protection, but you will need to ensure the charger is rated for outdoor or semi-outdoor use. Look for units with a NEMA 4 or IP65 rating to handle moisture and dust exposure.
Exterior Wall (Driveway Charging)
For homes without a garage, mounting the charger on an exterior wall near the driveway is a practical solution. Consider these factors:
- Choose a weatherproof, outdoor-rated charger (most modern Level 2 units are).
- Install the unit at least 18 inches above ground level to avoid snow accumulation and splash damage.
- Use a locking connector or enclosure to prevent unauthorized use.
- Route conduit along the exterior wall from the panel to keep wiring protected and code-compliant.
- Consider adding a small awning or weather shield above the unit for extra protection.
Detached Garage or Shed
If you park in a detached structure, you will likely need to run a new underground conduit or overhead wiring from your main panel. This adds significant cost ($1,000–$3,000+) but gives you a dedicated charging space. A sub-panel in the detached garage can also power lighting and tools, making it a worthwhile investment.
Optimal Mounting Height and Positioning
Regardless of location, follow these positioning guidelines:
- Height: Mount the charger between 36 and 48 inches from the floor, per ADA accessibility recommendations and general ergonomic best practices.
- Cable reach: Ensure the charging cable can comfortably reach your vehicle's charge port without stretching across walkways.
- Clearance: Leave at least 12 inches of clearance on each side for ventilation and maintenance access.
- Visibility: Position indicator lights so they are visible from a distance, letting you check charging status at a glance.
3. Step-by-Step Installation Process
Once you have chosen your location, here is the typical installation workflow:
Step 1: Home Electrical Assessment
Hire a licensed electrician to evaluate your panel capacity, calculate existing loads, and determine whether your home can support a new 240V circuit. Many utility companies offer free or low-cost home energy assessments that include EV readiness evaluations.
Step 2: Choose Your Charger and Circuit Size
Select a charger that matches your vehicle's onboard charger capacity and your panel's available amperage. For example, if your EV accepts a maximum of 32 amps, a 40-amp circuit with a 32-amp charger is ideal. Browse our Level 2 charger reviews to compare top models.
Step 3: Obtain Permits
Most municipalities require an electrical permit for new 240V circuit installations. Your electrician typically handles this, but if you are going the DIY route, visit your local building department to submit the application. Permit costs usually range from $50 to $200.
Step 4: Run Wiring and Install the Circuit
The electrician will run appropriately gauged wire (typically 6 AWG for 50-amp circuits or 4 AWG for 60-amp circuits) from the panel to the charger location. This may involve:
- Drilling through studs and walls
- Installing conduit (EMT or PVC) for wire protection
- Mounting a junction box if needed
- Installing the correct NEMA outlet (14-50 or 6-50) or hardwiring the charger directly
Step 5: Mount the Charger
Secure the charging unit to the wall using the manufacturer's mounting bracket. Use a stud finder to anchor into wall studs for stability, especially for heavier units. Ensure the unit is level and at the correct height.
Step 6: Connect and Test
Once wired, the electrician will connect the charger to the circuit, power it on, and run a series of tests to verify proper voltage, grounding, and GFCI protection. They will also test the charger with your vehicle to confirm communication between the car and the unit.
Step 7: Inspection and Approval
After installation, a local building inspector will visit to verify the work meets NEC and local code requirements. They will check wire sizing, breaker rating, grounding, bonding, conduit fill, and GFCI compliance. Only after passing inspection should you consider the installation complete.
4. Permits, Inspections, and Code Compliance
Skipping permits might seem tempting to save time and money, but it carries serious risks. Unpermitted electrical work can void your homeowner's insurance, create fire hazards, and cause problems when selling your home. Here is what you need to know:
Why Permits Matter
Electrical permits exist to protect you. The permitting process ensures that a qualified inspector reviews the work for compliance with the National Electrical Code (NEC) and any local amendments. The NEC specifically addresses EV charging under Article 625, which covers outlet types, circuit sizing, disconnect requirements, and ventilation standards.
Common Code Requirements for EV Chargers
- Dedicated circuit: The charger must have its own dedicated circuit — no sharing with other appliances.
- GFCI protection: NEC Article 625 requires GFCI protection for all EV charging outlets rated 150 volts or less to ground and 60 amps or less.
- Disconnecting means: A disconnect switch or breaker must be within sight of the charger for emergency shutoff.
- Proper grounding: Equipment grounding conductors must be sized correctly and connected to the home's grounding electrode system.
- Load calculation: The total load on the electrical service must not exceed the panel's rated capacity after adding the EV charger.
The Inspection Process
After your electrician completes the work, the inspector will typically check:
- Wire gauge and type match the breaker rating
- Conduit is properly secured and sized
- Breaker is correctly installed and labeled in the panel
- Outlet or hardwired connection is properly grounded
- GFCI protection is functional
- Charger mounting is secure and at an appropriate height
- No code violations in the wiring route
Failing an inspection is not uncommon, especially for DIY installations. Common reasons include undersized wire, missing GFCI protection, improper conduit fill, and inadequate working space around the panel. If you fail, you will need to correct the issues and schedule a re-inspection.
5. DIY Installation vs. Hiring a Professional Electrician
One of the biggest decisions you will face is whether to install the charger yourself or hire a professional. Here is an honest comparison:
When DIY Makes Sense
- You have prior experience with electrical work (not just watching YouTube tutorials)
- Your panel has ample capacity and available slots
- The wiring run is short and straightforward (same wall as the panel)
- You are installing a plug-in unit (NEMA 14-50 outlet) rather than hardwiring
- You are comfortable pulling permits and coordinating inspections
When to Hire a Professional
- Your panel needs an upgrade or sub-panel installation
- The wiring run is long, requires trenching, or goes through finished walls
- You are hardwiring the charger (no plug)
- Your local code requires a licensed electrician for 240V work (many jurisdictions do)
- You want warranty protection on the installation work
- You are not confident in your ability to do safe, code-compliant electrical work
Cost Comparison
| Factor | DIY | Professional |
|---|---|---|
| Labor | $0 | $300 – $1,500 |
| Materials (wire, conduit, breaker) | $100 – $400 | $150 – $500 |
| Permit | $50 – $200 | $50 – $200 (often included) |
| Panel upgrade (if needed) | $1,000 – $3,000 (still need pro) | $1,500 – $4,000 |
| Warranty on work | None | 1 – 5 years typical |
| Inspection pass rate | Lower | Higher |
For most homeowners, hiring a licensed electrician is the smarter choice. The cost difference is often smaller than expected, and the peace of mind — knowing the work is safe, code-compliant, and warrantied — is invaluable. Many charger manufacturers, including those featured in our smart EV charger reviews, recommend or even require professional installation to maintain the product warranty.
6. Cost Breakdown: What to Expect
Understanding the full cost picture helps you budget accurately and avoid surprises. Here is a detailed breakdown:
Charger Unit Cost
- Level 1 (included with most EVs): $0 – $300
- Level 2 (non-smart): $250 – $500
- Level 2 (smart/Wi-Fi enabled): $400 – $800
- Premium/smart chargers with advanced features: $600 – $1,200
Electrical Work
- Simple install (short run, panel has capacity): $300 – $800
- Moderate install (longer run, conduit needed): $800 – $1,500
- Complex install (trenching, sub-panel, panel upgrade): $1,500 – $4,000+
Additional Costs
- Permit fees: $50 – $200
- Inspection fees: Usually included in permit cost
- Drywall repair/patching: $100 – $300 if walls are opened
- Conduit and surface raceway: $50 – $200 for materials
- Wi-Fi signal extender: $30 – $80 if your smart charger needs connectivity in the garage
Rebates and Incentives
Do not overlook available rebates. Many utility companies offer $250–$1,000 rebates for home EV charger installation. Federal tax credits may also apply for qualifying equipment and installation costs. Check with your local utility and review our EV charging incentives guide to maximize your savings.
7. Safety Tips for Home EV Charger Installation
Safety should be your top priority throughout the installation process and during everyday use. Follow these critical guidelines:
Before Installation
- Turn off the main breaker before any work near the electrical panel. Verify with a voltage tester that circuits are de-energized.
- Use the correct wire gauge. Undersized wire causes overheating and is a leading cause of electrical fires. Refer to NEC Table 310.16 for proper sizing.
- Never share a circuit between your EV charger and other high-draw appliances.
During Installation
- Secure all connections tightly. Loose connections generate heat and are a fire risk. Use a torque screwdriver set to the manufacturer's specifications when tightening terminal screws.
- Use proper conduit and fittings. Exposed wiring is a code violation and a physical hazard.
- Label the breaker clearly in the panel as "EV Charger" so anyone can identify and shut it off in an emergency.
After Installation
- Inspect the cable regularly for fraying, cracking, or exposed conductors. Replace damaged cables immediately.
- Keep the area clear of flammable materials, including gasoline containers, paint, and solvents.
- Install a smoke detector near the charging area if one is not already present.
- Do not use extension cords with your EV charger unless the manufacturer explicitly approves a specific model. Most manufacturers prohibit extension cords entirely.
- Ensure proper ventilation if charging in an enclosed garage, particularly for older EVs that may off-gas during charging.
For more information on maintaining a safe charging environment, read our EV charging safety best practices guide.
Troubleshooting Common Installation Issues
Even with a professional installation, you may encounter issues. Here are the most common problems and their solutions:
Charger Will Not Power On
- Check that the breaker is in the ON position and has not tripped.
- Verify the outlet has power using a multimeter (should read approximately 240V across the two hot legs).
- Ensure the charger is properly seated in the outlet or that hardwired connections are tight.
- Check for a tripped GFCI breaker and reset it if necessary.
Charging Speeds Are Slower Than Expected
- Verify the charger's amperage setting matches the circuit rating (remember the 80% rule).
- Check that the wire gauge is appropriate for the circuit length — long runs with undersized wire cause voltage drop.
- Ensure your vehicle's onboard charger is not the bottleneck (some EVs accept less power than the charger can deliver).
- Update the charger's firmware if it is a smart model — manufacturers occasionally release performance improvements.
Breaker Trips Repeatedly
- This usually indicates an overloaded circuit. Confirm the breaker is sized correctly for the charger's maximum draw.
- Check for other loads on the same circuit (there should be none).
- Inspect wiring for damage or loose connections that could cause short circuits.
- If the breaker trips immediately, there may be a ground fault — have an electrician test the circuit.
Wi-Fi Connectivity Issues (Smart Chargers)
- Garages often have poor Wi-Fi coverage. Consider a mesh Wi-Fi system or a dedicated extender.
- Some chargers support Ethernet connections for more reliable connectivity.
- Check if your charger can operate in offline mode — most can, but you lose scheduling and monitoring features.
Charger Gets Hot During Use
- Some warmth is normal, but excessive heat indicates a problem. Stop charging immediately.
- Check for loose connections at the outlet, breaker, and charger terminals.
- Ensure the charger is not mounted in direct sunlight or near a heat source.
- Contact the manufacturer if the unit feels too hot to touch — this may indicate an internal fault.
Frequently Asked Questions
Can I install an EV charger in a garage without a 240V outlet?
Yes, but you will need an electrician to run a new 240V circuit from your electrical panel to the garage. This is one of the most common installation scenarios. The electrician will install the appropriate wiring, breaker, and either a NEMA 14-50 outlet or a hardwired connection depending on your charger model. The cost depends largely on the distance between your panel and the garage, as well as whether any walls or ceilings need to be opened for wiring access.
Does my EV charger need to be on a dedicated circuit?
Absolutely. The National Electrical Code requires that EV charging equipment be on a dedicated circuit with no other outlets or appliances sharing it. This prevents circuit overloads, reduces fire risk, and ensures your charger receives consistent power for optimal charging speeds. Sharing a circuit with other devices can cause breaker trips, slower charging, and potential damage to both the charger and connected devices.
Is it better to hardwire or use a plug-in outlet for my EV charger?
Both methods have advantages. A plug-in installation (NEMA 14-50 outlet) offers portability — you can unplug the charger and take it with you if you move, and it is easier to replace if the unit fails. A hardwired installation eliminates the outlet as a potential failure point, supports higher amperages (above 48 amps), and is often required by code for higher-powered units. Hardwired installations may also be required by some local jurisdictions for outdoor chargers. Discuss both options with your electrician based on your specific charger model and local codes.
How far can my EV charger be from the electrical panel?
There is no hard maximum distance, but longer wiring runs increase cost and can cause voltage drop if wire gauge is not adjusted accordingly. As a general rule, runs under 100 feet with properly sized wire (6 AWG for 50A circuits) experience negligible voltage drop. For runs exceeding 100 feet, your electrician may need to upsize the wire to 4 AWG or even 2 AWG to maintain safe voltage levels. Very long runs (200+ feet) may warrant installing a sub-panel closer to the charger location, which can actually reduce overall wire costs.
Can I install an EV charger outdoors?
Yes, many Level 2 chargers are rated for outdoor installation. Look for units with a NEMA 4 or IP65 (or higher) enclosure rating, which protects against rain, dust, and splashing water. When installing outdoors, mount the charger on a sturdy wall or post at least 18 inches above grade, use weatherproof conduit and fittings, and ensure the outlet (if plug-in) is protected by a weatherproof cover. Some homeowners install a small protective enclosure or awning above the charger for added longevity. Check our best outdoor EV chargers list for units specifically designed for exterior mounting.
Final Thoughts on Where to Install Your EV Charger
Deciding where to install an EV charger at home comes down to balancing convenience, cost, and safety. For most homeowners, the garage offers the best combination of protection, proximity to the electrical panel, and everyday ease of use. If a garage is not an option, an exterior wall near your parking spot is a perfectly viable alternative with the right outdoor-rated equipment.
Regardless of where you choose, prioritize a dedicated circuit, proper wire sizing, GFCI protection, and professional installation — or at minimum, professional guidance if you choose the DIY route. Pull the required permits, pass the inspection, and you will have a safe, reliable home charging setup that serves you for years to come.
Ready to choose your charger? Start with our complete EV charger buying guide and explore our home EV charging overview for everything you need to know about making the switch to electric.