What Does EV Charger Installation Cost? A Complete Guide to Home EV Charger Setup
Switching to an electric vehicle is one of the most impactful decisions you can make for your wallet and the environment. But once your EV arrives in the driveway, a critical question remains: how much will it cost to install a proper home charger? The answer varies widely depending on your electrical infrastructure, the type of charger you choose, and whether your home needs an electrical panel upgrade.
Difficulty Level: Moderate to Advanced (electrical work required)
Estimated Total Cost: $500 – $3,000+ for a Level 2 home charger installation
Time Required: 2 – 8 hours for professional installation (plus permitting time)
In this comprehensive guide, we break down every cost factor involved in EV charger installation, walk you through the setup process, explain permitting and inspection requirements, and help you decide whether to tackle the job yourself or hire a licensed electrician. Whether you are exploring the best Level 2 EV chargers on the market or simply trying to budget for your first home charging station, this article has you covered.
Understanding EV Charger Requirements: What You Need Before Installation
Before you can estimate costs, you need to understand the fundamental requirements for installing a home EV charger. Most homeowners opt for a Level 2 charger, which operates on a 240-volt circuit — the same type of power your electric dryer or oven uses. Level 2 chargers deliver between 16 and 80 amps and can add roughly 20 to 60 miles of range per hour of charging, making them vastly superior to the standard Level 1 charger that plugs into a regular 120-volt outlet.
Here are the core requirements for a typical Level 2 EV charger installation:
- 240-volt dedicated circuit: Most Level 2 chargers require a dedicated circuit rated between 20 and 100 amps, depending on the charger's amperage.
- NEMA 14-50 outlet or hardwired connection: You can either install a NEMA 14-50 receptacle (which allows you to unplug and take the charger with you) or have the unit hardwired directly into your electrical panel.
- Sufficient electrical panel capacity: Your home's main electrical panel must have enough spare capacity to handle the additional load. Most modern homes with 200-amp service can accommodate a Level 2 charger without issue, but older homes with 100-amp panels may require an upgrade.
- Proper wire gauge: The wiring between your panel and the charger must be sized correctly for the amperage. For a 50-amp circuit, 6 AWG copper wire is standard.
- GFCI protection: The National Electrical Code (NEC) requires ground-fault circuit interrupter protection for EV charging circuits, either built into the breaker or the charger itself. According to NEC Article 625, all EV charging equipment must meet specific safety standards.
If your garage already has a 240-volt outlet — perhaps from a previous dryer installation — you may be able to use it with minimal modification, significantly reducing your installation cost. However, the outlet must be on a dedicated circuit with the correct breaker size and wire gauge. Sharing a circuit with other appliances is a code violation and a fire hazard.
For a deeper look at which chargers are worth considering, check out our best home EV charger reviews to find the right unit for your budget and vehicle.
Step-by-Step EV Charger Installation Process
Understanding the installation process helps you evaluate quotes from electricians and anticipate potential complications. Here is what a typical Level 2 EV charger installation involves from start to finish:
Step 1: Site Assessment and Electrical Evaluation
The first step is evaluating where the charger will be installed and assessing your electrical panel's capacity. A licensed electrician will calculate your home's existing electrical load using a demand calculation per NEC guidelines. They will check whether your panel has available breaker slots and sufficient amperage headroom to add a 40- to 60-amp circuit. If your panel is maxed out, you may need a panel upgrade (from 100A to 200A) or a sub-panel installation, both of which add significant cost.
Step 2: Choosing Hardwired vs. Plug-In Installation
Next, you will decide between a hardwired and a plug-in (NEMA 14-50) setup. Hardwired installations are generally more reliable and can support higher amperages, but they make it harder to replace or relocate the charger later. Plug-in installations offer flexibility but require a properly rated receptacle and may be limited to 50 amps. Many of the top smart EV chargers are available in both configurations.
Step 3: Running Wiring and Installing the Circuit
The electrician will run appropriately gauged wire from your main panel (or sub-panel) to the charger location. If the charger is mounted in an attached garage close to the panel, this might involve just 10 to 20 feet of wire through drywall or along joists. If the charger is in a detached garage or on the exterior of the home, the electrician may need to trench conduit underground, drill through foundation walls, or run wire through attic spaces — all of which increase labor time and materials cost.
Step 4: Mounting the Charger
The charging unit is mounted to a wall stud or a dedicated post using the manufacturer's mounting bracket. Proper mounting ensures the unit is secure, weatherproof (for outdoor installations), and positioned so the cable can comfortably reach your vehicle's charge port.
Step 5: Connection, Testing, and Commissioning
Once wired and mounted, the electrician will connect the circuit, test for proper voltage and grounding, verify GFCI protection, and ensure the charger communicates correctly with your vehicle. Many smart chargers also require Wi-Fi setup and app configuration at this stage.
Permits, Inspections, and Code Compliance
One of the most frequently overlooked aspects of EV charger installation is the permitting process. In most jurisdictions, adding a new 240-volt circuit requires an electrical permit. Here is what you need to know:
Why Permits Matter
Electrical permits exist to protect you. They ensure that the installation meets the National Electrical Code (NEC) standards and is safe for your home. Skipping permits can void your homeowner's insurance in the event of an electrical fire, create liability issues when selling your home, and result in fines from your local building department.
Typical Permit Costs
Electrical permit fees vary by municipality but generally range from $50 to $200. Some jurisdictions charge a flat fee, while others base the cost on the project's valuation. In many cases, the electrician will pull the permit on your behalf and include the fee in their overall quote.
The Inspection Process
After installation, a local electrical inspector will visit your home to verify that the work meets code. The inspector will check wire sizing, breaker rating, grounding, GFCI protection, proper mounting, and overall workmanship. If the installation passes, you will receive a final approval. If it fails, the electrician will need to correct the issues and schedule a re-inspection — potentially adding cost and delay.
Utility Notification
Some utility companies require notification before you install an EV charger, especially if you plan to take advantage of time-of-use (TOU) rates or utility rebate programs. Contact your local utility to ask about EV-specific rate plans and any available incentives. The U.S. Department of Energy maintains resources on federal and state incentives for home charging equipment.
DIY Installation vs. Hiring a Professional Electrician
The question of whether to install an EV charger yourself or hire a professional is one that many handy homeowners wrestle with. Let us break down the pros and cons of each approach.
DIY Installation: Pros and Cons
If you have experience with electrical work — perhaps you have installed outlets, replaced breakers, or wired a sub-panel — you may feel confident tackling an EV charger installation. The potential savings are significant: you would only pay for materials ($150 to $500 for wire, conduit, breaker, and receptacle) and the permit fee, saving $500 to $1,500 in labor.
However, DIY electrical work carries serious risks:
- Safety hazards: A 240-volt circuit can be lethal if handled improperly. Arc faults, improper grounding, and undersized wire can cause fires.
- Code violations: If your installation does not meet NEC requirements, it will fail inspection — or worse, pass initially but create a hidden hazard.
- Insurance implications: Unpermitted or improperly installed electrical work can void your homeowner's insurance coverage.
- Warranty issues: Some charger manufacturers require professional installation to honor the product warranty.
Professional Installation: Pros and Cons
Hiring a licensed electrician is the recommended path for the vast majority of homeowners. A professional will ensure code compliance, pull the necessary permits, and provide a workmanship warranty. The trade-off is cost: professional installation typically adds $500 to $2,000 in labor on top of materials.
When hiring an electrician, look for the following:
- Licensed and insured in your state or locality
- Experience specifically with EV charger installations
- Willingness to pull permits and schedule inspections
- Written estimates with a clear scope of work
- References or reviews from previous EV charger clients
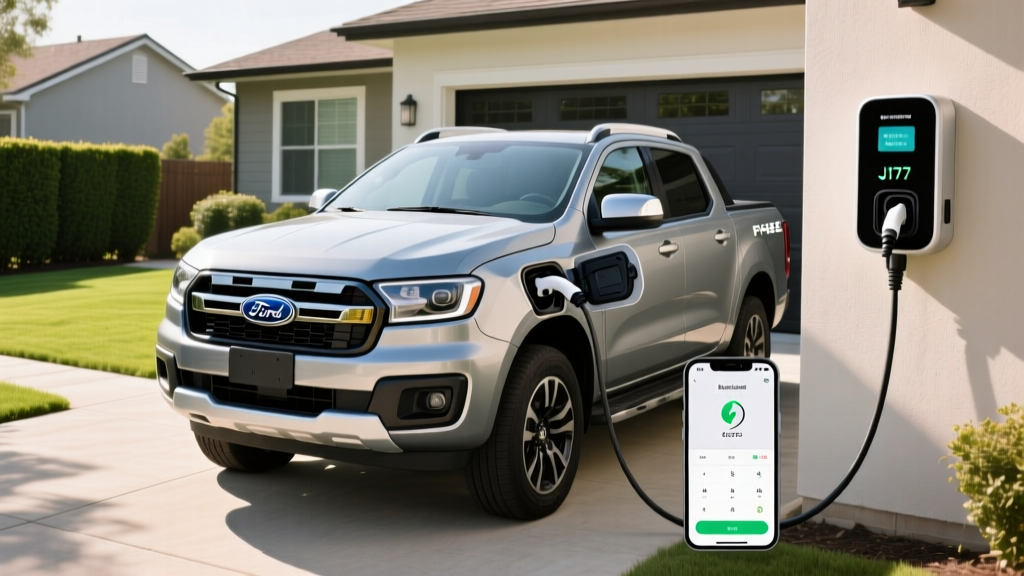
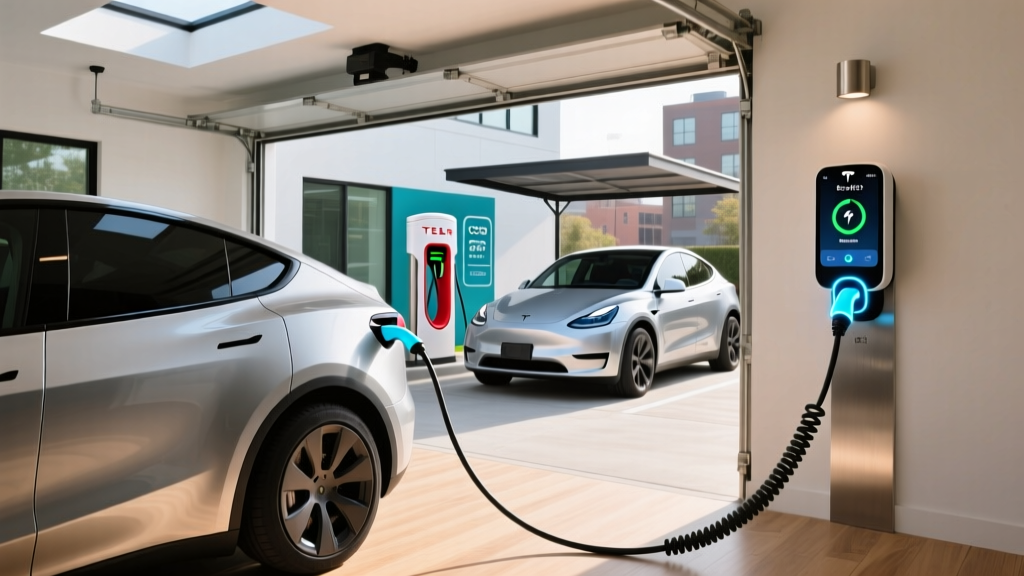
Many EV manufacturers, including Tesla and Ford, maintain lists of recommended installers. Additionally, platforms like Qmerit and HomeAdvisor connect homeowners with pre-vetted EV charger electricians in their area. For more guidance on choosing the right charger before you schedule installation, read our complete EV charger buying guide.
Complete EV Charger Installation Cost Breakdown
Now let us get into the numbers. The total cost of EV charger installation depends on several variables, which we will break down into categories below.
The Charger Unit Itself
Level 2 home chargers range from $200 to $800 depending on features, brand, and amperage. Basic 32-amp units from reputable brands start around $200 to $350, while premium 48- to 80-amp smart chargers with Wi-Fi connectivity, load management, and energy monitoring can cost $500 to $800 or more. Explore our best Level 2 charger reviews for top-rated options at every price point.
Electrical Materials
Wire, conduit, breakers, receptacles, junction boxes, and mounting hardware typically add $100 to $500 to the project. The cost scales with the distance between your electrical panel and the charger location. Longer wire runs mean more copper — and copper prices fluctuate, so this cost can vary.
Labor Costs
Electricians typically charge $75 to $150 per hour, with most straightforward installations taking 2 to 4 hours. This puts labor costs in the range of $300 to $1,000 for a simple garage installation near the panel. Complex installations involving long wire runs, conduit through masonry, or sub-panel installation can push labor costs to $1,500 to $2,500+.
Electrical Panel Upgrade
If your home's electrical panel lacks capacity, you may need an upgrade. Upgrading from a 100-amp to a 200-amp panel typically costs $1,500 to $3,000. In some cases, a sub-panel installation ($500 to $1,200) can provide a more affordable alternative by adding circuit capacity without replacing the main panel.
Permit and Inspection Fees
As mentioned earlier, expect to pay $50 to $200 for permits. Some municipalities include the inspection in the permit fee, while others charge separately.
Optional Upgrades
Some homeowners choose to add the following during installation:
- EV-dedicated sub-panel: $500 – $1,200 (useful for future-proofing or managing multiple chargers)
- Whole-home surge protector: $200 – $500 (protects your charger and other electronics)
- Smart load management system: $200 – $600 (allows the charger to dynamically adjust power draw based on household demand)
- Outdoor-rated weatherproof enclosure: $50 – $200 (for exterior installations)
- Trenching for detached garages: $500 – $2,000+ (depends on distance and soil conditions)
Total Cost Summary
| Scenario | Estimated Total Cost |
|---|---|
| Simple installation (panel nearby, no upgrades) | $500 – $1,200 |
| Standard installation (moderate wire run, permit) | $1,000 – $2,000 |
| Complex installation (long run, sub-panel, trenching) | $2,000 – $4,000+ |
| Full panel upgrade + installation | $2,500 – $5,000+ |
Keep in mind that many utility companies and state governments offer rebates and tax incentives that can offset a significant portion of these costs. The Department of Energy's Alternative Fuels Data Center maintains a searchable database of available incentives by state.
Safety Tips and Best Practices for EV Charger Installation
Safety should always be the top priority when installing high-voltage electrical equipment. Follow these best practices to ensure a safe and reliable installation:
- Always turn off the main breaker before working inside your electrical panel. Verify that power is off using a non-contact voltage tester.
- Use a dedicated circuit for your EV charger. Sharing the circuit with other appliances can overload the breaker and create a fire hazard.
- Follow NEC Article 625 requirements for electric vehicle charging system equipment, including proper wire sizing, overcurrent protection, and grounding.
- Install GFCI protection as required by code. This is especially critical for outdoor installations where moisture exposure is a concern.
- Use properly rated receptacles and connectors. A NEMA 14-50 receptacle must be rated for the circuit's amperage and installed with the correct orientation.
- Ensure adequate ventilation around the charger unit, especially in enclosed garages. While Level 2 chargers produce minimal heat, proper airflow extends the unit's lifespan.
- Keep the charging cable organized and away from vehicle traffic paths to prevent tripping hazards and cable damage.
- Schedule annual inspections of your charger and circuit to check for loose connections, corrosion, or wear on the cable and connector.
- Register your charger with the manufacturer to receive firmware updates and safety recalls.
If you are considering solar integration with your EV charging setup, our guide on solar-powered EV charging covers everything you need to know about combining renewable energy with home charging.
Troubleshooting Common EV Charger Installation Issues
Even professionally installed EV chargers can occasionally experience issues. Here are the most common problems and how to address them:
Charger Will Not Power On
Check the circuit breaker in your electrical panel — it may have tripped. Reset it by switching it fully to OFF and then back to ON. If the breaker trips again immediately, do not continue resetting it. This indicates a short circuit or ground fault that requires professional diagnosis.
Charging Speed Is Slower Than Expected
Several factors can cause reduced charging speed. Verify that the charger's amperage setting matches the circuit breaker rating (the charger should be set to no more than 80% of the breaker's rated capacity). Check for voltage drop on long wire runs — if the wire gauge is too small for the distance, you may need to upgrade to a larger wire. Some vehicles also limit charging speed based on battery temperature or state of charge.
GFCI Breaker Trips Repeatedly
Nuisance GFCI tripping is a known issue with some charger and breaker combinations. This can be caused by accumulated leakage current from the charger's internal electronics. Solutions include using a breaker from a different manufacturer, ensuring all connections are tight and properly torqued, or consulting the charger manufacturer for firmware updates that address GFCI compatibility.
Wi-Fi Connectivity Problems with Smart Chargers
Smart chargers rely on Wi-Fi for scheduling, energy monitoring, and firmware updates. If your garage has poor Wi-Fi coverage, consider installing a Wi-Fi extender or mesh network node near the charger. Some chargers also support ethernet connections for more reliable connectivity.
Charger Display Shows Error Codes
Consult your charger's user manual for error code definitions. Common codes indicate ground faults, over-temperature conditions, or communication errors with the vehicle. In most cases, disconnecting power for 30 seconds and reconnecting will clear transient errors. Persistent errors require contacting the manufacturer's support team.
Frequently Asked Questions About EV Charger Installation Costs
Is it worth installing a Level 2 charger at home?
Absolutely. A Level 2 charger charges your vehicle 5 to 15 times faster than a standard Level 1 outlet, adding 20 to 60 miles of range per hour. For most EV owners, overnight charging on a Level 2 unit is more than sufficient to replenish a full day's driving. Additionally, home charging is significantly cheaper than public DC fast charging — typically costing $0.10 to $0.20 per kWh compared to $0.30 to $0.60 per kWh at public stations. Over the lifetime of your vehicle, the installation cost pays for itself many times over through fuel savings.
Can I install an EV charger myself to save money?
While technically possible for experienced DIYers with electrical knowledge, self-installation is not recommended for most homeowners. Working with 240-volt circuits carries serious safety risks, and improper installation can result in fire, electrocution, or voided insurance coverage. Most jurisdictions require permits and inspections for new 240-volt circuits, and failing an inspection due to code violations can end up costing more than hiring a professional in the first place. If you do choose to DIY, have a licensed electrician review your work before energizing the circuit.
Does my home need an electrical panel upgrade for an EV charger?
Not necessarily. Homes with 200-amp electrical service typically have sufficient capacity to add a 40- to 60-amp EV charging circuit without a panel upgrade. However, homes with older 100-amp panels, or those that already have significant electrical loads (electric heating, hot tub, workshop equipment), may need an upgrade. A licensed electrician can perform a load calculation to determine whether your panel can handle the additional demand. If an upgrade is needed, expect to pay $1,500 to $3,000 for a panel replacement.
Are there rebates or tax credits for EV charger installation?
Yes. Many utility companies offer rebates ranging from $100 to $1,000 for installing a qualified Level 2 charger. Some states and municipalities also provide additional incentives. At the federal level, the Alternative Fuel Vehicle Refueling Property Credit has historically offered tax credits for home charging equipment, though availability and terms change periodically. Check the Department of Energy's incentive database and your local utility's website for current programs in your area. Always verify eligibility requirements before purchasing equipment.
How long does EV charger installation take?
A straightforward installation — where the charger is mounted in a garage adjacent to the electrical panel — typically takes 2 to 4 hours. More complex installations involving long wire runs, conduit through walls or foundations, sub-panel installation, or trenching to a detached garage can take a full day or more. The permitting and inspection process adds additional time but usually runs concurrently: you can use the charger once the electrician completes the work, with the inspection following within a few days to a couple of weeks depending on your local building department's schedule.
Ready to find the perfect charger for your home? Browse our complete EV charger reviews and charging guides to make an informed decision before you schedule your installation.