Why Your Charging Setup Determines Your Real Toyota EV Range
The EPA posts a single range number on the window sticker, but any seasoned EV owner knows the truth: your actual Toyota EV range on any given day is a function of battery chemistry, ambient temperature, driving speed, and — critically — how you charge. A bZ4X owner who relies exclusively on DC fast charging and never tops up at home will see measurably more battery degradation over five years than one who uses a Level 2 home charger with smart scheduling. Charging isn't just fueling; it's battery management.
Toyota's current all-electric lineup centers on the 2026 bZ4X, which carries a 72.8 kWh usable battery (NMC chemistry) and an EPA-estimated range of 252 miles for the front-wheel-drive trim. The all-wheel-drive version drops to approximately 228 miles EPA. But those numbers assume optimal conditions. Highway driving at 75 mph, winter temperatures below freezing, and repeated DC fast-charging sessions can shave 15–30% off that figure. This guide shows you how to set up charging infrastructure that preserves your battery health and keeps your real-world range as close to the sticker as possible.
EPA estimate: 252 mi (FWD) / 228 mi (AWD)
Real-world highway (70–75 mph): ~210–225 mi (FWD)
Real-world winter (30°F, mixed driving): ~180–200 mi (FWD)
Source: fueleconomy.gov
Charging Levels Explained: kW, Speeds, and Range Added Per Hour
The single most important distinction in EV literacy is between kW (kilowatts), which measures power — the rate at which energy flows into your battery — and kWh (kilowatt-hours), which measures energy — the total capacity of the battery itself. Think of kW as the width of the pipe and kWh as the size of the tank. A wider pipe (higher kW) fills the tank faster, but the tank size (kWh) determines how far you can go.
| Level | Voltage / Amperage | Power (kW) | Miles of Range Added Per Hour | Best Use Case |
|---|---|---|---|---|
| Level 1 | 120V / 12A | ~1.4 kW | 3–5 mi/hr | Overnight top-up, PHEVs, emergencies |
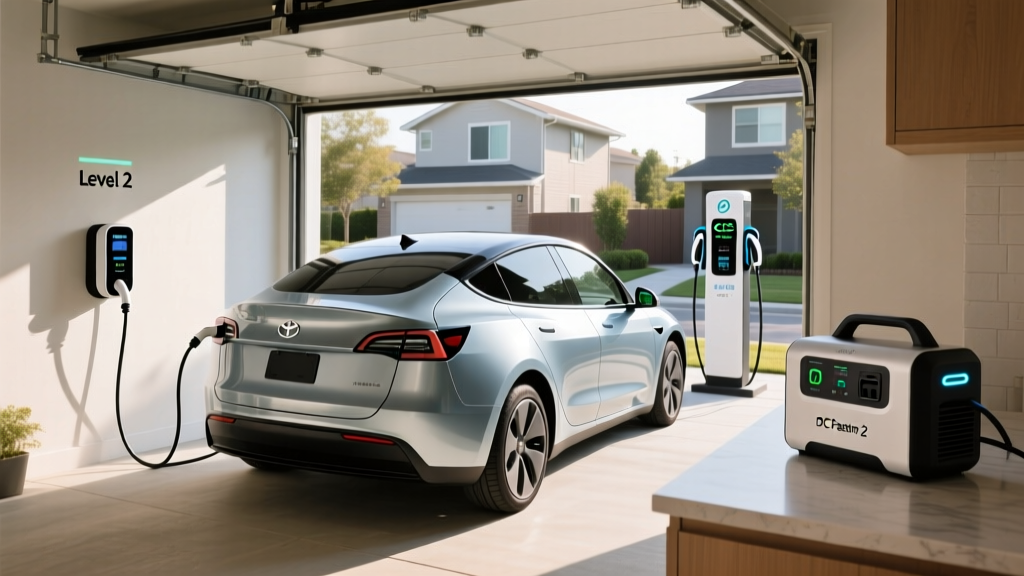
| Level 2 | 240V / 32–48A | 7.7–11.5 kW | 22–38 mi/hr | Daily home charging, workplace |
| DC Fast | 400–800V DC | 50–150 kW (bZ4X peak ~150 kW) | 150–250+ mi in 30 min | Road trips, quick top-ups |
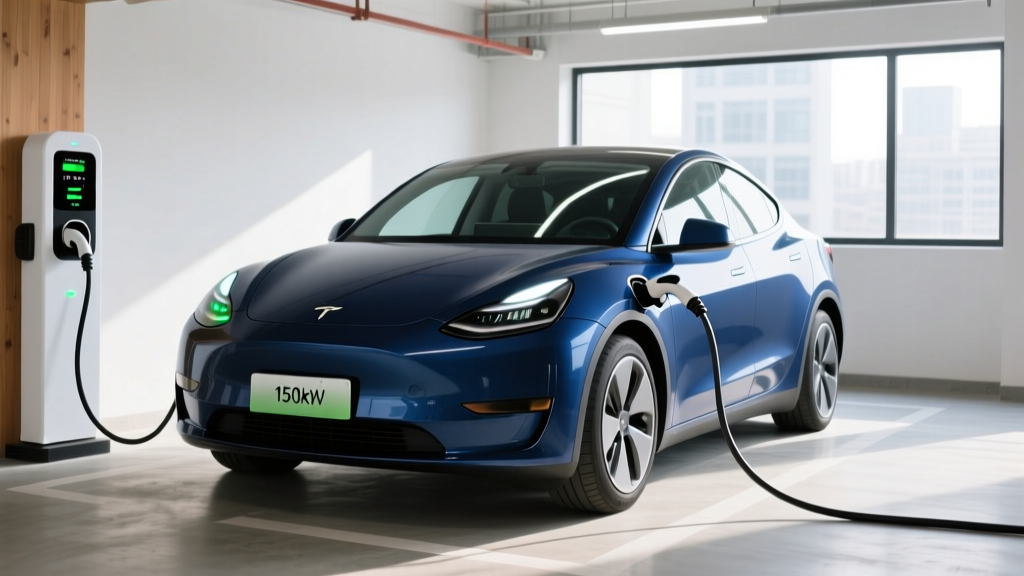
For the Toyota bZ4X, the onboard charger accepts up to 7.2 kW on Level 2 AC, meaning even if you install a 48-amp (11.5 kW) home charger, the car will only draw 7.2 kW. On DC fast charging, the bZ4X peaks at approximately 150 kW under ideal thermal conditions, though real-world sustained rates average closer to 80–100 kW across the 10–80% session due to the charge curve taper.
Home Charger Installation: Electrical Requirements and True Costs
Installing a Level 2 home charger is the single highest-impact upgrade you can make for daily EV ownership. It's also where homeowners encounter the most variable costs, because the price depends entirely on your electrical panel's capacity, the distance from the panel to the charger location, and local permitting requirements.
Electrical Requirements for a Level 2 Charger
A typical Level 2 charger for the bZ4X requires a 240-volt dedicated circuit rated at 40 amps (for a 32-amp continuous-draw charger) or 50 amps (for a 40-amp continuous-draw unit). The National Electrical Code requires circuits to be rated at 125% of the continuous load, so a charger drawing 32 amps continuously needs a 40-amp breaker, and one drawing 40 amps needs a 50-amp breaker.
Your home's main electrical panel must have sufficient spare capacity. Most modern homes with a 200-amp service panel can accommodate an EV charger without an upgrade. Older homes with 100-amp service may require a panel upgrade to 200 amps, which is the single largest cost variable in the entire installation.
| Cost Component | Typical Range | Notes |
|---|---|---|
| Level 2 Charger (Equipment) | $350–$750 | Smart Wi-Fi charger, 32–48A, 24ft cable |
| Electrician Labor | $400–$1,200 | Depends on run length, conduit, wall type |
| Permit & Inspection | $50–$250 | Required in most jurisdictions |
| Panel Upgrade (if needed) | $1,500–$3,500 | 100A → 200A service; not always required |
| Total (No Panel Upgrade) | $800–$2,200 | Most common scenario for 200A-panel homes |
| Total (With Panel Upgrade) | $2,300–$5,950 | Older homes, 100A service |
What Electrical Upgrades Might I Need?
Beyond the panel itself, your electrician will assess whether you need:
- Conduit runs: If the charger location is far from the panel (e.g., detached garage), trenching and conduit add $500–$1,500.
- GFCI breaker: NEC 2020 and later require GFCI protection for EV receptacles in garages. A 50-amp GFCI breaker costs $80–$150 more than a standard breaker.
- NEMA 14-50 receptacle vs. hardwired: A receptacle (outlet) gives you flexibility to unplug and take the charger when you move. Hardwired installations are slightly cheaper and eliminate one failure point, but lock you into that specific charger.
- Outdoor-rated equipment: If your charger is installed outside, both the charger unit and the receptacle must carry a NEMA 4 or IP65 weatherproof rating.
How Much Does It Cost to Install a Home EV Charger?
For most Toyota bZ4X owners with a modern 200-amp electrical panel and a garage within 30 feet of the panel, expect to spend $800–$2,200 total for a quality smart Level 2 charger, professional installation, and permit. If your home needs a panel upgrade, budget an additional $1,500–$3,500. Always get a quote from a licensed electrician before purchasing equipment — they'll confirm your panel capacity and recommend the appropriate circuit size.
Connector Compatibility: NACS, CCS, and What Toyota Uses
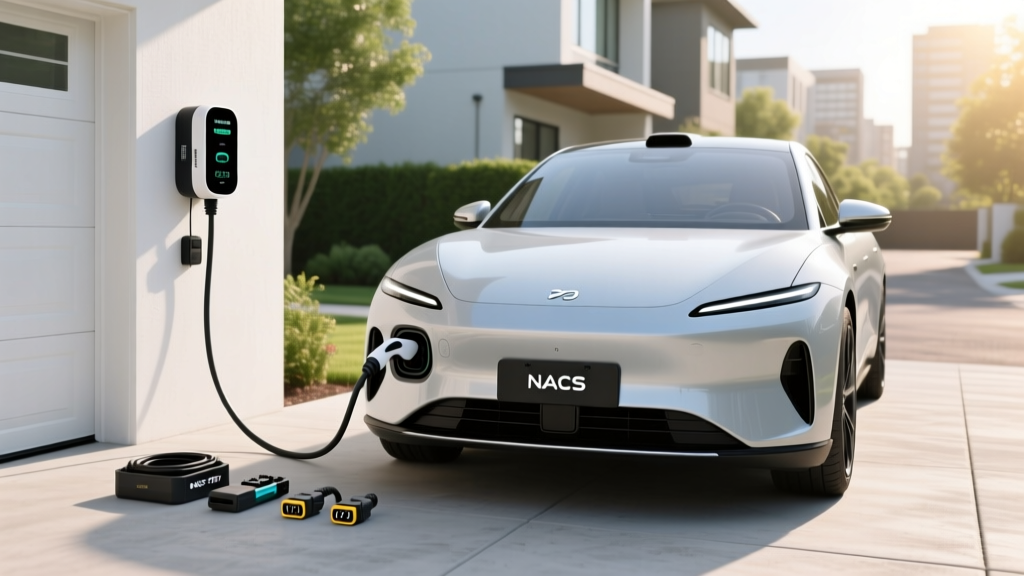
Toyota made a pivotal decision for the 2025 model year onward: the bZ4X adopted the NACS (North American Charging Standard) connector — the Tesla-designed plug that has become the de facto industry standard. This means 2025–2026 bZ4X models can access Tesla Supercharger stations natively, without an adapter, dramatically expanding the public fast-charging network available to Toyota EV owners.
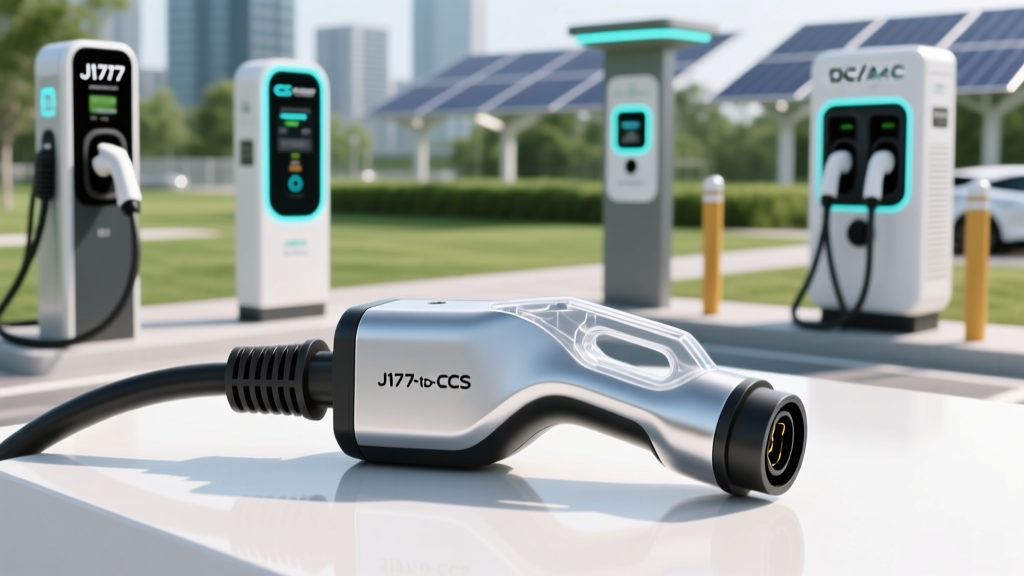
If you own a 2023–2024 bZ4X, your vehicle uses the CCS1 (Combined Charging System) connector. You'll need a CCS-to-NACS adapter (approximately $200–$250 from Toyota or third-party suppliers) to access Tesla Superchargers, and you'll use CCS-native stations on Electrify America, EVgo, and ChargePoint networks without any adapter.
| Connector | Model Years | Native Networks | Adapter Needed For |
|---|---|---|---|
| NACS | 2025–2026 bZ4X | Tesla Supercharger, increasingly EA/EVgo/ChargePoint | CCS1 stations (NACS-to-CCS adapter, ~$200) |
| CCS1 | 2023–2024 bZ4X | Electrify America, EVgo, ChargePoint CCS stalls | Tesla Supercharger (CCS-to-NACS adapter, ~$200–$250) |
| J1772 (AC only) | All model years (Level 2 AC) | All public Level 2 stations | NACS vehicles need J1772-to-NACS adapter for AC |
Which Connector/Charger Is Compatible with My EV?
For home Level 2 charging, the connector on the charger must match your vehicle. If you have a 2025–2026 NACS-equipped bZ4X, buy a NACS-connector home charger (or use a J1772 charger with the adapter that comes with the car). If you have a 2023–2024 CCS1 bZ4X, buy a J1772-connector charger — J1772 is the standard AC connector, and the CCS1 inlet on your car accepts J1772 for AC charging natively.
Recommended Home Chargers for the Toyota bZ4X
Since the bZ4X's onboard charger maxes out at 7.2 kW, you don't need a 48-amp charger to get full speed — a 32-amp unit (7.7 kW) is sufficient. However, installing a 40- or 48-amp charger future-proofs your setup for a next EV that may accept higher AC rates. Here are three units that balance performance, reliability, and value.
Emporia Vue Level 2 Smart Charger
Power Output: 48A / 11.5 kW (bZ4X will draw 7.2 kW)
Connector: J1772 or NACS
Cable Length: 24 ft
Smart Features: Wi-Fi, energy monitoring, solar integration, scheduled charging, load management
Price: ~$399
Best For: Budget-conscious buyers who want full smart features and energy tracking.
ChargePoint Home Flex
Power Output: Configurable 16–50A / up to 12 kW
Connector: J1772 or NACS
Cable Length: 23 ft
Smart Features: Wi-Fi, ChargePoint app, Alexa integration, flexible amperage via dip switch
Price: ~$549–$649
Best For: Owners who want a proven brand and the flexibility to adjust amperage to their panel capacity.
Tesla Wall Connector (NACS)
Power Output: 48A / 11.5 kW
Connector: NACS only
Cable Length: 24 ft
Smart Features: Wi-Fi, OTA updates, Power Share (load balancing with multiple units), access control
Price: ~$475
Best For: 2025–2026 NACS bZ4X owners who want seamless Supercharger-ecosystem integration at home.
Cost to Charge: Home vs. Public vs. Gas Comparison
The economic case for EV ownership hinges on the cost-per-mile advantage of electricity over gasoline — but that advantage varies enormously depending on where and when you charge. Below is a realistic breakdown for a Toyota bZ4X owner driving 12,000 miles per year, using an average efficiency of 3.6 miles per kWh (approximately 112 MPGe combined, per EPA data).
| Charging Scenario | Rate ($/kWh) | Cost Per Mile | Annual Cost (12,000 mi) |
|---|---|---|---|
| Home — Off-Peak (overnight) | $0.08–$0.12 | $0.02–$0.03 | $265–$395 |
| Home — Standard Rate | $0.13–$0.18 | $0.04–$0.05 | $435–$600 |
| Public Level 2 (workplace/mall) | $0.20–$0.35 | $0.06–$0.10 | $665–$1,170 |
| DC Fast Charging (road trips) | $0.35–$0.55 | $0.10–$0.15 | N/A (occasional use) |
| Gasoline Equivalent (28 MPG, $3.40/gal) | — | $0.12/mi | $1,455 |
How Much Does Charging Cost Per Mile vs. Gas?
At home off-peak rates, the bZ4X costs roughly $0.02–$0.03 per mile to fuel — about 75–80% less than a comparable gas SUV achieving 28 MPG at $3.40/gallon. Even at standard residential rates ($0.15/kWh), you're paying about $0.04/mile, still a 65%+ savings. The savings erode if you rely heavily on DC fast charging at $0.45/kWh, where cost-per-mile approaches gas parity. This is why home Level 2 charging is economically essential: it's where the EV value proposition is strongest.
Safety, Code Compliance, and Installation Best Practices
EV charging draws sustained high current for hours — a duty cycle far more demanding than typical household appliances. Cutting corners on installation is a fire risk. Here's what a proper, code-compliant installation requires:
- Dedicated circuit: Your EV charger must have its own breaker — never share a circuit with other loads (dryer, HVAC, etc.).
- Correct wire gauge: A 40-amp circuit requires 8 AWG copper wire; a 50-amp circuit requires 6 AWG. Undersized wire causes overheating.
- GFCI protection: NEC 2020+ requires ground-fault circuit-interrupter protection on EV receptacles in garages and outdoors. Hardwired chargers with built-in GFCI may satisfy this requirement — confirm with your inspector.
- Outdoor rating: Any outdoor charger or receptacle must be rated NEMA 4 (weatherproof) or IP65+. Use an in-use bubble cover for NEMA 14-50 receptacles.
- Permit and inspection: Most municipalities require an electrical permit for EV charger installation. The inspection ensures your wiring, breaker, and grounding meet code. Skipping this step can void your homeowner's insurance coverage for electrical fires.
Always hire a licensed electrician. The National Electrical Code (NEC) governs EV charging installations, and local amendments may impose additional requirements. Your electrician will pull the permit and schedule the inspection as part of the job.
Public Charging Strategy: Maximizing Range on the Road
For road trips in the bZ4X, your charging strategy directly affects trip time and battery longevity. Here's how to optimize:
- Precondition the battery: If your bZ4X supports navigation-based preconditioning, set the charger as your destination. The car will warm or cool the battery to the optimal temperature for fast charging, reducing your 10–80% time by 5–10 minutes in cold weather.
- Charge between 10–80%: The charge curve tapers sharply above 80%. Charging from 80–100% on DC fast charging can take as long as 10–80%. Plan to arrive at your next stop with ~15–20% and charge to 80%, then move on.
- Use the right network: 2025–2026 NACS bZ4X owners should prioritize Tesla Superchargers (via the Toyota app or Plug & Charge). 2023–2024 CCS1 owners should use Electrify America or EVgo stations with 150+ kW stalls.
- Avoid daily DC fast charging: Frequent DC fast charging accelerates battery degradation. Studies show batteries charged primarily on DC fast charging lose 2–4% more capacity over 5 years compared to Level 2 charging. Reserve DC for road trips.
Frequently Asked Questions
How fast will each charging level add range to my Toyota bZ4X?
Level 1 (120V) adds approximately 3–5 miles of range per hour — enough for overnight top-ups of 30–40 miles if you plug in for 10 hours. Level 2 (240V, 32A) adds roughly 22–26 miles per hour, fully recharging the bZ4X from empty in about 10 hours. DC fast charging at 150 kW can add 150+ miles in approximately 30 minutes (10–80% SoC), though the rate tapers significantly above 80%.
Can I use a Tesla Supercharger with my Toyota bZ4X?
Yes, if you have a 2025–2026 model year bZ4X with the native NACS port. For 2023–2024 bZ4X models with the CCS1 port, you'll need a CCS-to-NACS adapter (approximately $200–$250). Toyota has confirmed compatibility with the Tesla Supercharger network for adapter-equipped CCS1 vehicles.
Will home charging degrade my bZ4X battery faster than public charging?
The opposite is true. Home Level 2 charging at moderate power (7.2 kW) generates far less heat than DC fast charging (150 kW), and heat is the primary driver of lithium-ion battery degradation. Toyota's battery warranty covers 8 years / 100,000 miles with a capacity retention threshold of 70%. Owners who primarily charge at home on Level 2 typically see 5–8% degradation over 5 years, versus 8–12% for those who rely heavily on DC fast charging.
Do I need a smart charger, or will a basic unit work?
A basic (non-smart) Level 2 charger will charge your bZ4X just fine. However, smart chargers offer scheduled charging (to take advantage of off-peak electricity rates), energy monitoring, remote start/stop via app, and load management (which prevents tripping your main breaker if you're running the dryer and charger simultaneously). For $50–$150 more than a dumb charger, a smart unit pays for itself in electricity savings within 1–2 years if your utility offers time-of-use rates.
What happens if my electrical panel doesn't have room for a new breaker?
If your panel is full — no spare slots — your electrician may be able to install a tandem breaker (two circuits in one slot, if your panel supports it) or add a sub-panel. In some cases, a smart load-management device like the Emporia Smart Load Center can share capacity between your EV charger and another large appliance (e.g., dryer), avoiding a panel upgrade. This typically costs $200–$400 for the device plus installation, significantly less than a full panel upgrade.