Sigenergy EV Charger Installation Manual PDF & Complete Setup Guide
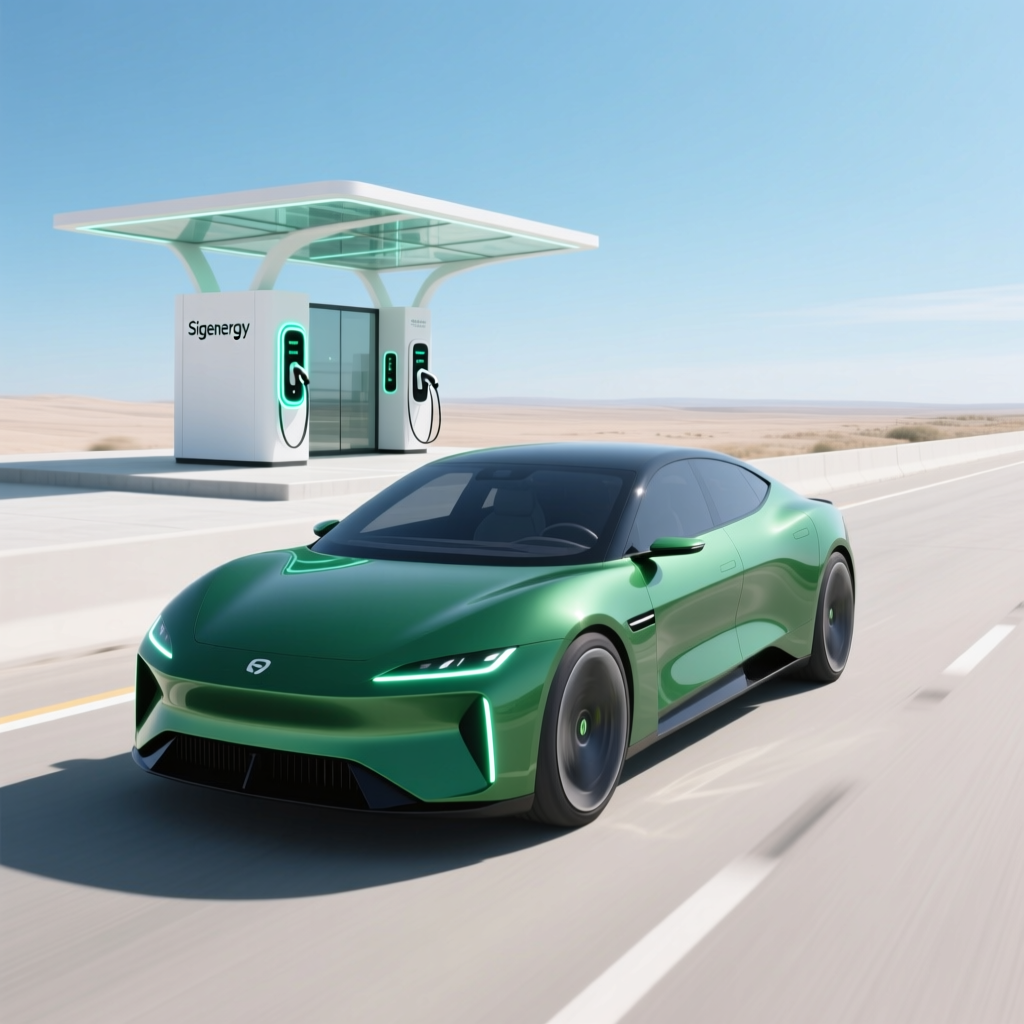
If you've recently purchased a Sigenergy electric vehicle charger or are planning to add one to your home energy ecosystem, you're making a smart investment in the future of sustainable transportation. Sigenergy has rapidly become one of the most talked-about names in residential EV charging, combining intelligent energy management with sleek hardware design. But before you can enjoy effortless charging sessions, there's a critical step that stands between you and a fully operational setup: proper installation.
This comprehensive guide walks you through everything you need to know about Sigenergy EV charger installation — from locating and downloading the official installation manual PDF to completing a safe, code-compliant setup. Whether you're a confident DIYer evaluating the project scope or a homeowner preparing to hire a licensed electrician, this article gives you the knowledge to make informed decisions.
- Difficulty Level: Advanced (electrical work required — licensed electrician strongly recommended)
- Estimated Time: 2–5 hours for a professional installation
- Estimated Cost: $500–$2,500+ depending on electrical panel upgrades, wiring distance, and local permit fees
- Tools Required: Voltage tester, wire strippers, drill, conduit bender, torque screwdriver, level
For a broader look at how the Sigenergy charger compares to other top models on the market, check out our best home EV chargers roundup and our detailed Sigenergy product review.
Prerequisites & Requirements for Sigenergy EV Charger Installation
Before you download the Sigenergy EV charger installation manual PDF or pick up any tools, it's essential to confirm that your home's electrical system can support the charger. Sigenergy chargers — including the popular SigenStor and home EV charger lineup — typically require a dedicated 240-volt circuit, similar to what powers a clothes dryer or electric oven. Here's a breakdown of what you'll need.
Electrical Panel Capacity
Your home's main electrical panel must have sufficient amperage capacity to handle the additional load of an EV charger. Most Sigenergy home chargers draw between 32 amps and 48 amps, which means you'll need a dedicated circuit rated at 40 to 60 amps, respectively. The National Electrical Code (NEC) requires that continuous loads — defined as those operating for three hours or more — must not exceed 80% of a circuit breaker's rated capacity. EV charging sessions frequently last well beyond three hours, so this rule applies directly.
If your home has a 100-amp service panel that's already near capacity, you may need a panel upgrade to 200 amps before installation can proceed. A licensed electrician can perform a load calculation to determine whether your existing panel is adequate.
Circuit Breaker & Wiring Specifications
The Sigenergy installation manual specifies the exact breaker size and wire gauge required for each charger model. In general:
- 32-amp charger: Requires a 40-amp double-pole breaker with 8 AWG copper wire
- 40-amp charger: Requires a 50-amp double-pole breaker with 6 AWG copper wire
- 48-amp charger: Requires a 60-amp double-pole breaker with 4 AWG copper wire
Wire runs exceeding certain distances may require an upsized gauge to account for voltage drop. The official Sigenergy installation manual PDF provides detailed tables for these scenarios.
Mounting Location & Clearances
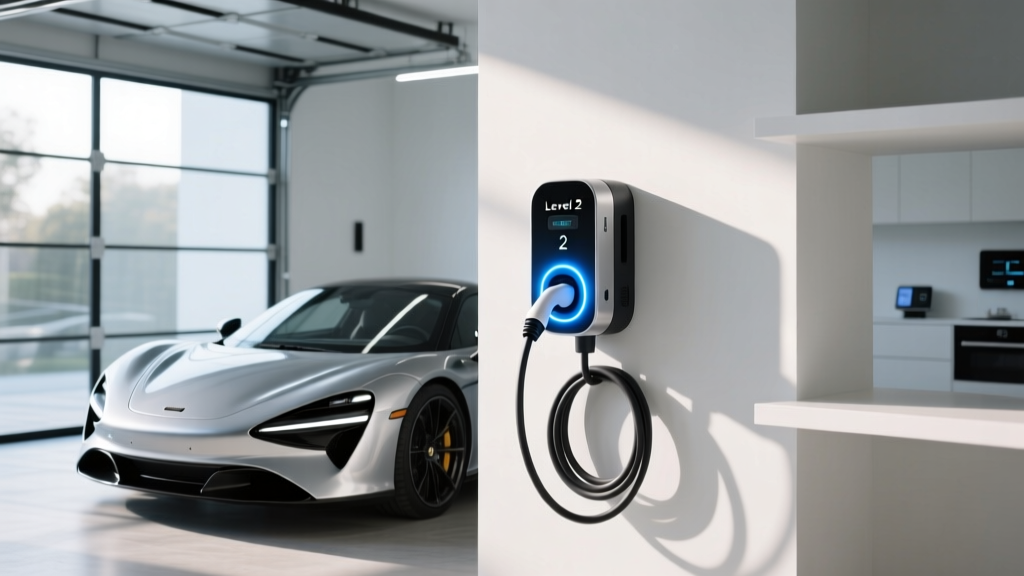
Sigenergy chargers are designed for both indoor and outdoor installation. When selecting a mounting location, consider the following:
- The charger should be within reach of your vehicle's charge port with the cable fully extended
- Mount the unit at a height between 3.5 and 5 feet from the ground for ergonomic access
- Ensure at least 12 inches of clearance on all sides for ventilation and maintenance access
- For outdoor installations, verify that your specific Sigenergy model carries an appropriate IP rating (IP55 or higher) for weather resistance
- Avoid mounting near gas meters, vents, or combustible materials
Wi-Fi & Network Requirements
Most Sigenergy chargers feature smart capabilities, including remote monitoring, scheduled charging, and integration with solar energy systems. A stable 2.4 GHz Wi-Fi connection is typically required for these features. If your charger will be installed in a garage or outdoor location with poor Wi-Fi coverage, consider setting up a Wi-Fi extender or mesh network node beforehand.
For more on setting up smart charging features, see our smart EV charging setup guide.
How to Download the Sigenergy EV Charger Installation Manual PDF for Free
Sigenergy provides official installation documentation for all of its charger models. Here's how to locate and download the correct manual for your unit:
- Visit the Official Sigenergy Website: Navigate to the support or downloads section of the Sigenergy website. Manufacturers typically host installation manuals, user guides, and firmware update files in a dedicated resource center.
- Identify Your Exact Model: Locate the model number on your charger's nameplate or packaging. Sigenergy offers several charger variants, and using the wrong manual could lead to incorrect wiring or configuration.
- Download the PDF: Click the download link for the installation manual corresponding to your model. Save the file to your device for offline reference during the installation process.
- Review the Entire Document Before Starting: Read through the complete manual before beginning any work. Pay special attention to the wiring diagrams, torque specifications, and safety warnings.
If you're unable to locate the manual on the manufacturer's website, contact Sigenergy customer support directly or reach out to your authorized dealer. Some jurisdictions also require that installation manuals be included in the product packaging.
Step-by-Step Sigenergy EV Charger Installation Guide
The following steps outline a typical hardwired Sigenergy EV charger installation. If your model uses a NEMA 14-50 plug instead of a hardwired connection, some steps will differ — refer to your specific manual for plug-in installation procedures. For a general overview of EV charger wiring approaches, visit our EV charger wiring guide.
Step 1: Turn Off Power at the Main Panel
Before performing any electrical work, shut off the main breaker in your electrical panel. Use a non-contact voltage tester to confirm that the panel bus bars and the area where you'll be working are completely de-energized. Never rely solely on the breaker position indicator — always verify with a tester.
Step 2: Install the Dedicated Circuit Breaker
Install the appropriately sized double-pole breaker into an available slot in your electrical panel. Ensure the breaker is compatible with your panel brand and model — mixing breaker brands with panels can create unsafe conditions and may violate code. Connect the hot wires from your cable run to the breaker terminals and tighten to the manufacturer's specified torque.
Step 3: Run Conduit & Wiring
Route conduit from the electrical panel to the charger mounting location. Depending on your local code requirements and the installation environment, you may use:
- EMT (Electrical Metallic Tubing): Common for interior garage installations
- PVC conduit: Suitable for outdoor and underground runs
- Flexible metal conduit: Useful for short transitions and tight bends
Pull the appropriate gauge THHN/THWN copper conductors through the conduit: two hot wires (black and red), one neutral (white, if required by your model), and one ground (green or bare). The Sigenergy installation manual PDF specifies whether a neutral wire is required for your particular charger model.
Step 4: Mount the Charger Unit
Using the mounting template provided in the installation manual, mark the drill points on your wall. Ensure the mounting surface is structurally sound — stud mounting is strongly recommended for drywall installations. Use the provided hardware or appropriate anchors rated for the charger's weight. Level the unit before fully tightening the mounting screws.
Step 5: Make the Electrical Connections
Open the charger's wiring compartment and connect the conductors according to the wiring diagram in the Sigenergy manual:
- Connect the two hot wires (L1 and L2) to the designated terminals
- Connect the ground wire to the grounding terminal or grounding lug
- If required, connect the neutral wire to the neutral terminal
- Tighten all terminal screws to the torque values specified in the manual — this is critical for preventing loose connections that can cause arcing and overheating
After making all connections, gently tug each wire to confirm it's securely fastened. Replace the wiring compartment cover.
Step 6: Power On & Initial Configuration
Return to the electrical panel and turn on the new circuit breaker, then restore the main breaker. The Sigenergy charger should power on and display its startup sequence. Follow the on-screen prompts or the mobile app instructions to:
- Connect the charger to your Wi-Fi network
- Register the device in the Sigenergy app
- Configure charging parameters such as maximum current, scheduling preferences, and integration with solar or battery systems if applicable
- Run a test charge with your EV to confirm proper operation
Permits, Inspections & Code Compliance
One of the most frequently overlooked aspects of EV charger installation is the permitting process. In most jurisdictions across the United States, adding a new 240-volt circuit requires an electrical permit and a subsequent inspection. Here's what you need to know.
Why Permits Matter
Electrical permits exist to ensure that all work meets the safety standards established by the National Electrical Code (NEC) and any local amendments. The U.S. Department of Energy strongly recommends that all EV charging equipment installations comply with applicable codes and undergo professional inspection. Skipping permits can result in:
- Fines and penalties from your local building department
- Voided homeowner's insurance coverage in the event of an electrical fire
- Difficulty selling your home if unpermitted work is discovered during a property inspection
- Voided manufacturer warranty if the charger was not installed according to code
The Permitting Process
- Apply for an electrical permit through your local building department. Many jurisdictions now offer online applications.
- Pay the permit fee, which typically ranges from $50 to $200 depending on your location and the scope of work.
- Complete the installation according to the Sigenergy installation manual and all applicable codes.
- Schedule an inspection with your local electrical inspector. The inspector will verify proper breaker sizing, wire gauge, grounding, GFCI protection (where required), conduit installation, and overall workmanship.
- Receive approval and keep a copy of the inspection report with your home's important documents.
- A dedicated branch circuit for the EV charger — it cannot share a circuit with other appliances
- GFCI protection for receptacle-based (plug-in) installations in garages and outdoor locations
- Proper cable management to prevent tripping hazards and cable damage
- Adequate ventilation for indoor installations, particularly in enclosed garages
- Disconnecting means within sight of the charger for hardwired installations exceeding 60 amps
- You have prior experience working with 240-volt circuits and your home's electrical panel
- Your panel has adequate capacity and available breaker slots
- The wiring run from the panel to the charger location is short and straightforward (e.g., the panel is in the garage near the mounting location)
- You're comfortable pulling permits and coordinating inspections
- Your local jurisdiction allows homeowner-permitted electrical work (some areas require a licensed contractor for all 240V installations)
- Safety: Working inside an electrical panel exposes you to lethal voltages, even when the main breaker is off. The service entrance conductors remain energized at all times.
- Code compliance: Professional electricians are trained on current NEC requirements and local amendments. They know the specific rules for EV charger installations in your area.
- Warranty protection: Sigenergy's warranty may require professional installation to remain valid. Check your warranty documentation before proceeding with DIY.
- Insurance considerations: Many homeowner's insurance policies require that electrical work be performed by a licensed professional. Unpermitted or improperly installed equipment may not be covered in the event of a claim.
- Time and convenience: An experienced electrician can typically complete a straightforward installation in 2–4 hours, including testing and cleanup.
- Always verify power is off before touching any wires or terminals. Use a reliable non-contact voltage tester and a multimeter for confirmation.
- Never work alone when dealing with your electrical panel. Have someone nearby who can call emergency services if needed.
- Use properly rated tools — insulated screwdrivers, wire strippers rated for the correct gauge, and torque screwdrivers for terminal connections.
- Follow torque specifications exactly. Under-torqued connections create resistance and heat; over-torqued connections can damage terminals and strip threads.
- Label the new breaker clearly in your panel directory as "EV Charger" for future reference.
- Install a surge protector on the dedicated circuit if your area is prone to electrical storms or grid fluctuations. This protects the charger's sensitive electronics.
- Keep the installation manual accessible — store a printed copy near the charger or in your home maintenance binder for future troubleshooting.
- Test the GFCI function (if applicable) monthly by pressing the test button on the breaker or receptacle.
- Inspect the cable and connector regularly for signs of wear, cracking, or damage. Replace damaged cables immediately through an authorized Sigenergy service provider.
NEC Requirements Specific to EV Chargers
The NEC includes several articles that directly apply to EV charger installations, most notably Article 625 (Electric Vehicle Charging System Equipment). Key requirements include:
DIY Installation vs. Hiring a Professional Electrician
One of the most important decisions you'll face is whether to install the Sigenergy charger yourself or hire a licensed electrician. Let's weigh both options honestly.
When DIY Might Be Appropriate
A DIY installation may be reasonable if all of the following are true:
Why Hiring a Professional Is Usually the Better Choice
For the vast majority of homeowners, hiring a licensed electrician is the recommended path. Here's why:
How to Find a Qualified Installer
When searching for an electrician, look for professionals who hold a current state or local electrical license, carry liability insurance, have specific experience with EV charger installations, and are familiar with Sigenergy products or similar smart chargers. You can often find certified installers through the Sigenergy dealer network or through your utility company's recommended contractor list. For more tips on choosing the right professional, see our EV charger installer selection guide.
Sigenergy EV Charger Installation Cost Breakdown
Understanding the full cost picture helps you budget accurately and avoid surprises. Here's a detailed breakdown of typical expenses associated with a Sigenergy EV charger installation.
| Cost Category | Estimated Range | Notes |
|---|---|---|
| Sigenergy Charger Unit | $400–$900 | Varies by model and power output |
| Electrical Permit | $50–$200 | Depends on local jurisdiction |
| Electrician Labor (Standard Install) | $300–$800 | Short wire run, adequate panel capacity |
| Electrician Labor (Complex Install) | $800–$1,500+ | Long wire runs, conduit through walls, trenching |
| Electrical Panel Upgrade | $1,500–$3,500 | Required if panel lacks capacity (100A to 200A upgrade) |
| Materials (Wire, Conduit, Breaker) | $100–$400 | Depends on wire gauge and run length |
| Wi-Fi Extender (if needed) | $30–$100 | For garage locations with poor signal |
Total estimated cost for a standard installation: $850–$2,100 (assuming adequate panel capacity and a moderate wire run).
Available Rebates & Incentives
Many utility companies and state or local governments offer rebates for EV charger installations that can significantly offset your costs. The U.S. Department of Energy maintains resources on available incentives. Additionally, federal tax credits for residential alternative energy equipment may apply in certain situations. Check with your tax professional and local utility for the most current programs.
Safety Tips & Best Practices
Electrical work demands rigorous attention to safety. Follow these best practices whether you're performing the installation yourself or overseeing a professional electrician's work.
Troubleshooting Common Sigenergy Installation Issues
Even with careful installation, you may encounter issues during setup or initial operation. Here are solutions to the most common problems.
Charger Does Not Power On
If the charger shows no signs of life after installation, check the following: verify the circuit breaker is in the ON position, confirm that the wiring connections at both the breaker and the charger are secure, check for a tripped GFCI breaker, and use a multimeter to verify that 240 volts are present at the charger's input terminals. If power is present but the unit won't turn on, contact Sigenergy support — the unit may have a manufacturing defect covered under warranty.
Wi-Fi Connection Fails
Smart features require a stable Wi-Fi connection. If the charger cannot connect to your network, ensure your router broadcasts a 2.4 GHz signal (many chargers are not compatible with 5 GHz-only networks), move the router closer or install a Wi-Fi extender, and check that your network password doesn't contain special characters that the charger's interface may not support.
Charging Starts but Stops Intermittently
Intermittent charging can be caused by loose wiring connections, an undersized circuit breaker that trips under load, voltage drop due to an excessively long or undersized wire run, or a communication error between the charger and the vehicle. Tighten all connections to spec, verify breaker sizing, and consult the error codes displayed in the Sigenergy app for further diagnosis.
Error Codes on the Display or App
The Sigenergy app and charger display communicate specific error codes when faults are detected. Refer to the error code table in your installation manual PDF for model-specific definitions and recommended actions. Common categories include ground fault errors, over-temperature warnings, over-current protection events, and communication faults.
Charger Gets Warm During Operation
Some warmth is normal during high-power charging sessions. However, if the unit feels excessively hot or the app reports over-temperature warnings, verify that the charger has adequate clearance for ventilation on all sides, the ambient temperature in the installation area is within the manufacturer's specified operating range, and the wiring connections are tight — loose connections generate excess heat.
Frequently Asked Questions
Can I install a Sigenergy EV charger myself without an electrician?
While it's technically possible for someone with advanced electrical knowledge to install a Sigenergy charger, it is strongly recommended that you hire a licensed electrician. Working with 240-volt circuits carries significant risk of shock, fire, and equipment damage. Additionally, many jurisdictions require licensed professionals for this type of work, and DIY installation may void your Sigenergy warranty. If you do choose to proceed with DIY, you must still obtain the proper permits and pass inspection.
Where can I find the Sigenergy EV charger installation manual PDF?
The official Sigenergy EV charger installation manual PDF can be downloaded from the Sigenergy website's support or downloads section. You'll need your charger's exact model number to find the correct document. The manual is also typically included in the product packaging. If you cannot locate it, contact Sigenergy customer support or your authorized dealer for a direct download link.
Do I need a permit to install a Sigenergy EV charger at home?
In most U.S. jurisdictions, yes — installing a new 240-volt circuit for an EV charger requires an electrical permit and a subsequent inspection. The permit ensures that the installation meets National Electrical Code requirements and local amendments. Failing to obtain a permit can result in fines, insurance complications, and problems when selling your home. Your electrician will typically handle the permit application as part of their service.
How long does a Sigenergy EV charger installation take?
A straightforward installation with a short wire run and adequate panel capacity typically takes a professional electrician 2 to 4 hours. More complex installations — those requiring long conduit runs, panel upgrades, trenching for outdoor circuits, or wall penetrations — may take a full day or longer. The permitting and inspection process adds additional time but is usually handled within one to two weeks of the installation.
Will installing a Sigenergy charger increase my electric bill significantly?
Your electricity costs will increase to reflect the energy used for vehicle charging, but EV charging is generally far less expensive per mile than gasoline. The actual cost depends on your local electricity rates, your vehicle's efficiency, and how much you drive. Many utility companies offer time-of-use rates that make overnight charging especially affordable. If you pair your Sigenergy charger with a home solar system or battery storage, your net charging costs can be reduced substantially. Visit our EV charging cost calculator to estimate your monthly expenses.
For more in-depth guidance on home EV charging, explore our complete EV charging guides library or browse our EV charger reviews to compare the Sigenergy with other top-rated options.