Level 2 EV Charger Installation: The Complete Home Setup Guide
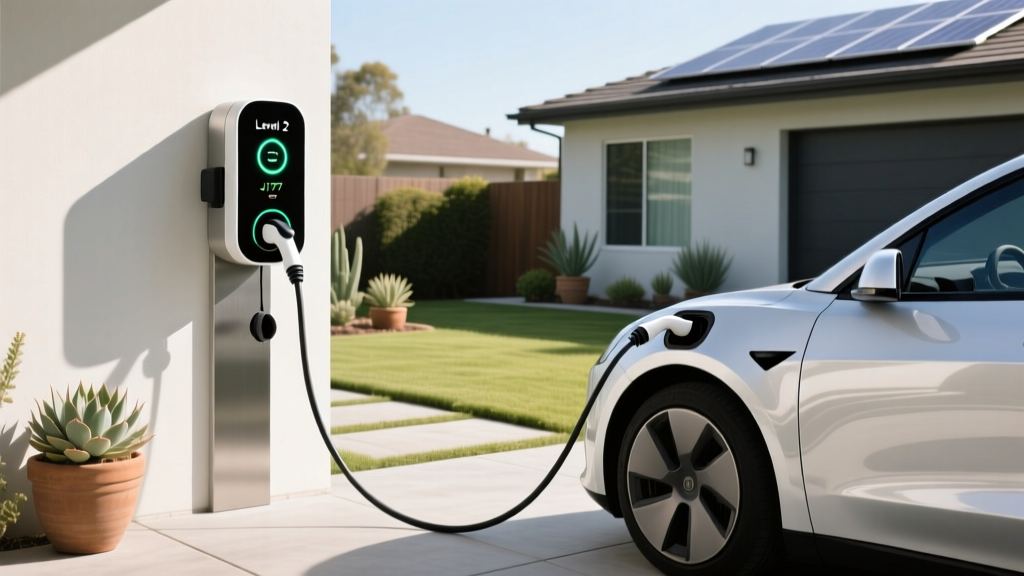
Upgrading to a Level 2 EV charger is one of the most impactful improvements you can make to your electric vehicle ownership experience. While a standard Level 1 charger plugged into a regular 120-volt outlet might add 3 to 5 miles of range per hour, a properly installed Level 2 charger operating on a 240-volt circuit can deliver anywhere from 12 to 80 miles of range per hour — transforming overnight charging into a seamless, worry-free routine.
This guide walks you through every aspect of Level 2 EV charger installation, from electrical requirements and permitting to step-by-step setup and long-term safety considerations. Whether you are planning a DIY approach or hiring a licensed electrician, you will find the information you need to make confident decisions.
At a Glance:
- Difficulty Level: Moderate to Advanced (electrical work required)
- Estimated Cost: $500 – $2,500+ (charger + installation)
- Time Required: 2 – 6 hours for installation; 1 – 4 weeks for permitting
- Electrical Requirement: Dedicated 240V circuit (NEMA 14-50 or hardwired)
- Recommended: Licensed electrician for all electrical work
If you are still deciding which charger is right for your vehicle, check out our best Level 2 EV chargers roundup for top-rated options across every budget and vehicle type.
Electrical Requirements & Prerequisites for Level 2 Charger Installation
Before you unbox your new charger or schedule an electrician, it is essential to understand the electrical infrastructure required to support a Level 2 EV charging station. Level 2 chargers operate on 240-volt alternating current (AC), the same type of power that runs your electric dryer, oven, or HVAC system.
Voltage & Amperage Basics
Most Level 2 chargers require a dedicated 240V circuit and draw between 16 amps and 80 amps depending on the unit. The most common residential setups involve:
- 32-amp chargers: Require a 40-amp circuit breaker (National Electrical Code requires circuits to be rated at 125% of continuous load)
- 40-amp chargers: Require a 50-amp circuit breaker
- 48-amp chargers: Require a 60-amp circuit breaker
- 80-amp chargers: Require a 100-amp circuit breaker and typically must be hardwired
According to the National Electrical Code (NEC) Article 625, EV charging is classified as a continuous load, meaning the circuit must be rated for at least 125% of the charger's maximum amperage draw. This is a critical safety standard that prevents overheating and electrical fires.
Electrical Panel Capacity
Your home's electrical panel must have sufficient capacity to support the additional load of an EV charger. Most modern homes have a 200-amp main service panel, which can typically accommodate a Level 2 charger without issue. However, older homes with 100-amp panels may require a panel upgrade before installation can proceed.
To assess your panel capacity:
- Locate your main breaker and note the amperage rating (e.g., 100A, 150A, 200A)
- Calculate your existing electrical load by adding up the amperage of all major appliances
- Determine available headroom by subtracting your existing load from the panel's total capacity
- Ensure at least 40–100 amps of available capacity depending on your chosen charger
A licensed electrician can perform a professional load calculation to determine whether your panel can handle the additional demand. If an upgrade is needed, expect to add $1,500 to $3,000 to your total project cost.
Outlet Types & Wiring
Level 2 chargers connect to your home's electrical system in one of two ways:
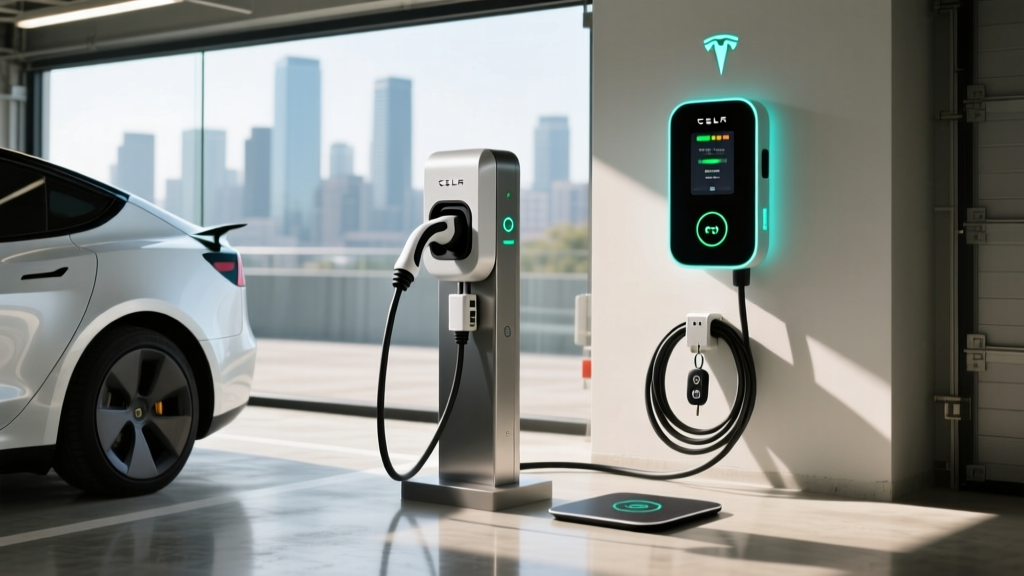
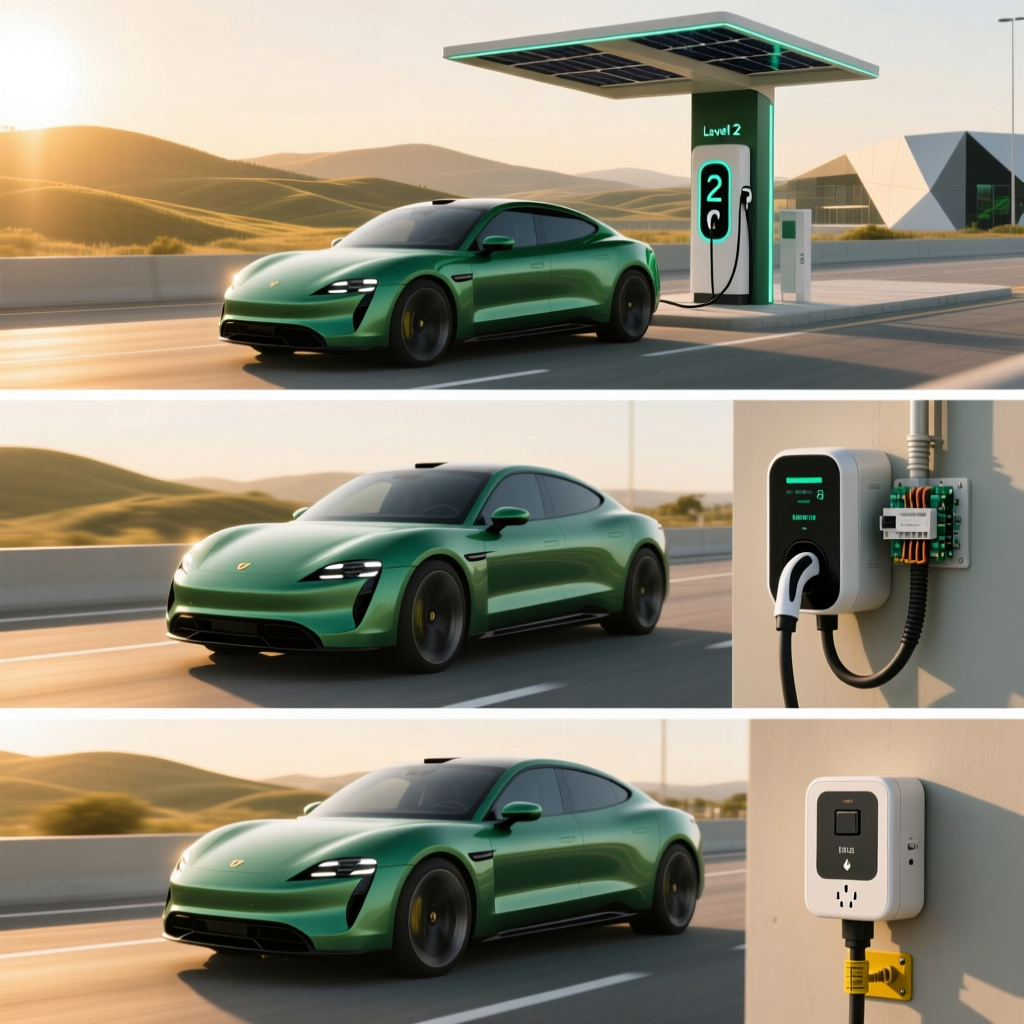
- NEMA 14-50 receptacle: The most common plug-in option, rated for 50 amps. This outlet type is widely used for RV hookups and electric ranges, making it versatile and familiar to electricians.
- Hardwired connection: The charger is wired directly into your electrical panel through a junction box. Hardwired installations are required for chargers drawing more than 50 amps and generally provide a cleaner, more permanent setup.
The U.S. Department of Energy recommends having a qualified electrician evaluate your wiring, grounding, and circuit requirements before proceeding with any installation. Proper wire gauge is essential — most 50-amp circuits require 6 AWG copper wire, while higher-amperage setups may need 4 AWG or larger.
For a deeper comparison of plug-in versus hardwired chargers and which models support each method, see our plug-in vs. hardwired EV charger comparison.
Step-by-Step Level 2 EV Charger Installation Process
Once you have confirmed your electrical panel can support the additional load and you have selected your charger, the installation process follows a logical sequence. Here is a comprehensive walkthrough of what to expect.
Step 1: Choose Your Charging Location
Select a location for your charger that meets the following criteria:
- Proximity to your parking spot: Ensure the charging cable (typically 18–25 feet) can comfortably reach your vehicle's charge port
- Protection from elements: While most Level 2 chargers carry NEMA 4 or NEMA 4X weather resistance ratings, installing in a garage or under a carport extends the unit's lifespan
- Wall structural integrity: The mounting surface must support the charger's weight (typically 15–30 pounds)
- Cable management: Plan a route from the electrical panel to the charger location that minimizes wire runs and avoids obstructions
Step 2: Install the Dedicated Circuit
This is the most critical and technically demanding step. Your electrician will:
- Shut off main power to the electrical panel
- Install a new double-pole breaker of the appropriate amperage in an available panel slot
- Run conduit and wiring from the panel to the charger location — this may involve running wire through walls, crawl spaces, attics, or along exterior surfaces
- Install the NEMA 14-50 receptacle (for plug-in units) or junction box (for hardwired units) at the charger location
- Ensure proper grounding at both the panel and the outlet or junction box
The length and complexity of the wire run significantly affect installation cost. A charger mounted on the same wall as the electrical panel will cost far less to wire than one on the opposite side of the house.
Step 3: Mount the Charger
With the electrical infrastructure in place, the charger unit itself is mounted to the wall:
- Use the included mounting template to mark drill points on the wall
- Drill pilot holes and install wall anchors if mounting to drywall (stud mounting is strongly preferred)
- Secure the mounting bracket using the provided hardware
- Hang the charger unit on the bracket and confirm it is level and firmly attached
- For hardwired units, connect the charger's internal wiring to the junction box wires (line, neutral, and ground) using wire nuts or terminal blocks as specified by the manufacturer
Step 4: Connect & Configure
After physical installation is complete:
- Restore power at the main breaker panel
- Verify the charger powers on and displays no error codes
- For Wi-Fi-enabled smart chargers, download the manufacturer's app and connect the unit to your home network
- Configure charging schedules, amperage settings, and any energy management features
- Perform a test charge with your EV to confirm proper operation
Many modern smart chargers, like those featured in our smart EV charger reviews, offer app-based diagnostics that confirm proper voltage, amperage, and grounding during the first power-on sequence.
Permits, Inspections & Local Code Compliance
Electrical work in most jurisdictions requires a permit and subsequent inspection. Skipping this step can result in fines, voided insurance coverage, and serious safety hazards. Here is what you need to know about the permitting process.
When Is a Permit Required?
In the vast majority of municipalities, installing a new 240V circuit for an EV charger requires an electrical permit. This applies whether you are adding a NEMA 14-50 outlet or hardwiring a charging station. The permit ensures that the installation is reviewed by a qualified inspector and complies with the National Electrical Code as well as any local amendments.
How to Obtain a Permit
- Contact your local building department: Visit your city or county website to find the electrical permitting office
- Submit an application: Provide details about the scope of work, circuit specifications, and equipment being installed
- Pay the permit fee: Fees typically range from $50 to $200 depending on your jurisdiction
- Schedule the inspection: After installation is complete, an inspector will visit to verify code compliance
What Inspectors Check
During the inspection, the electrical inspector will verify:
- Correct breaker size relative to the charger's rated amperage
- Proper wire gauge for the circuit length and load
- Adequate grounding and bonding
- Correct outlet orientation and mounting (NEMA 14-50 receptacles must be oriented with the ground pin at the top in many jurisdictions)
- GFCI protection where required by local code
- Proper conduit type and fill ratios
- Clearance and accessibility requirements
According to NEC Article 625, installations must also comply with all applicable local amendments, which may include additional requirements for outdoor installations, ventilation in enclosed garages, and load management systems. Always consult your local authority having jurisdiction (AHJ) before beginning work.
Utility Rebates & Incentives
Many electric utilities and state governments offer rebates or tax incentives for installing Level 2 home charging equipment. These programs often require proof of permitted installation to qualify. Check with your local utility provider and the Department of Energy's EV charging resources to explore available incentives in your area.
DIY Installation vs. Hiring a Professional Electrician
One of the most common questions EV owners face is whether to tackle the installation themselves or hire a licensed professional. Let us break down the considerations for each approach.
The Case for Professional Installation
For the overwhelming majority of homeowners, hiring a licensed electrician is the recommended path. Here is why:
- Safety: Working inside a 240V electrical panel carries significant risk of arc flash, electrocution, and fire if done incorrectly
- Code compliance: Licensed electricians are trained on current NEC requirements and local amendments
- Permit handling: Most jurisdictions require electrical work to be performed or supervised by a licensed professional to qualify for a permit
- Insurance protection: Unpermitted or improperly installed electrical work can void your homeowner's insurance in the event of a fire
- Warranty preservation: Many charger manufacturers require professional installation to honor the product warranty
- Resale value: Permitted, professionally installed electrical work adds documented value to your home
When DIY Might Be Appropriate
There are limited scenarios where a DIY approach may be reasonable:
- You are a licensed or journeyman electrician with experience in residential electrical work
- You are simply plugging a charger into an existing, properly rated NEMA 14-50 outlet that was previously installed by a professional (e.g., for a dryer or welder)
- Your charger is a plug-in model and the dedicated circuit and outlet have already been installed and inspected
Even experienced DIYers should exercise extreme caution. A single wiring error — such as reversed polarity, undersized wire, or inadequate grounding — can damage your vehicle's onboard charger, cause an electrical fire, or create a lethal shock hazard.
Cost Comparison
| Factor | DIY Installation | Professional Installation |
|---|---|---|
| Labor cost | $0 | $300 – $1,500+ |
| Materials (wire, breaker, conduit, outlet) | $100 – $400 | Included or $100 – $400 |
| Permit fees | $50 – $200 | $50 – $200 |
| Risk of errors | High (for non-electricians) | Low |
| Warranty validity | May be voided | Preserved |
| Insurance implications | Potential coverage issues | Fully covered |
Our verdict: unless you are a qualified electrician, the savings from DIY installation are not worth the safety risks and potential financial exposure. For guidance on choosing a charger that simplifies professional installation, browse our top-rated Level 2 charger recommendations.
Level 2 Charger Installation Cost Breakdown
Understanding the full cost picture helps you budget accurately and avoid surprises. Here is a detailed breakdown of every cost component involved in a typical Level 2 EV charger installation.
Charger Unit Cost
Level 2 chargers range significantly in price based on features, amperage, and brand:
- Basic 16–32 amp chargers: $200 – $400
- Mid-range smart chargers (40–48 amps): $400 – $700
- Premium smart chargers (48–80 amps): $600 – $1,200+
Smart chargers with Wi-Fi connectivity, energy monitoring, and scheduling features typically cost $100–$300 more than their non-smart counterparts but offer long-term value through optimized charging and utility rate management.
Electrical Installation Costs
- Simple installation (short wire run, same wall as panel, plug-in outlet): $300 – $600
- Moderate installation (25–50 foot wire run, conduit through walls or attic): $600 – $1,200
- Complex installation (long wire run, trenching, sub-panel addition): $1,200 – $2,500+
Electrical Panel Upgrade
If your home's electrical panel lacks sufficient capacity:
- 100-amp to 200-amp panel upgrade: $1,500 – $3,000
- Adding a sub-panel: $500 – $1,500
Permit & Inspection Fees
Typically $50 to $200, though some jurisdictions charge more for high-amperage circuits.
Total Estimated Costs
| Scenario | Estimated Total Cost |
|---|---|
| Basic setup: 32A charger, short wire run, no panel upgrade | $500 – $1,000 |
| Standard setup: 48A smart charger, moderate wire run | $1,000 – $1,800 |
| Complex setup: 80A charger, long run, panel upgrade needed | $2,500 – $5,000+ |
Remember to factor in available utility rebates and federal or state tax credits, which can offset a significant portion of the total cost. Many utility companies offer rebates of $250 to $500 for installing a qualified Level 2 charger, and some states provide additional incentives on top of that.
Safety Tips & Best Practices for Home EV Charging
Safety should be the top priority throughout the installation process and during daily use of your Level 2 charger. Follow these essential guidelines to protect your home, your vehicle, and your family.
Installation Safety
- Never work on a live panel. Always shut off the main breaker before performing any electrical work inside the panel.
- Use a voltage tester to confirm all circuits are de-energized before touching any wires.
- Follow the manufacturer's installation manual precisely. Every charger model has specific requirements for wire gauge, torque specifications, and mounting clearances.
- Ensure proper grounding at every connection point. A floating ground can create dangerous shock hazards and damage your EV's onboard charging equipment.
- Do not use extension cords or adapters to extend the reach of your charging cable. If the cable does not reach, relocate the charger or have an electrician move the outlet.
- Install a GFCI breaker if required by your local code, especially for outdoor installations where moisture exposure is a concern.
Ongoing Usage Safety
- Inspect the charging cable regularly for signs of wear, cracking, or exposed conductors. Replace damaged cables immediately.
- Keep the charging area clear of flammable materials, standing water, and trip hazards.
- Do not daisy-chain power strips or use multi-outlet adapters on the dedicated EV circuit.
- Monitor for unusual heat. The outlet, plug, and cable should remain cool to the touch during charging. Warmth is normal; excessive heat indicates a problem.
- Have the installation inspected annually if the charger is outdoors and exposed to weather. Check for corrosion, loose connections, and degraded seals.
- Register your charger with the manufacturer to receive firmware updates and safety recall notifications.
For more information on maintaining your EV charging setup and keeping your vehicle's battery healthy, read our EV battery longevity guide.
Troubleshooting Common Level 2 Charger Installation Issues
Even a professionally installed Level 2 charger can occasionally encounter issues. Here are the most common problems and how to address them.
Charger Will Not Power On
- Check that the circuit breaker has not tripped. Reset it by switching fully to OFF, then back to ON.
- Verify the charger is firmly plugged into the outlet (for plug-in models) or that all hardwired connections are secure.
- Use a multimeter to confirm 240V is present at the outlet or junction box.
- If power is present but the charger remains off, the unit may have an internal fault — contact the manufacturer.
Charging Starts Then Stops Repeatedly
- This often indicates a voltage drop caused by undersized wiring or an excessively long wire run. Have your electrician verify wire gauge and run length.
- Check for loose connections at the breaker, outlet, and charger terminals.
- Some EVs will pause charging if the battery temperature is too high or too low. Allow the battery to reach a moderate temperature before retrying.
Charger Trips the GFCI Breaker
- Some EV chargers and GFCI breakers are incompatible due to the way the charger's internal ground fault detection interacts with the breaker's sensitivity.
- Consult your charger's manufacturer documentation — some recommend against GFCI protection on dedicated EV circuits unless specifically required by local code.
- If GFCI is required by code, try a different GFCI breaker brand or model known to be compatible with EV chargers.
Slow Charging Speeds
- Verify the charger's amperage setting matches the circuit breaker rating (the charger should be set to 80% of the breaker's amperage).
- Check that your EV's onboard charger is not the bottleneck — some vehicles accept a maximum of 32 amps or 48 amps regardless of the charger's capability.
- Extreme battery temperatures can cause the vehicle to throttle charging speed. Park in a garage or shaded area when possible.
Wi-Fi Connectivity Issues (Smart Chargers)
- Ensure the charger is within range of your Wi-Fi router. Garage installations often suffer from weak signal strength.
- Consider installing a Wi-Fi extender or mesh node near the charger location.
- Some chargers support Ethernet connections as a more reliable alternative to Wi-Fi.
If you are experiencing persistent issues, consult the troubleshooting section of your charger's user manual or reach out to the manufacturer's technical support. Most reputable brands covered in our EV charger brand comparison offer responsive customer support and comprehensive warranty coverage.
Frequently Asked Questions
Can I install a Level 2 EV charger myself?
Technically, yes — if you have the electrical knowledge and your local jurisdiction allows homeowner-permitted electrical work. However, for the vast majority of people, hiring a licensed electrician is strongly recommended. Working with 240V circuits carries serious risks, and improper installation can lead to electrical fires, equipment damage, voided warranties, and insurance complications. If your charger is a plug-in model and you already have a properly installed and inspected NEMA 14-50 outlet, you can simply plug the charger in yourself without any additional electrical work.
Do I need to upgrade my electrical panel for a Level 2 charger?
Not necessarily. If your home has a 200-amp service panel with available capacity, you can likely add a Level 2 charger without a panel upgrade. However, homes with older 100-amp panels or those that are already near maximum capacity (running electric heat, an electric water heater, a dryer, and an oven simultaneously, for example) may need an upgrade. A licensed electrician can perform a load calculation to determine whether your panel has sufficient headroom. Panel upgrades typically cost between $1,500 and $3,000 but add long-term value to your home.
How long does a Level 2 charger installation take?
The physical installation typically takes between 2 and 6 hours depending on the complexity of the wire run, whether conduit needs to be routed through walls or underground, and whether a panel upgrade is required. However, the total project timeline often extends to 1–4 weeks when you factor in permit applications, electrician scheduling, and the post-installation inspection. Planning ahead and obtaining permits before scheduling the electrician can help minimize delays.
Is a hardwired or plug-in Level 2 charger better?
Both options have advantages. Plug-in chargers (using a NEMA 14-50 outlet) offer portability — you can unplug the charger and take it with you if you move, or use the outlet for other purposes like powering a welder or RV. Hardwired chargers provide a cleaner aesthetic, support higher amperages (above 50 amps), and eliminate the potential for a loose plug connection over time. Hardwired installations are also required for the highest-power residential chargers (60–80 amps). Your choice should depend on your amperage needs, portability preferences, and local code requirements.
Will installing a Level 2 charger increase my electric bill significantly?
The cost of home EV charging depends on your local electricity rates and how much you drive. On average, charging an EV at home costs the equivalent of roughly $1.00 to $1.50 per gallon of gasoline — significantly less than fueling a comparable internal combustion vehicle. For a typical driver covering 12,000 miles per year, expect your monthly electricity bill to increase by approximately $30 to $60 depending on your vehicle's efficiency and local utility rates. Many utilities offer time-of-use (TOU) rate plans that provide discounted electricity during off-peak hours (typically overnight), which can reduce your charging costs even further. Smart chargers with scheduling features can automatically charge during these low-rate windows.
For a complete guide to optimizing your home charging costs and choosing the right electricity plan, see our EV charging cost optimization guide.
Final Thoughts
Installing a Level 2 EV charger at home is a straightforward project when approached methodically. By understanding your electrical requirements, obtaining proper permits, choosing the right charger for your vehicle and lifestyle, and prioritizing safety at every step, you will enjoy years of fast, convenient, and reliable home charging.
The investment pays dividends in daily convenience — no more searching for public charging stations or waiting hours for a Level 1 trickle charge. Wake up every morning to a fully charged vehicle, ready for whatever the day brings.
Ready to get started? Explore our best Level 2 EV charger picks to find the perfect unit for your garage, and check out our complete home EV charging setup guide for additional tips on creating the ultimate charging station.