If you own a Tesla—or any EV with the North American Charging Standard (NACS) connector—home charging is the single biggest quality-of-life upgrade you can make. But the question every new owner asks is practical and financial: how much to install a Tesla charger at home, really?
The short answer: a straightforward Tesla Wall Connector installation on an existing 240V/60A circuit runs roughly $1,200–$1,800 all-in. If your electrical panel needs an upgrade to support a dedicated 60A breaker, costs climb to $2,500–$5,500+. Below, we break down every variable—equipment, electrician labor, permits, panel upgrades—so you can budget accurately before calling a contractor.
Understanding EV Charging Levels: Speeds in kW and Miles Per Hour
Before pricing an installation, it's critical to understand what you're actually buying. EV charging is measured in kW (kilowatts), which represents the rate of power delivery—think of it as the flow rate of a hose. The battery capacity is measured in kWh (kilowatt-hours), the total volume of energy stored. A 75 kWh Tesla Model Y battery charged at 11.5 kW would theoretically take about 6.5 hours from 0–100%, minus taper at high states of charge.
| Level | Voltage | Max Power (kW) | Miles of Range Added Per Hour | Typical Use Case |
|---|---|---|---|---|
| Level 1 | 120V AC | 1.4–1.9 kW | 3–5 mi/hr | Overnight trickle; PHEVs; emergency backup |
| Level 2 | 240V AC | 7.2–19.2 kW | 25–70 mi/hr | Home daily charging; workplace; public AC |
| DC Fast Charging | 400–800V DC | 50–350+ kW | 150–1,000+ mi/hr (peak) | Road trips; Tesla Superchargers; public DC networks |
For home use, Level 2 is the standard. A Tesla Wall Connector on a 60A circuit delivers up to 11.5 kW (48A continuous), adding roughly 44 miles of range per hour to a Model Y. That's enough to refill an 81 kWh battery from 10–80% in approximately 5 hours—perfect for overnight charging on time-of-use electricity rates.
- Tesla Model Y (75 kWh usable): 10–80% in ~4.5 hours
- Tesla Model 3 (57 kWh usable, LFP): 10–80% in ~3.3 hours
- Tesla Model S (100 kWh usable): 10–80% in ~6.1 hours
- Ford F-150 Lightning (131 kWh usable): 10–80% in ~8 hours
Note: Charging slows significantly above 80% SoC due to the charge curve taper. Most owners set daily charge limits to 80% to preserve battery health.
How Much Does It Cost to Install a Home EV Charger?
Installation cost is the sum of three components: the charger hardware, the electrician's labor and materials, and any required permits or panel upgrades. Here's a realistic breakdown based on 2026 contractor rates and Tesla's current equipment pricing.
| Component | Simple Install (Panel Ready) | Moderate Install (New Circuit, Same Panel) | Complex Install (Panel Upgrade Required) |
|---|---|---|---|
| Tesla Wall Connector (hardware) | $420 | $420 | $420 |
| Electrician labor (2–8 hrs @ $100–$175/hr) | $400–$700 | $800–$1,400 | $1,200–$2,000 |
| Wiring, conduit, breaker, junction boxes | $100–$250 | $300–$700 | $400–$900 |
| Electrical permit | $50–$150 | $50–$200 | $100–$300 |
| Panel upgrade (100A → 200A service) | $0 | $0 | $1,500–$3,500 |
| Total Estimated Cost | $970–$1,520 | $1,570–$2,720 | $3,620–$7,120 |
What Drives the Cost Variance?
Panel capacity is the single biggest variable. A modern 200-amp service panel with spare breaker slots can often accommodate a 60A dedicated circuit with minimal work. Older homes with 100A service may need a full panel upgrade—a $1,500–$3,500 job that includes utility coordination, a new panel, and re-inspection.
Wire run distance matters too. If your panel is in the basement and your garage is on the opposite side of the house, the electrician may need to run 40–60 feet of 6 AWG copper wire through conduit, adding $300–$700 in materials and labor. A short run from a panel adjacent to the garage keeps costs minimal.
Local code requirements vary by jurisdiction. Some municipalities require GFCI breakers for garage circuits (adding ~$80–$150), while others mandate hardwired installations over plug-in receptacles. Always pull a permit—unpermitted electrical work can void home insurance claims and cause problems at resale.
Electrical Requirements: What Your Home Needs for a Tesla Wall Connector
The Tesla Wall Connector is a hardwired Level 2 charger that supports multiple amperage configurations. Your electrician will configure it based on your available circuit capacity:
- 60A circuit / 48A continuous: 11.5 kW max output — requires 6 AWG copper wire, the most common and recommended setup
- 50A circuit / 40A continuous: 9.6 kW — requires 8 AWG copper wire, suitable for homes with limited panel headroom
- 40A circuit / 32A continuous: 7.7 kW — requires 8 AWG wire, a fallback for constrained panels
The National Electrical Code (NEC) requires that continuous loads (anything running 3+ hours, which includes EV charging) use only 80% of a circuit's rated capacity. That's why a 60A breaker yields 48A of usable charging current. Never install a charger that draws more than 80% of the circuit rating—it's a code violation and a fire risk.
Safety and Code Considerations
- Dedicated circuit: The Wall Connector must have its own dedicated breaker—never share a circuit with other large appliances.
- GFCI protection: Some jurisdictions require a GFCI breaker for garage installations. Tesla's Wall Connector has built-in ground fault protection, which may satisfy code without a separate GFCI breaker (confirm with your local inspector).
- Outdoor rating: The Wall Connector is rated NEMA 4 (indoor/outdoor) and can be installed on an exterior wall. Use a weatherproof conduit fitting if wiring enters from outside.
- Cable management: Tesla offers the Wall Connector with an 18-foot or 24-foot cable. The 24-foot version ($420 for either length as of 2026) is recommended for most garages to reach both driver and passenger-side charge ports across different EV models.
Which Charger and Connector Is Compatible with My EV?
As of 2025–2026, the EV industry has largely standardized on the North American Charging Standard (NACS), originally developed by Tesla. Here's where things stand:
| Connector | Brands Using It (Native) | Home Charger Options | Adapter Needed? |
|---|---|---|---|
| NACS (Tesla) | Tesla (all models), Ford (2025+), GM (2025+), Rivian (2025+), Hyundai/Kia (2026+), Volvo/Polestar (2025+) | Tesla Wall Connector, Emporia Tesla-compatible, Lectron NACS | None for NACS-native vehicles |
| CCS1 (Combo) | Legacy VW ID.4, BMW i4/iX (pre-2026), older Hyundai/Kia, Stellantis | ChargePoint Home Flex, Emporia Vue, Grizzl-E Smart | Tesla-to-CCS adapter (~$250) for Tesla Wall Connector |
| CHAdeMO | Nissan Leaf (discontinued for 2026), Mitsubishi Outlander PHEV (older) | Rare for home; mostly public DC | No widely available home adapter; use dedicated CHAdeMO charger |
If you drive a Tesla, the Tesla Wall Connector is the obvious choice—native NACS plug, Wi-Fi-enabled for over-the-air updates, and priced at $420. If you own a non-Tesla EV with NACS (increasingly common in 2026), the Wall Connector works natively. If you own a CCS1-equipped EV, you can either use a CCS1-native charger like the ChargePoint Home Flex or use Tesla's CCS adapter.
Recommended Home Charger Equipment for 2026
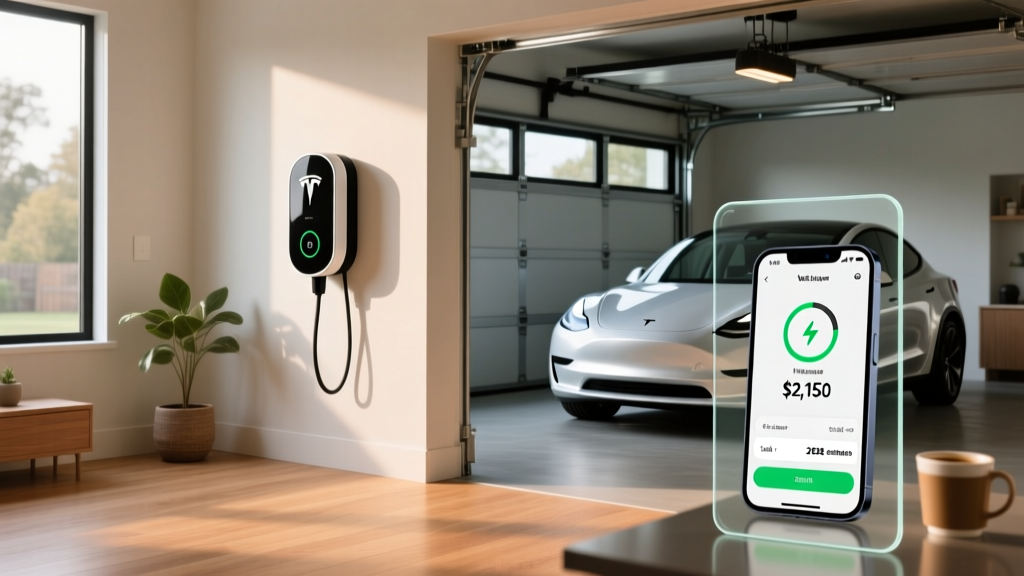
Tesla Wall Connector
- Power: Up to 11.5 kW (48A on 60A circuit)
- Connector: NACS (native)
- Cable: 18 ft or 24 ft
- Smart features: Wi-Fi, OTA updates, power-sharing (link two units on one circuit), access control
- Price: $420
- Best for: Tesla owners, NACS-native EVs, multi-Tesla households
ChargePoint Home Flex
- Power: Up to 12 kW (50A on 60A circuit); configurable down to 16A
- Connector: J1772 (CCS1-compatible with adapter)
- Cable: 23 ft
- Smart features: Wi-Fi, app scheduling, Alexa integration, energy tracking
- Price: ~$650
- Best for: CCS1 EVs, mixed-EV households, flexible amperage
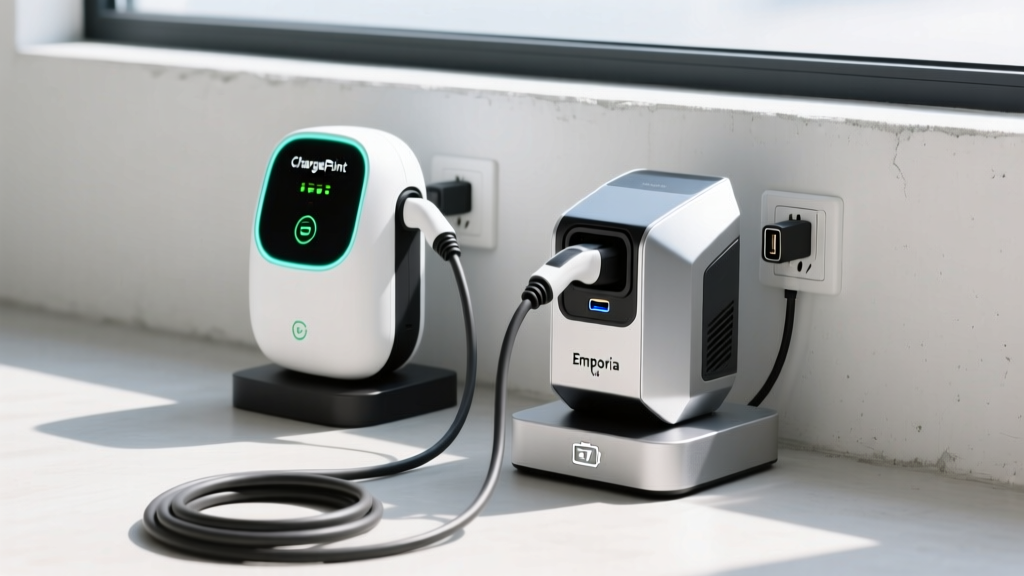
Emporia Level 2 Charger
- Power: Up to 11.5 kW (48A on 60A circuit)
- Connector: NACS or J1772 versions available
- Cable: 24 ft
- Smart features: Wi-Fi, app control, solar integration, energy monitoring via Emporia Vue panel
- Price: ~$400–$500
- Best for: Solar-equipped homes, budget-conscious buyers, energy monitoring
All three chargers are hardwired, require a dedicated 240V circuit, and support scheduled charging for time-of-use rate optimization. The Tesla Wall Connector remains the best value at $420 for NACS vehicles, while the ChargePoint Home Flex's adjustable amperage (from 16A to 50A via DIP switches) makes it ideal for homes where a full 60A circuit isn't feasible.
How Much Does Charging Cost Per Mile vs. Gas?
One of the strongest arguments for home charging is cost. Electricity prices vary widely, but even at higher rates, electrons are cheaper than gasoline on a per-mile basis. Here's a comparison using a Tesla Model Y Long Range (averaging 3.5 miles per kWh, per EPA data on fueleconomy.gov):
| Scenario | Rate | Cost per kWh | Cost per Mile (Model Y) |
|---|---|---|---|
| Home off-peak (TOU rate) | $0.09–$0.13/kWh | $0.11 avg | $0.031 |
| Home standard rate | $0.14–$0.22/kWh | $0.18 avg | $0.051 |
| Public Level 2 (e.g., ChargePoint) | $0.25–$0.49/kWh | $0.35 avg | $0.100 |
| Tesla Supercharger (DC fast) | $0.28–$0.48/kWh | $0.36 avg | $0.103 |
| Gas vehicle (28 MPG, $3.50/gal) | — | — | $0.125 |
At off-peak residential rates, home charging a Model Y costs roughly $0.03 per mile—about one-quarter the cost of gasoline. Even at standard residential rates, you're saving 50–60% per mile. Public DC fast charging narrows the gap significantly, which is another reason home Level 2 installation pays for itself over time.
For a driver covering 12,000 miles per year, off-peak home charging costs roughly $372/year in electricity versus $1,500/year in gasoline for a comparable 28 MPG vehicle. That's an annual savings of over $1,100—meaning a $2,500 charger installation pays for itself in about 2.3 years.
Federal and State Incentives for Home Charger Installation
The Alternative Fuel Vehicle Refueling Property Credit (IRC §30C) was extended and modified under current tax law. As of 2026, eligible taxpayers can claim 30% of the cost of home EV charging equipment and installation, up to $1,000 per year. This applies to both the charger hardware and the electrician's labor.
Key eligibility requirements per the IRS:
- The charger must be installed at your primary residence in the United States
- The property must be located in an eligible census tract (low-income or non-urban area—check the IRS lookup tool)
- The credit covers equipment and installation but not electrical panel upgrades
- You must have sufficient tax liability to claim the credit (it is non-refundable)
Many states and utilities also offer rebates. California's utilities (PG&E, SCE, SDG&E) frequently offer $500–$1,500 rebates for Level 2 installations, and some cover panel upgrade costs. Always check your local utility's EV program before scheduling work.
Step-by-Step: How to Plan Your Tesla Charger Installation
- Check your electrical panel. Locate your main service panel and note the amperage rating (usually 100A or 200A) and available breaker slots. Photograph the panel label for your electrician.
- Request a load calculation. A licensed electrician will calculate whether your panel can support a 60A dedicated circuit. If not, discuss a lower-amperage configuration (50A or 40A) or a panel upgrade.
- Choose your charger and mounting location. Pick a spot within cable reach of your charge port (driver's side rear for Tesla). Consider whether you want the cable to reach a second parking space.
- Get 2–3 quotes. Ask for itemized quotes covering equipment, labor, wire/conduit, breaker, permit, and any panel work. Verify the electrician is licensed, insured, and experienced with EV charger installations.
- Pull a permit. Your electrician should handle this. Permit costs range from $50–$300 depending on your municipality. The work will require a post-installation inspection.
- Schedule installation and inspection. Most straightforward installs take 2–4 hours. Panel upgrades add 1–2 days. The local inspector will verify code compliance before you energize the circuit.
- Configure your charger. Connect the Wall Connector to Wi-Fi, set your charging schedule to off-peak hours, and configure your vehicle's daily charge limit (80% recommended for NMC batteries, 100% acceptable for LFP batteries like the Model 3 RWD).
Frequently Asked Questions
Can I install a Tesla Wall Connector myself?
Tesla strongly recommends professional installation, and most jurisdictions require a licensed electrician for any 240V hardwired circuit. DIY electrical work at 60A poses serious fire and electrocution risks and will likely fail inspection. The labor cost ($400–$1,400) is worth the safety and code compliance.
Do I need a Tesla to use the Tesla Wall Connector?
No. As of 2025, Tesla opened the Wall Connector to all NACS-equipped vehicles. Since Ford, GM, Rivian, Hyundai, Kia, and others have adopted NACS for 2025–2026 models, the Wall Connector is increasingly a universal home charger. For CCS1 vehicles, a Tesla CCS adapter (~$250) enables compatibility.
What if I only have a 100A electrical panel?
A 100A panel can sometimes support a 40A circuit (32A continuous, 7.7 kW), which still adds about 30 miles of range per hour—adequate for most daily driving. If you need full 48A charging or have other large loads (electric range, heat pump, dryer), a panel upgrade to 200A is recommended. Budget $1,500–$3,500 for this work.
Is the Tesla Mobile Connector a viable alternative to the Wall Connector?
The Tesla Mobile Connector ($200) comes with a NACS plug and can deliver up to 7.7 kW on a 240V NEMA 14-50 outlet. It's a solid backup or temporary solution, but it lacks the Wall Connector's Wi-Fi, power-sharing, and cable management. For a permanent daily-use setup, the hardwired Wall Connector is more reliable and adds home resale value. Note: Tesla no longer includes the Mobile Connector with new vehicle purchases.
How long does the installation take?
A straightforward Wall Connector install on an existing panel with a short wire run takes 2–4 hours. Longer wire runs or conduit work through finished walls can extend to 6–8 hours. A full panel upgrade requires 1–3 days, including utility coordination to disconnect and reconnect service.
Will installing a Tesla charger increase my home's value?
Studies from Zillow and Redfin have shown that homes with EV charging infrastructure sell at a modest premium, particularly in EV-dense markets like California, Washington, and the Northeast. More importantly, a permitted Level 2 installation removes a barrier for the growing pool of EV-shopping homebuyers. Keep your permit and inspection documentation for resale.