Transitioning to an electric vehicle (EV) is one of the most impactful decisions you can make for your daily commute & the environment. However, owning an EV brings a unique set of logistical considerations, the most prominent being home charging. While you can rely on public charging networks, the vast majority of EV owners do the bulk of their charging at home. This naturally leads to the most common question among new & prospective EV owners: how much does it cost to install an EV charger at home?
The short answer is that a typical Level 2 home EV charger installation costs anywhere from $500 to $2,500 or more. However, this wide range depends heavily on your home’s existing electrical infrastructure, the distance between your electrical panel & the charging location, & local labor rates. In this comprehensive guide, we will break down every factor that influences the final price, explore the technical requirements, & help you determine whether a DIY approach or hiring a licensed electrician is the right path for your setup.
Quick Installation Overview
- Difficulty Level: Moderate to Advanced (Electrical work requires specialized knowledge)
- Estimated Cost: $500 – $2,500+ (Equipment + Labor + Permits)
- Time Required: 2 to 8 hours for professional installation
- Primary Requirements: 240V circuit, adequate electrical panel capacity, dedicated breaker
Understanding the Requirements for Home EV Charging
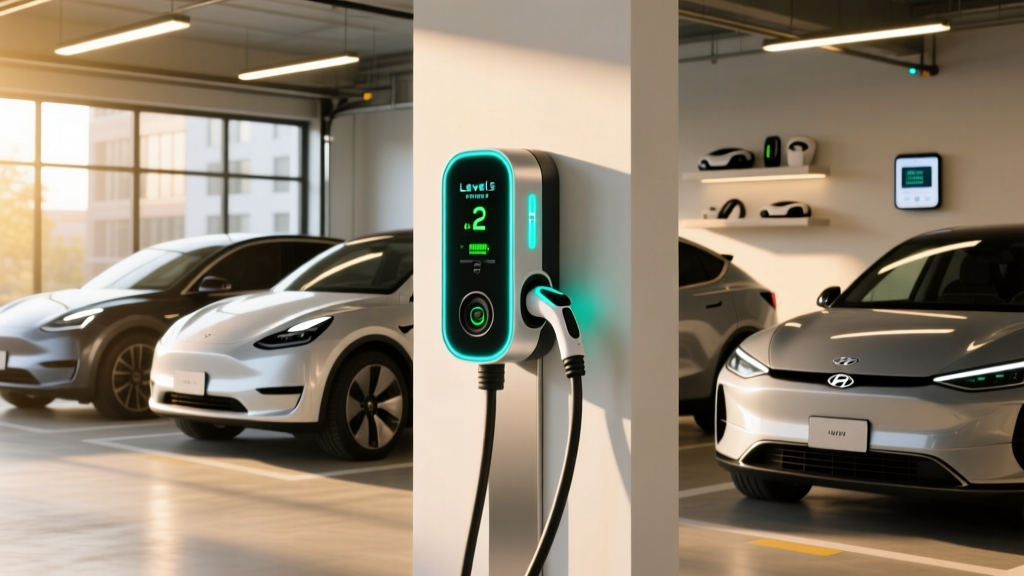
Before calculating costs, it is crucial to understand what your home & your vehicle actually require. If you are unfamiliar with the different charging tiers, our guide to Level 1 vs. Level 2 charging provides a foundational overview. For most homeowners, a Level 2 charger is the gold standard, offering a full charge overnight by utilizing a 240-volt circuit—the same type of power used by heavy-duty appliances like electric dryers & ovens.
According to the U.S. Department of Energy (DOE), a Level 2 charger can add anywhere from 12 to 80 miles of range per hour of charging, depending on the vehicle’s onboard charger & the amperage of the circuit. To support this, your home must meet specific electrical requirements:
- Electrical Panel Capacity: Most modern homes have a 200-amp main service panel. An EV charger typically draws between 30 & 50 amps. If your panel is already near its maximum capacity, you may need a costly service upgrade.
- The 80% Continuous Load Rule: The National Electrical Code (NEC) mandates that continuous loads (defined as operating for three hours or more) must not exceed 80% of a circuit breaker’s rated capacity. Therefore, a 40-amp EV charger requires a 50-amp breaker & wiring rated for at least 50 amps.
- Hardwired vs. Receptacle: You can either hardwire the charger directly into your electrical system or install a NEMA 14-50 receptacle. Hardwiring is generally safer, avoids GFCI nuisance tripping, & is required for many high-amperage (48A+) chargers.
Detailed Cost Breakdown: Where Your Money Goes
To accurately budget for your installation, you need to look beyond the sticker price of the charging unit itself. Here is a granular breakdown of the expenses you will encounter when setting up a home charging station.
1. The EV Charger Equipment ($300 – $800)
The hardware itself is often the most straightforward expense. A high-quality, smart Level 2 charger from a reputable brand typically costs between $300 & $800. Features like Wi-Fi connectivity, load balancing, & cable management will push the price toward the higher end. If you are currently shopping for hardware, be sure to check out our roundup of the best Level 2 EV chargers to find a model that fits your budget & vehicle specifications.
2. Electrical Panel Upgrades ($1,000 – $3,000+)
If your home has an older 100-amp electrical panel, or if your existing 200-amp panel lacks the physical space for a new double-pole breaker, you will need an upgrade. Upgrading to a 200-amp or 400-amp service involves replacing the main panel, coordinating with your local utility company, & extensive labor. This is the single biggest variable in EV charger installation costs.
3. Wiring, Conduit, & Materials ($5 – $15 per foot)
The distance from your electrical panel to your garage or driveway dictates the cost of materials. Electricians must run heavy-gauge copper wire (such as 6 AWG or 4 AWG) through protective conduit. If the panel is on the opposite side of the house from the garage, or if trenching is required to run power to a detached carport, material & labor costs will scale significantly.
4. Professional Labor ($300 – $1,500)
Licensed electricians typically charge between $75 & $150 per hour. A straightforward installation in a garage where the panel is located on the same wall might take only two to three hours. Conversely, a complex installation involving drywall cutting, attic crawling, or outdoor trenching can easily take a full day or more.
5. Permits & Inspections ($50 – $250)
Most local municipalities require an electrical permit for installing a new 240V circuit. Permit fees vary by jurisdiction but generally range from $50 to $250. This fee ensures that a city inspector will verify the work meets local safety codes.
DIY vs. Professional Installation: Which is Right for You?
Given the high cost of labor, many handy homeowners wonder if they can install an EV charger themselves. While it is physically possible to mount a unit & run wire, working with 240V electricity carries severe risks.
The Case for Professional Installation: Hiring a licensed & insured electrician guarantees that the work complies with the National Electrical Code (NEC), specifically Article 625, which governs Electric Vehicle Charging System Equipment. Professionals carry liability insurance, meaning if a wiring error leads to an electrical fire, you are protected. Furthermore, most EV charger manufacturers will void the hardware warranty if the unit is not installed by a certified professional.
The Case for DIY: If you are simply plugging a portable Level 2 charger into an existing, properly rated NEMA 14-50 outlet (like one used for a welder or large RV), no electrical work is required. However, if you are installing a new circuit, DIY is strongly discouraged unless you have advanced electrical experience. Mistakes in torque specifications, wire stripping, or grounding can lead to melted receptacles, equipment failure, or catastrophic house fires.
Navigating Permits, Inspections, & Rebates
Skipping the permitting process might save a few dollars upfront, but it is a massive financial & legal risk. Unpermitted electrical work can result in hefty fines, force you to tear out completed work, & cause your home insurance provider to deny claims related to electrical fires. Additionally, when you eventually sell your home, unpermitted work can derail the real estate transaction.
The permitting process generally involves submitting a load calculation & a basic diagram of the planned circuit to your local Authority Having Jurisdiction (AHJ). Once the installation is complete, an inspector will visit to verify proper grounding, correct breaker sizing, & safe conduit usage.
On the bright side, the financial sting of installation is often offset by incentives. Many local utility companies offer rebates ranging from $200 to $500 for installing a smart charger that allows for off-peak charging. Additionally, federal & state tax credits are frequently available to cover a percentage of the hardware & labor costs. Always check with your utility provider & local government for active incentive programs before beginning your project.
Step-by-Step Overview of the Installation Process
If you decide to hire a professional, it helps to understand the workflow so you know what to expect. For a deeper dive into selecting the right hardware before the electrician arrives, read our guide on how to choose an EV charger.
- Site Assessment & Load Calculation: The electrician will evaluate your main electrical panel to ensure it has enough spare amperage to support the continuous load of an EV charger without tripping the main breaker.
- Permitting: The contractor pulls the necessary electrical permits from your local building department.
- Rough-In & Conduit Routing: The electrician mounts junction boxes, bends & secures conduit, & drills through studs or masonry as needed to create a pathway from the panel to the charging location.
- Wiring & Termination: Heavy-gauge copper wires are pulled through the conduit. The electrician terminates the wires at a new double-pole breaker in the main panel & connects them to either a NEMA receptacle or directly to the hardwired EVSE (Electric Vehicle Supply Equipment).
- Mounting the Charger: The physical charging unit is mounted to the wall stud or masonry, ensuring it is secure & positioned to prevent cable strain.
- Testing & Inspection: The electrician tests the voltage, verifies the ground fault protection, & ensures the charger communicates properly with a test vehicle. Finally, the city inspector signs off on the work.
Essential Safety Tips for Home EV Chargers
Safety should be the paramount concern when dealing with high-voltage equipment. Keep these critical safety tips in mind during & after your installation:
- Avoid Extension Cords: Never use an extension cord with an EV charger. The continuous high current will cause standard extension cords to overheat & melt, creating a severe fire hazard.
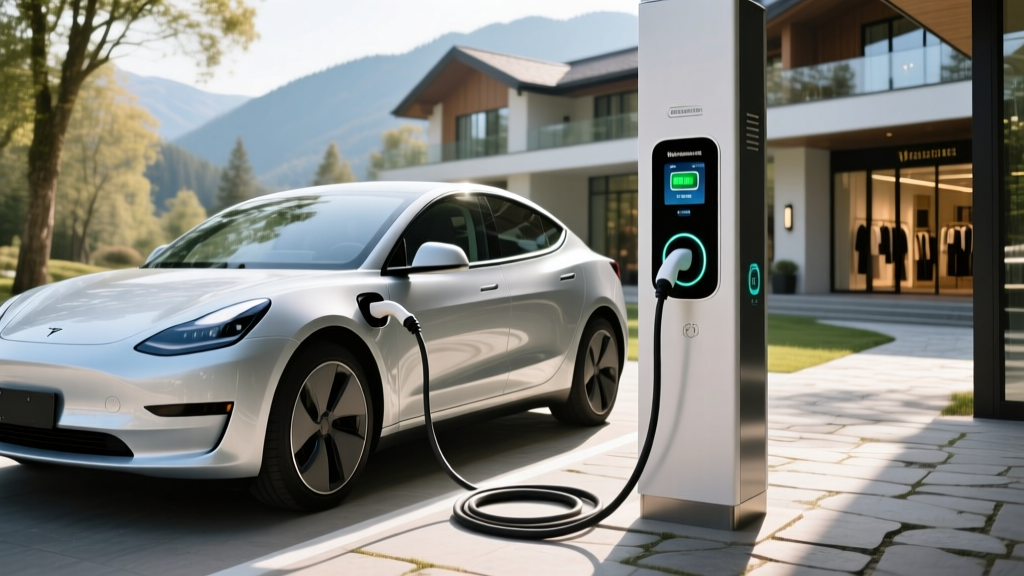
- Weatherproofing for Outdoor Installations: If your charger is mounted outside, ensure the unit is rated for outdoor use (NEMA 4 or NEMA 4X). Furthermore, outdoor receptacles must be protected by a weatherproof cover & a GFCI breaker, though hardwiring is often preferred outdoors to avoid moisture-related GFCI tripping.
- Cable Management: Use a holster or cable management system to keep the charging cable off the ground. This prevents the connector from being run over by vehicles, exposed to standing water, or degraded by UV rays.
- Thermal Monitoring: Modern smart chargers feature internal thermistors that monitor the temperature of the plug & wiring. If the connection becomes loose & generates excess heat, the charger will automatically throttle the power or shut down entirely to prevent a fire.
Troubleshooting Common Installation Issues
Even with a professional installation, you may encounter minor hiccups. Here is how to troubleshoot the most common post-installation issues:
The Breaker Keeps Tripping: If your charger consistently trips the breaker, it is likely due to a miscalculated load or a shared circuit. Ensure the charger is set to draw a maximum of 80% of the breaker’s rating (e.g., 32 amps on a 40-amp breaker). Many smart chargers allow you to manually dial down the amperage via a mobile app or internal DIP switches.
Slow Charging Speeds: If your vehicle is charging slower than advertised, check the bottleneck. The charging speed is limited by the weakest link in the chain: the charger’s output, the vehicle’s onboard charger capacity, or the circuit’s amperage. Review our EV charging basics guide to understand how onboard chargers dictate maximum AC charging speeds.
Wi-Fi Connectivity Drops: Smart chargers rely on Wi-Fi for scheduling & firmware updates. Garages often have poor router coverage. Consider installing a Wi-Fi extender or a mesh network node near the garage to ensure a stable connection.
Frequently Asked Questions
Can I plug my EV charger into a standard household outlet?
Yes, but with significant limitations. A standard 120V household outlet (Level 1 charging) will only provide about 3 to 5 miles of range per hour of charging. While this is sufficient for plug-in hybrids or EV owners with very short daily commutes, it is generally inadequate for modern long-range EVs with large battery packs. Upgrading to a 240V Level 2 setup is highly recommended for a practical ownership experience.
Will installing an EV charger increase my home insurance premiums?
In most cases, adding a properly permitted & professionally installed EV charger will not increase your home insurance premiums. However, you should always notify your insurance provider about the upgrade. If the installation is unpermitted or done improperly, it could void your coverage in the event of an electrical fire.
Do I need a smart EV charger or is a standard model sufficient?
A standard “dumb” charger will safely charge your vehicle just fine. However, smart chargers offer immense value through features like off-peak scheduling (which can save you hundreds of dollars a year on utility bills), detailed energy tracking, & remote troubleshooting. Additionally, many utility rebates & tax incentives specifically require the installation of an Energy Star-certified smart charger.
Are there tax credits or rebates for home EV charger installation?
Yes, incentives are widely available, though they vary heavily by location. The federal government has historically offered tax credits for alternative fuel vehicle refueling property, which can cover up to 30% of the hardware & installation costs (up to $1,000). Beyond federal credits, many state governments, local municipalities, & regional utility companies offer point-of-sale rebates or bill credits that can drastically reduce your out-of-pocket expenses. Always research local programs before purchasing your equipment.