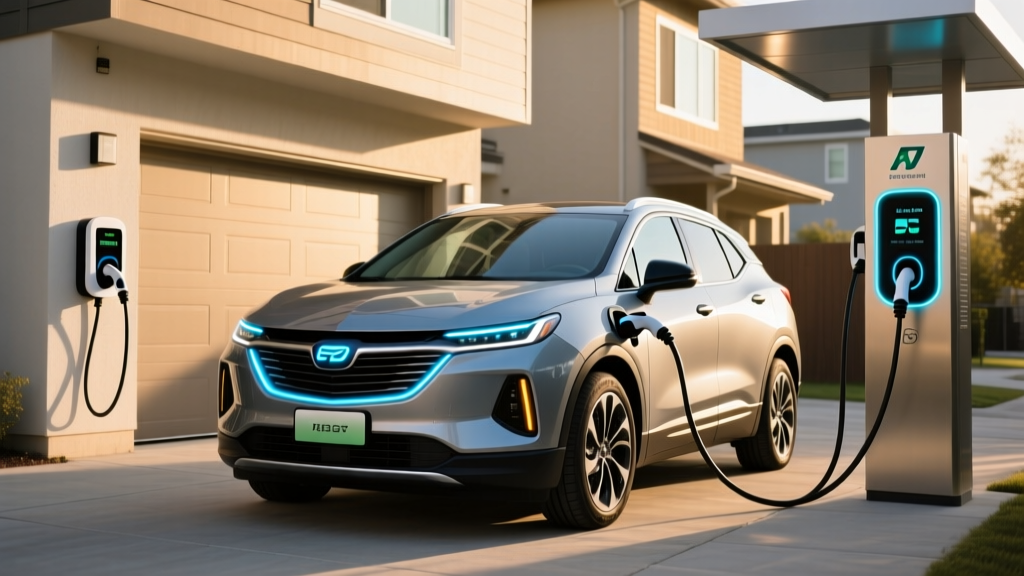
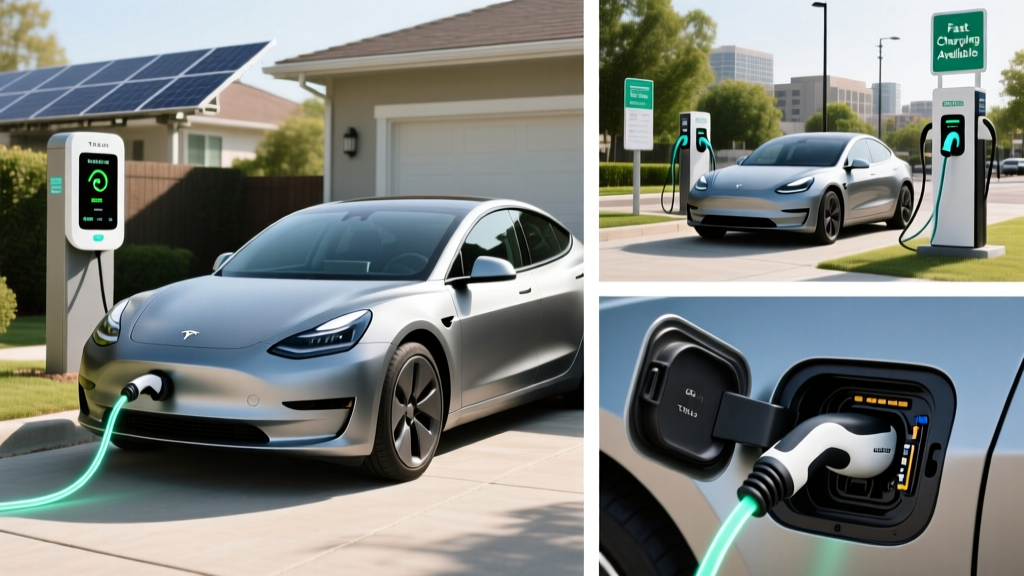
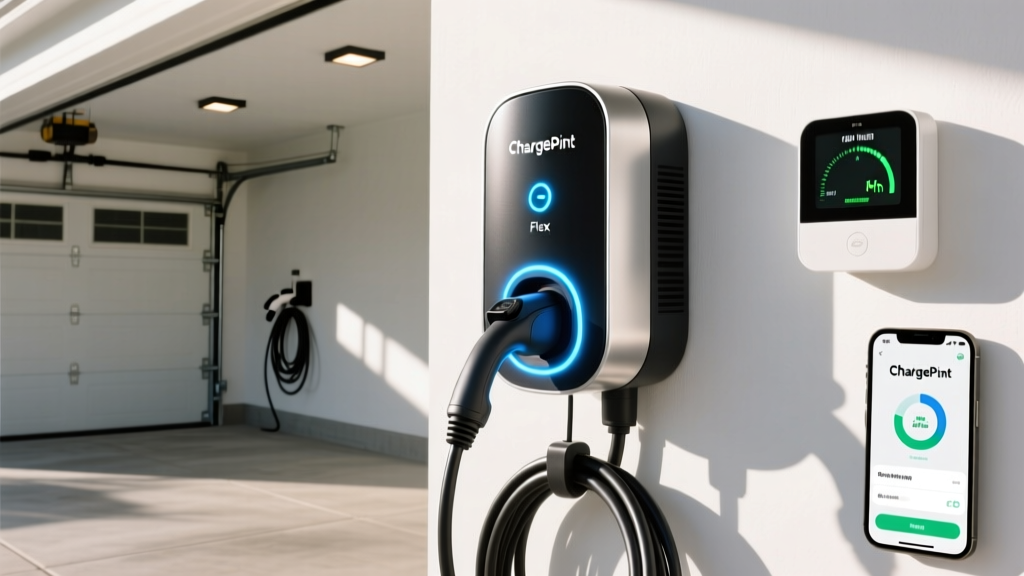
Transitioning to an electric vehicle (EV) is one of the most impactful decisions you can make for your daily commute and your carbon footprint. However, the true convenience of EV ownership relies heavily on your ability to charge at home. While plugging into a standard wall outlet is possible, it is painfully slow. To unlock the full potential of your vehicle, you need a dedicated Level 2 home charging station. But before you buy a unit, the most common question arises: how much is EV charger installation?
In this comprehensive guide from Auto Edge View, we will break down the exact costs, electrical requirements, and step-by-step processes involved in setting up a home EV charger. Whether you are wondering about the feasibility of a DIY project or trying to budget for a professional electrician, this guide covers everything you need to know. For a broader overview, be sure to check out our guide on EV charging basics.
At a Glance: Difficulty Level & Estimated Costs
Difficulty Level: Moderate to Advanced (High-voltage electrical work required)
Estimated Cost Range: $500 to $2,500+ (excluding the cost of the charger itself)
Time Required: 2 to 8 hours for professional installation; up to a full weekend for DIY
The final price tag depends heavily on your home’s existing electrical panel capacity, the distance between your panel and your garage or driveway, and local labor rates. Below, we explore the variables that dictate your final bill.
Electrical Requirements for Home EV Chargers
Before discussing costs, it is crucial to understand the electrical demands of a Level 2 charger. Unlike household appliances that run on 120 volts, Level 2 EV chargers require a dedicated 240-volt circuit—similar to what an electric oven or clothes dryer uses.
Understanding the 80% Rule & Amperage
The National Electrical Code (NEC) mandates that continuous loads (defined as operating for three hours or more) must not exceed 80% of the circuit breaker’s rated capacity. Because EV charging easily exceeds three hours, this rule strictly applies.
- 40-Amp Charger: Requires a 50-amp breaker and 6 AWG copper wire.
- 48-Amp Charger: Requires a 60-amp breaker and 4 AWG copper wire.
- 80-Amp Charger: Requires a 100-amp breaker and 2 AWG copper wire (often requires hardwiring and specialized sub-panels).
Receptacle vs. Hardwired Connections
You have two primary installation methods. A NEMA 14-50 receptacle is a heavy-duty outlet that allows you to plug in your charger. This is ideal if you want the flexibility to take your charger with you when you move or use the outlet for an RV. However, hardwired connections are increasingly recommended by manufacturers. Hardwiring eliminates the receptacle as a potential point of failure, reduces heat buildup, and is often required for chargers exceeding 48 amps. If you are unsure which route to take, our comparison of Level 1 vs. Level 2 charging can help clarify your needs.
Step-by-Step EV Charger Installation Process
Whether you are overseeing a contractor or attempting a DIY install (where legally permitted), the installation process follows a strict sequence to ensure safety and code compliance.
Step 1: Electrical Load Calculation
An electrician will first perform a load calculation on your main electrical panel. Most modern homes have a 100-amp or 200-amp main service. If your home’s existing electrical demand is already near the panel’s maximum capacity, adding a 50-amp EV circuit could trip the main breaker. If your panel lacks the capacity, you will need a heavy-up (panel upgrade) or a secondary sub-panel.
Step 2: Routing & Conduit Planning
Next, the route from the electrical panel to the charging location is mapped out. This involves measuring the distance to determine wire gauge requirements (longer runs require thicker wire to prevent voltage drop) and deciding whether to run wires through attic spaces, crawlspaces, or along exterior walls using PVC or metallic conduit.
Step 3: Pulling Wire & Mounting
The appropriate gauge copper wire (typically 6 AWG or 4 AWG) is pulled through the conduit. The EV charger backing plate or the NEMA 14-50 receptacle box is then securely mounted to a wall stud or a masonry surface using heavy-duty lag bolts.
Step 4: Termination & Torque Specifications
This is the most critical safety step. The wires are stripped and terminated into the breaker panel and the charger/receptacle. According to manufacturer documentation and NEC guidelines, all terminal screws must be tightened to a specific torque using a calibrated torque screwdriver. Loose connections create electrical resistance, which generates extreme heat and is a leading cause of electrical fires in EV charging setups.
Permits, Inspections, & Utility Rebates
Skipping the permitting process is a dangerous and costly mistake. The U.S. Department of Energy strongly advises that all home EV charging equipment be installed in accordance with local, state, and national codes, which inherently requires permitting.
Why Permits Matter
A permit ensures that a licensed city or county inspector will verify the electrician’s work. If an unpermitted electrical fire occurs, your homeowner’s insurance company may deny your claim. Furthermore, if you decide to sell your home, unpermitted electrical work can derail the real estate transaction.
Unlocking Utility Rebates
Many local municipalities and utility companies offer substantial rebates for home EV charger installations. These rebates can sometimes cover the entire cost of the installation labor or the charger unit itself. However, the universal prerequisite for claiming these rebates is providing a signed, approved electrical permit and inspection certificate. Always check with your local utility provider before starting work to understand their specific incentive programs.
DIY vs. Professional Installation
The internet is full of tutorials showing homeowners wiring their own NEMA 14-50 outlets. While it is physically possible for an experienced DIYer to run conduit and pull wire, working with 240-volt service panels carries severe risks.
The Risks of DIY Installation
The main service lugs in your electrical panel are always live, even when the main breaker is turned off. A mistake here can result in fatal electrocution or an immediate arc flash. Additionally, many premium EV charger manufacturers explicitly state in their warranties that the unit must be installed by a licensed, bonded electrician. If a DIY-installed charger malfunctions and damages your vehicle’s onboard charger, both the EV manufacturer and the charger manufacturer may void your warranty.
The Value of a Professional Electrician
Hiring a licensed electrician guarantees that the work is done to code, properly permitted, and insured. Professionals carry the specialized tools required for safe termination, such as torque screwdrivers and thermal imaging cameras to verify that the connections are not running hot under load. For the vast majority of EV owners, professional installation is the only logical choice.
Detailed Cost Breakdown
To accurately budget for your project, it helps to look at the three most common installation scenarios. Note that these estimates cover labor, materials, and permits, but do not include the cost of the charger itself. To find the right unit for your budget, explore our reviews of the best Level 2 EV chargers on the market.
Scenario A: The “Easy” Install ($500 - $800)
- Setup: Your electrical panel has ample spare capacity and is located on the same wall or directly behind the garage where the charger will be mounted.
- Materials: Minimal wire (under 15 feet), a standard 50-amp breaker, and a short run of surface-mounted conduit.
- Labor: 2 to 3 hours.
Scenario B: The “Standard” Install ($1,000 - $1,800)
- Setup: The panel is in the basement, and the charger is in an attached garage or on an exterior wall. The wire must be routed through ceilings, attics, or crawlspaces.
- Materials: 30 to 60 feet of 6 AWG or 4 AWG wire, extensive PVC or EMT conduit, fittings, and a 50-amp or 60-amp breaker.
- Labor: 4 to 6 hours, potentially requiring two technicians.
Scenario C: The “Complex” Install ($2,500 - $5,000+)
- Setup: The charger is in a detached garage or a driveway pedestal, requiring underground trenching. Alternatively, your home’s main electrical panel is outdated (e.g., 100-amp) and requires a full service upgrade to 200-amp to handle the EV load.
- Materials: Trenching equipment, direct burial wire, concrete work, or a brand-new main service panel.
- Labor: 1 to 3 full days.
Essential Safety Tips for EV Charging
Safety should never be an afterthought when dealing with high-amperage continuous loads. Follow these critical safety guidelines to protect your home and your vehicle.
Install GFCI Protection
Ground Fault Circuit Interrupter (GFCI) protection is mandatory for outdoor receptacles and highly recommended for indoor garage setups. If moisture enters the charging connection or a wire becomes compromised, a GFCI breaker will instantly cut the power, preventing severe shock hazards.
Use Commercial-Grade Receptacles
If you opt for a plug-in NEMA 14-50 setup, never buy a cheap, residential-grade receptacle from a big-box store. EV charging draws maximum current for hours on end, which can melt the internal contacts of standard residential outlets. Always specify a commercial-grade or industrial-grade receptacle (such as those made by Hubbell or Bryant) designed to withstand continuous thermal stress.
Implement Cable Management
Leaving your charging cable coiled on the garage floor is a tripping hazard and exposes the cable to moisture, dirt, and potential damage from vehicle tires. Install a simple wall-mounted cable organizer or a retractable EV cable management system to keep the cord elevated and protected when not in use.
Troubleshooting Common Installation Issues
Even with a professional installation, you may encounter minor hiccups during your first few weeks of charging. Here is how to address the most common issues.
- Breaker Tripping Randomly: If your 50-amp breaker trips during a charging session, it is likely due to a loose wire connection causing heat buildup, or the ambient temperature in the garage is too high, causing the breaker’s thermal sensor to trip. Have an electrician re-torque all connections and check for proper ventilation.
- Charger Failing to Connect to Wi-Fi: Many smart chargers require a 2.4GHz Wi-Fi signal. Garages often act as Faraday cages, blocking signals from your main router. Consider installing a Wi-Fi extender in the garage or hardwiring an Ethernet connection to the charger if the model supports it.
- Slower Than Expected Charging Speeds: If your 48-amp charger is only pulling 32 amps, check your vehicle’s onboard charger settings via the infotainment screen. Some EVs allow you to artificially limit the charging amperage to preserve battery health or accommodate weaker electrical grids.
Frequently Asked Questions
Can I just use an extension cord for my EV charger?
No. You should never use a standard household extension cord for an EV charger, and using a heavy-duty extension cord for a NEMA 14-50 outlet is highly discouraged and often violates electrical codes. Extension cords introduce additional points of electrical resistance, which generate heat and significantly increase the risk of an electrical fire. The charger must be plugged directly into the wall receptacle or hardwired to the junction box.
Does installing an EV charger increase my home’s value?
Yes, a professionally installed, permitted Level 2 EV charging station is increasingly viewed as a premium home upgrade. As EV adoption continues to grow, homebuyers actively search for properties with existing charging infrastructure. A hardwired 240-volt setup in the garage signals to buyers that the home’s electrical panel is modern, robust, and ready for the future, providing a strong return on investment.
How long does a typical home installation take?
For a standard installation where the electrical panel has adequate space and the charger is located within 30 to 50 feet of the panel, a licensed electrician can typically complete the job in 3 to 5 hours. If the project requires trenching, drywall repair, or a main panel upgrade, the physical installation could take one to three days, not including the time required for the city inspector to visit and approve the work.
Do I really need a “smart” Wi-Fi-enabled charger?
While a non-smart (dumb) charger will successfully charge your vehicle, a smart charger offers significant financial and practical benefits. Smart chargers allow you to schedule charging sessions via an app to take advantage of off-peak utility rates, potentially saving you hundreds of dollars a year. They also provide detailed energy usage tracking, over-the-air firmware updates, and the ability to remotely start or stop a charge, which is highly useful if you leave your car plugged in at a shared driveway.
What if I live in an apartment or rent my home?
If you rent or live in a multi-unit dwelling, you cannot simply install a 240-volt circuit without the landlord’s or HOA’s explicit permission. In these cases, look into portable Level 2 chargers that can utilize existing dryer outlets (with the landlord's consent), or advocate for your property management to install shared, commercial-grade EV charging stations in the parking area. Many local governments now have “Right to Charge” laws that prevent HOAs from unreasonably denying EV charger installation requests.
Conclusion
Understanding how much EV charger installation costs is the first step toward achieving true electric vehicle freedom. While the upfront investment of $500 to $2,500 may seem daunting, the daily convenience, combined with utility rebates and off-peak charging savings, makes it one of the most rewarding home improvements you can make. Always prioritize safety, adhere to the National Electrical Code, and hire a licensed professional to ensure your setup is safe, efficient, and built to last. For more tips on maximizing your EV ownership experience, explore our comprehensive EV tax credits and rebates guide to see if you qualify for financial assistance on your new charging setup.