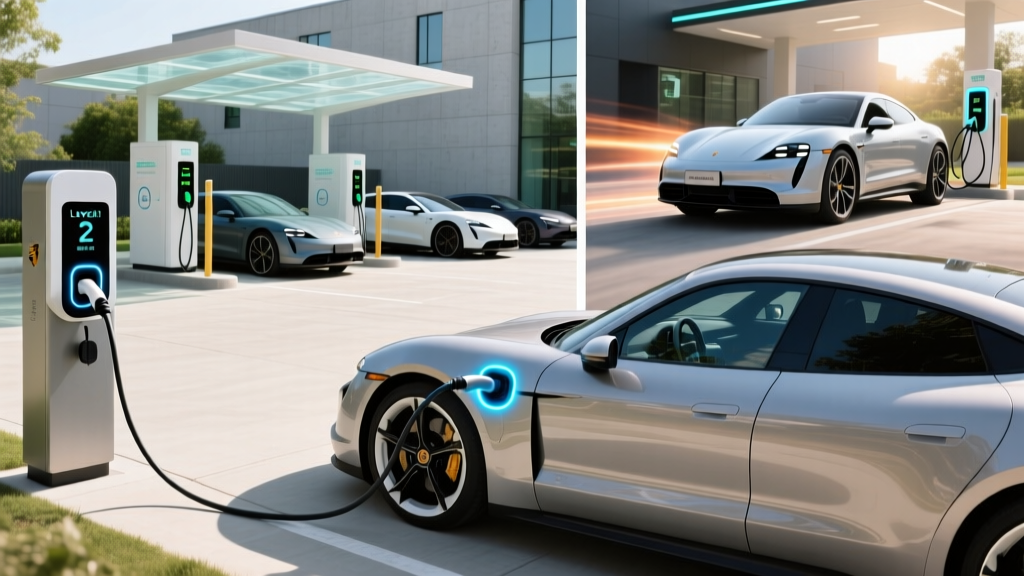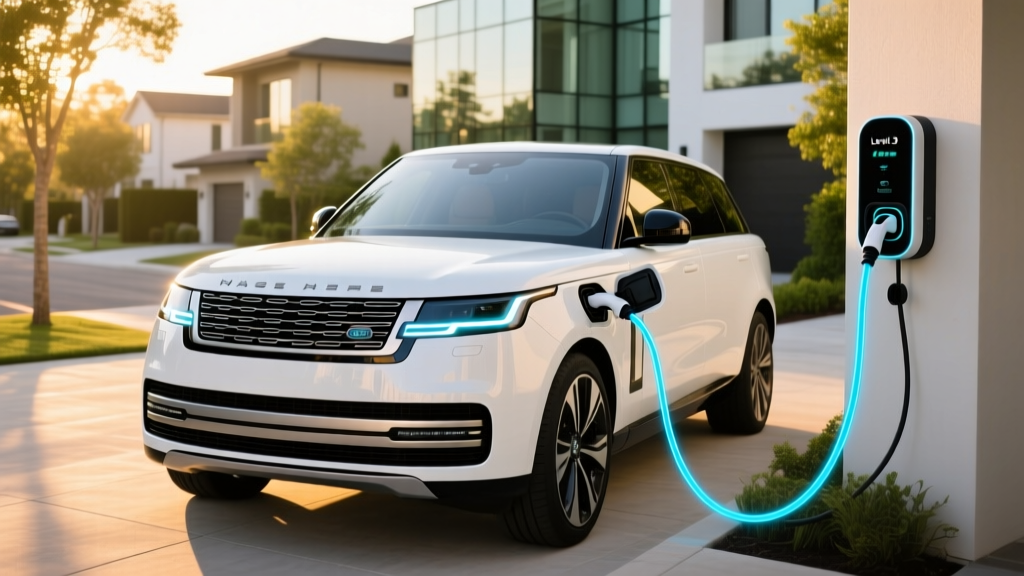
Transitioning to an electric vehicle (EV) is an exciting step toward sustainable transportation, but it brings a unique set of home infrastructure challenges. One of the most common questions new EV owners ask is: how much does EV charger installation cost? The answer varies widely based on your home's existing electrical capacity, the type of charger you select, and local labor rates. Understanding these variables is essential for budgeting your home charging setup effectively.
Difficulty Level: Moderate to Advanced (Requires electrical knowledge & permitting)
Estimated Cost: $500 to $2,500+ (Excluding major electrical panel upgrades)
Time Required: 2 to 8 hours for professional installation
In this comprehensive guide, we will break down every factor that influences the final price tag, explore the National Electrical Code (NEC) requirements, and help you decide whether to hire a professional or tackle the project yourself. For more foundational knowledge, be sure to explore our complete EV charging guides and EV ownership guides.
Understanding EV Charger Electrical Requirements
Before discussing costs, it is crucial to understand the electrical requirements of modern EV charging. While Level 1 charging utilizes a standard 120-volt household outlet and requires no special installation, it only provides about 3 to 5 miles of range per hour. For daily driving needs, most EV owners upgrade to a Level 2 charger, which operates on a 240-volt circuit—the same type of power used by heavy-duty appliances like electric dryers or ovens.
According to the U.S. Department of Energy, a Level 2 home charging station typically requires a dedicated 240-volt circuit ranging from 20 amps to 80 amps. The most common residential setup is a 50-amp circuit, which delivers up to 40 amps of continuous power to the vehicle, yielding roughly 25 to 35 miles of range per hour of charging.
Your home's main electrical panel must have enough spare capacity to handle this new continuous load. The NEC requires that continuous loads (those operating for three hours or more) only utilize 80% of a circuit breaker's total capacity. Therefore, a 40-amp charger requires a 50-amp breaker. If your home has an older 100-amp electrical panel, you may need a costly service upgrade to a 200-amp panel to safely accommodate the EV charger alongside your central air conditioning, electric water heater, & other major appliances.
Detailed Cost Breakdown: Where Your Money Goes
The total cost of installing a Level 2 EV charger is divided into several distinct categories. Here is a detailed breakdown of where your investment goes:
1. The EV Charger Unit ($300 - $700)
The hardware itself is your first major expense. Basic, non-smart Level 2 chargers start around $300, while premium smart chargers with Wi-Fi connectivity, load balancing, & advanced scheduling features can cost up to $700 or more. To find the right model for your vehicle, check out our roundup of the best Level 2 EV chargers on the market.
2. Electrical Labor & Materials ($400 - $1,500)
If your electrical panel is located in the garage right next to where you park, the installation will be on the lower end of the spectrum. The electrician will simply install a new double-pole breaker, run a short distance of Romex or THHN wire through conduit, & wire a NEMA 14-50 receptacle or hardwire the unit directly. However, if your panel is in the basement & your parking spot is in an attached garage on the opposite side of the house, the electrician will need to run wires through walls, ceilings, or crawl spaces, significantly increasing labor & material costs.
3. Trenching & Conduit ($500 - $2,000+)
For homeowners who park in a detached garage or a carport across the driveway, the wiring must be buried underground. Trenching requires specialized equipment, labor, & heavy-duty PVC or rigid metal conduit to protect the wires from moisture & physical damage. The longer the trench, the higher the cost.
4. Electrical Panel Upgrades ($1,500 - $3,500+)
If a load calculation reveals that your current electrical panel cannot safely support an EV charger, you will need a heavy-up or service upgrade. Upgrading from 100 amps to 200 amps is a major project that involves coordinating with your local utility company, replacing the main service mast, & installing a new breaker panel.
Step-by-Step Installation Overview
Whether you are hiring a licensed electrician or attempting a DIY approach (where legally permitted), the installation process follows a strict sequence to ensure safety & compliance.
- Site Assessment & Load Calculation: The electrician evaluates the parking location, measures the distance to the panel, & performs a NEC Article 220 load calculation to verify panel capacity.
- Permitting: Before any work begins, an electrical permit must be pulled from the local building department.
- Routing & Conduit Installation: The pathway for the wiring is established. This may involve drilling through studs, mounting PVC conduit along exterior walls, or trenching underground.
- Wire Pulling: Appropriately sized copper or aluminum wire (typically 6 AWG or 4 AWG for a 50-amp circuit) is pulled through the conduit.
- Termination & Mounting: The wires are terminated at the breaker panel & either connected to a NEMA 14-50 receptacle or hardwired directly into the charging unit. The charger is then securely mounted to the wall stud.
- Testing & Configuration: The electrician tests the voltage, verifies proper grounding, & ensures the GFCI protection functions correctly before configuring the charger's software settings.
Permits, Inspections, and NEC Code Compliance
Skipping permits might save a few hundred dollars upfront, but it is a dangerous gamble that can void your home insurance & create severe fire hazards. The National Fire Protection Association (NFPA) outlines strict guidelines for EV charging in NEC Article 625.
Key code requirements include:
- GFCI Protection: If you install a receptacle (like a NEMA 14-50 outlet) for EV charging, the NEC mandates Ground Fault Circuit Interrupter (GFCI) protection to prevent lethal shocks in damp environments like garages.
- Disconnect Switches: Hardwired EV chargers often require a dedicated disconnect switch within sight of the unit to allow emergency responders or maintenance workers to safely cut power.
- Strain Relief & Cable Management: The charging cable must not be a tripping hazard, & the wiring entering the unit must have proper strain relief fittings.
Once the installation is complete, a local municipal inspector will visit your home to verify that the work meets all local & national codes. Only after passing this inspection is your installation considered fully legal & insurable.
DIY vs. Professional Installation
The internet is full of tutorials showing homeowners wiring their own NEMA 14-50 outlets. While DIY electrical work is legal in some municipalities (provided you pull permits & pass inspections), it is generally discouraged for high-amperage EV charging circuits.
The Case for Professional Installation:
A licensed electrician brings expertise in load balancing, proper torque specifications for terminal connections, & an understanding of local code nuances. Furthermore, major manufacturer documentation explicitly states that warranties are often voided if the charger is not installed by a certified professional. If a DIY-installed charger causes an electrical fire, your home insurance provider may deny the claim due to unpermitted or improper work.
The Case for DIY:
If you are an experienced home renovator with a deep understanding of electrical systems, conduit bending, & NEC codes, DIY installation can save you $500 to $1,000 in labor. However, you must still factor in the cost of permits, inspections, & specialized tools like wire strippers, torque screwdrivers, & multimeters.
Essential Safety Tips for Home Charging
Safety should always be the paramount concern when dealing with 240-volt continuous loads. Follow these best practices to ensure your setup remains safe for years to come:
- Use the Drip Loop Method: If your charger cable runs near the ground or outside, ensure a drip loop is formed so water cannot travel down the cord & into the receptacle or charger housing.
- Invest in a High-Quality Receptacle: If using a plug-in unit, avoid cheap, big-box store outlets. Invest in industrial-grade NEMA 14-50 receptacles designed to handle continuous high-heat loads without melting or degrading.
- Monitor Thermal Throttling: Modern smart chargers feature internal thermistors that monitor the temperature of the plug & internal wiring. If the connections become loose & generate excess heat, the charger will automatically throttle the charging speed or shut down entirely to prevent a fire.
- Keep the Area Clear: Ensure the charging area is free of flammable materials, gasoline cans, & combustible liquids.
Troubleshooting Common Installation Issues
Even with a professional installation, you may encounter occasional issues. Here is how to troubleshoot the most common post-installation problems:
Breaker Tripping Immediately
If the breaker trips the moment you plug in the car, you likely have a ground fault or a short circuit. This can be caused by moisture inside an outdoor receptacle, a pinched wire inside the conduit, or a faulty GFCI breaker. Turn off the power, inspect the receptacle for water ingress, & consult an electrician to test the circuit's insulation resistance.
Charging Speeds are Slower Than Expected
If your 48-amp charger is only pulling 32 amps, the issue may be voltage drop over a long wire run. If the electrician used wire that was too thin for the distance, the voltage at the charger will drop below 240V, causing the vehicle to reduce its charging rate to protect the wiring. Upgrading to a thicker wire gauge (e.g., from 6 AWG to 4 AWG) is the only permanent fix.
Wi-Fi Connectivity Drops
Smart chargers rely on Wi-Fi for scheduling, off-peak energy rates, & software updates. Garages are notorious dead zones for wireless signals. If your charger frequently disconnects, consider installing a Wi-Fi extender in the garage or hardwiring an ethernet connection to the charger if the model supports it.
Frequently Asked Questions (FAQ)
Can I install an EV charger myself?
While it is physically possible for someone with advanced electrical knowledge to install an EV charger, it is highly recommended to hire a licensed electrician. High-voltage, continuous-load circuits carry a significant risk of fire or electrocution if terminated incorrectly. Additionally, DIY installations often void the manufacturer's warranty & can complicate home insurance claims.
Does an EV charger increase my home insurance premium?
In most cases, adding a professionally installed, permitted Level 2 EV charger will not significantly increase your home insurance premium. However, you should always notify your insurance provider. If the charger was installed without permits or by an unlicensed individual, your insurer may refuse to cover damages resulting from an electrical fire.
Are there rebates or tax credits for EV charger installation?
Yes! Many local utility companies offer substantial rebates for installing smart Level 2 chargers, especially if you agree to participate in demand-response programs that allow the utility to pause charging during peak grid hours. Additionally, federal & state tax credits are frequently available for alternative fuel vehicle refueling property. Always check with your local utility & a tax professional to see what incentives you qualify for.
How long does a professional EV charger installation take?
A standard installation where the electrical panel is located on the same wall or an adjacent wall to the charging location typically takes 2 to 4 hours. If the job requires extensive drywall cutting, attic crawling, or underground trenching to a detached garage, the project can take 1 to 3 full days to complete.
What if my electrical panel doesn't have enough capacity?
If your panel lacks the spare amperage for a dedicated EV circuit, you have a few options. The most expensive route is a full service upgrade to 200 or 300 amps. Alternatively, you can install an automatic load management system. These smart devices monitor your home's total energy usage in real-time & dynamically throttle the EV charger's power draw when major appliances (like the AC or electric oven) turn on, preventing the main breaker from tripping without requiring a panel upgrade.
Understanding the true cost of EV charger installation empowers you to make informed decisions, budget accurately, & ensure your home is safely equipped for the future of driving. For more tips on optimizing your electric vehicle experience, explore our guide on how to choose the right EV charger for your specific vehicle model.