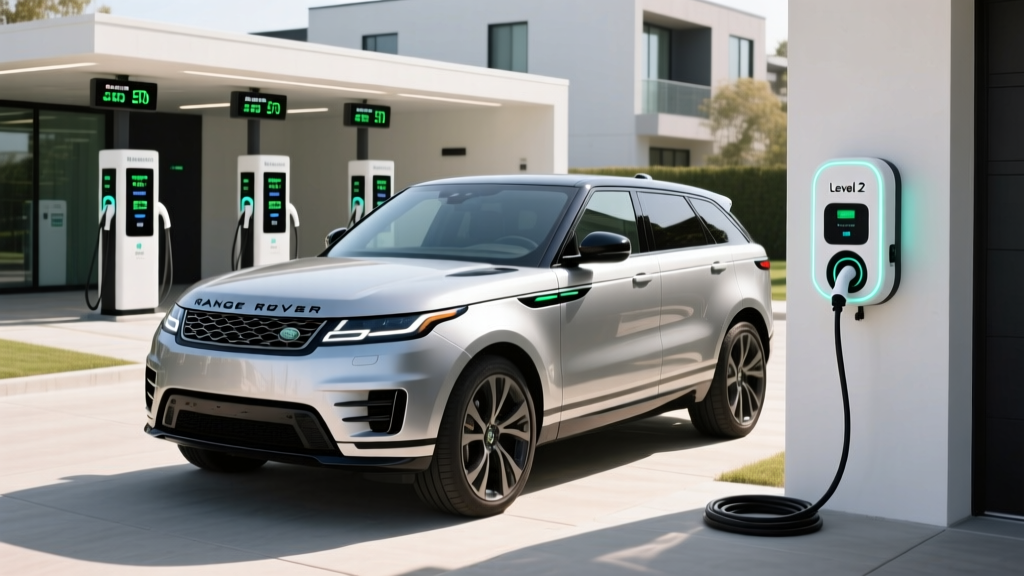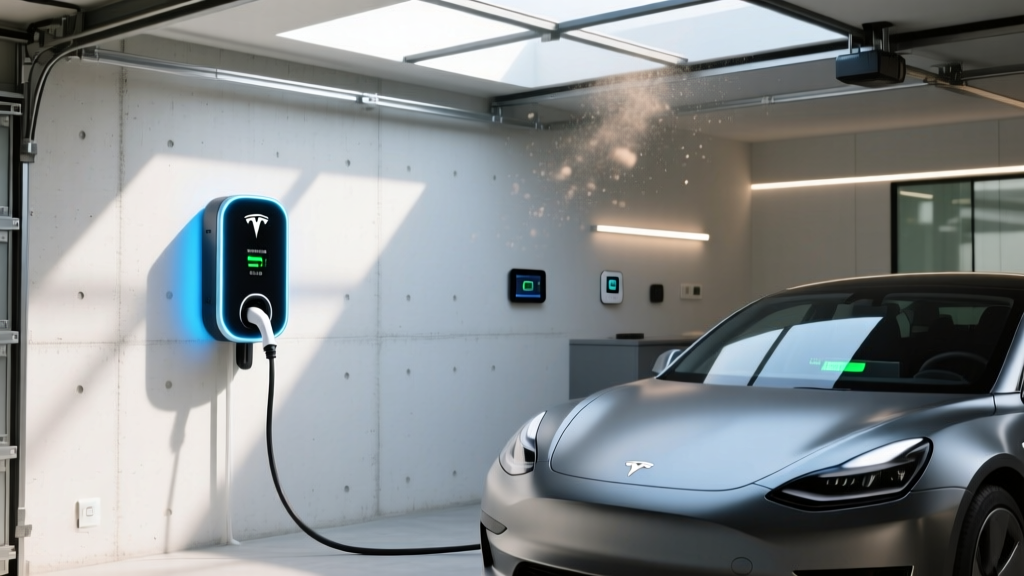
Installing a home EV charger is one of the most impactful upgrades you can make as an electric vehicle owner. It transforms your daily charging routine from a logistical challenge into effortless convenience — plug in when you get home and wake up to a full battery every morning. But before you unbox that shiny new charging station, it is essential to understand the installation process, electrical requirements, safety considerations, and costs involved.
This comprehensive guide walks you through everything you need to know about installing a home EV charger, whether you are considering a simple Level 1 setup or a high-powered Level 2 station. We cover difficulty levels, estimated costs, step-by-step installation procedures, permit requirements, and critical safety tips so you can make an informed decision.
Difficulty Level: Moderate to Advanced (Level 2 installations require electrical expertise)
Estimated Cost: $0–$50 for Level 1 (plug-in) | $500–$2,500+ for Level 2 (hardwired or outlet-based)
Time Required: 1–2 hours for simple plug-in | 4–8 hours for full Level 2 installation with electrical panel upgrades
Whether you are a seasoned DIY enthusiast or planning to hire a licensed electrician, this guide will help you navigate the process with confidence. For a closer look at the best chargers on the market, check out our best home EV charger reviews to find the perfect unit for your needs.
Understanding EV Charger Requirements & Electrical Specifications
Before diving into installation, you need to understand the fundamental electrical requirements for home EV chargers. There are two primary categories of home charging equipment, and each has vastly different installation needs.
Level 1 Charging (120V)
Level 1 chargers use a standard 120-volt household outlet — the same type of outlet that powers your lamp or phone charger. Most EVs come with a Level 1 charging cable included in the purchase. This option requires zero special installation; you simply plug it into a dedicated 15-amp or 20-amp circuit outlet near your parking spot.
The tradeoff is speed. Level 1 charging typically adds about 3 to 5 miles of range per hour of charging, which means a full charge for a 250-mile range EV could take 50 to 80 hours. For plug-in hybrid owners or drivers with short daily commutes, this may be perfectly adequate. For full battery EV owners with longer commutes, it is usually insufficient.
Level 2 Charging (240V)
Level 2 chargers operate on 240 volts — the same voltage as your electric dryer or oven. These chargers deliver anywhere from 16 to 80 amps and can add 15 to 60+ miles of range per hour, making overnight charging practical for virtually any EV on the market.
Level 2 installations require either:
- A NEMA 14-50 outlet: A 240-volt, 50-amp receptacle that allows you to plug in your charger and take it with you if you move. This is the most popular option for residential installations.
- Hardwired connection: The charger is wired directly into your electrical panel. Hardwired units can often support higher amperage (up to 80 amps) and eliminate the need for a separate outlet, but they are permanent fixtures.
According to the U.S. Department of Energy, Level 2 charging is the most practical solution for the majority of EV owners, providing a balance of charging speed and installation feasibility.
Key Electrical Panel Requirements
Your home's electrical panel is the starting point for any Level 2 installation. Here is what you need to evaluate:
- Panel capacity: Most modern homes have a 100-amp or 200-amp main panel. A 200-amp panel typically has enough headroom to support a 40-amp or 50-amp EV charging circuit. Older homes with 100-amp service may require a panel upgrade.
- Available breaker slots: You will need two adjacent slots in your panel for a 240-volt double-pole breaker. If your panel is full, you may need to consolidate circuits or install a sub-panel.
- Load calculation: The National Electrical Code (NEC) requires that the total continuous load on your panel does not exceed 80% of its rated capacity. A licensed electrician will perform a load calculation to confirm your panel can safely handle the additional demand of an EV charger.
If your electrical panel needs an upgrade, expect to add $1,000 to $3,000 to your total installation cost. For more context on choosing the right charger for your electrical setup, read our Level 1 vs. Level 2 charging comparison.
Step-by-Step EV Charger Installation Process
Whether you are working with a professional electrician or tackling a plug-in installation yourself, understanding the step-by-step process helps you stay informed and ensure the job is done correctly.
Step 1: Choose Your Charger Location
Select a location for your charger that balances convenience, cable reach, and installation practicality. Consider the following:
- Proximity to your electrical panel (shorter wire runs reduce cost)
- Whether the charger will be installed indoors (garage) or outdoors (exterior wall)
- Cable length — most chargers come with 18 to 25-foot cables, so ensure the unit can reach your vehicle's charge port
- Mounting surface — drywall, concrete, and wood studs all require different mounting hardware
- Protection from weather if installing outdoors (look for chargers rated NEMA 4 or higher for outdoor use)
Step 2: Evaluate Your Electrical System
Before any wiring begins, perform (or have an electrician perform) a thorough evaluation of your electrical system:
- Open your electrical panel and identify available breaker slots
- Check the main breaker rating to determine total panel capacity
- Perform a load calculation to ensure adding a 30-amp to 50-amp continuous load will not overload the system
- Plan the wire route from the panel to the charger location — through walls, attic spaces, or conduit along exterior walls
Step 3: Obtain Necessary Permits
Most municipalities require an electrical permit for any new 240-volt circuit installation. We cover the permit process in detail in the next section, but this step must be completed before any physical installation begins. Skipping permits can result in fines, failed home inspections, and potential insurance issues.
Step 4: Install the Circuit & Wiring
This is the core of the installation and the step that should be performed by a licensed electrician for any hardwired or high-amperage setup. The process typically involves:
- Shutting off main power to the electrical panel
- Installing a double-pole breaker of the appropriate amperage (e.g., 50-amp breaker for a NEMA 14-50 outlet, 40-amp breaker for a 32-amp hardwired charger)
- Running appropriately gauged wire from the panel to the charger location — typically 6 AWG copper wire for 50-amp circuits or 8 AWG for 40-amp circuits, though local codes may vary
- Installing conduit where required by code (typically for exposed wiring in garages or outdoor runs)
- Connecting the outlet or hardwiring the charger at the termination point
Per NEC Article 625, EV charging equipment is classified as a continuous load, meaning the circuit must be rated for 125% of the charger's maximum draw. For example, a 40-amp charger requires a 50-amp circuit. This is a critical safety requirement that many DIY installers overlook.
Step 5: Mount the Charger Unit
Once the electrical connection is complete, mount the charger unit to the wall using the manufacturer's provided bracket and hardware. Most Level 2 chargers weigh between 10 and 25 pounds, so ensure you are anchoring into wall studs or using appropriate masonry anchors for concrete walls.
Many chargers also include a cable management system or holster. Install these accessories at a comfortable height — typically 48 to 52 inches from the floor — to keep the cable organized and prevent tripping hazards.
Step 6: Test & Commission the Charger
After installation, follow these commissioning steps:
- Restore power at the main panel
- Verify the breaker is on and the charger's indicator lights show it is powered
- Use a multimeter or outlet tester to confirm correct voltage at the outlet (for plug-in installations)
- Connect the charger to your Wi-Fi network (if applicable) and complete any app-based setup
- Plug in your EV and initiate a test charge session
- Monitor the first few charging sessions for any unusual sounds, smells, or heat at the outlet or breaker
For detailed reviews of chargers with the easiest setup processes, browse our smart EV charger comparison guide.
Permits, Inspections & Code Compliance
Navigating the permit and inspection process is a non-negotiable part of a proper EV charger installation. Here is what you need to know.
When Is a Permit Required?
In the vast majority of jurisdictions, any new electrical circuit — especially a 240-volt circuit — requires a permit. This includes:
- Installing a new NEMA 14-50 outlet for EV charging
- Hardwiring a Level 2 charging station
- Upgrading your electrical panel to accommodate the charger
- Running new conduit or wiring through walls, ceilings, or exterior surfaces
Level 1 charging using an existing outlet typically does not require a permit, though you should verify the outlet is on a dedicated circuit to avoid overloading.
How to Obtain a Permit
The permit process generally follows these steps:
- Contact your local building or electrical department (city or county level)
- Submit a permit application, which typically includes a description of the work, the circuit specifications, and the charger model
- Pay the permit fee, which usually ranges from $50 to $200 depending on your municipality
- If hiring an electrician, they will typically handle the permit application on your behalf
The Inspection Process
After installation is complete, a municipal inspector will visit your home to verify the work meets code requirements. The inspector will check:
- Correct wire gauge and type for the circuit amperage
- Proper breaker sizing and the 125% continuous load rule per NEC Article 625
- Correct grounding and bonding
- Proper conduit use where required
- GFCI protection where mandated by local code (note: some EV charger manufacturers recommend against GFCI breakers as the charger has built-in ground fault protection — consult your charger's installation manual)
- Secure mounting and appropriate clearances
Failing an inspection means you will need to correct any deficiencies and schedule a re-inspection, which adds time and potentially cost. Working with a licensed electrician who is familiar with local codes significantly reduces the risk of inspection failures.
Why Permits Matter
Beyond legal compliance, permits and inspections protect you in several important ways:
- Home insurance: Unpermitted electrical work may void your homeowner's insurance coverage in the event of an electrical fire
- Home resale: Unpermitted work can become a liability during a home inspection when selling your property
- Safety: The inspection process catches dangerous installation errors that could lead to fire or electrocution
DIY Installation vs. Hiring a Professional Electrician
One of the most common questions EV owners face is whether to install the charger themselves or hire a licensed electrician. The answer depends on the type of installation, your electrical knowledge, and your comfort level with high-voltage work.
When DIY Is Reasonable
DIY installation may be appropriate in the following scenarios:
- Level 1 charging: Simply plugging into an existing 120V outlet on a dedicated circuit requires no electrical work
- Plug-in Level 2 with an existing outlet: If you already have a properly installed NEMA 14-50 outlet (perhaps from a previous dryer or welder), you can simply plug in a compatible Level 2 charger
- Simple outlet replacement: If you have electrical experience and your panel already has the correct breaker and wiring, swapping an old outlet for a new NEMA 14-50 receptacle may be within your skill set
When You Should Hire a Professional
In most cases, hiring a licensed electrician is the recommended path for Level 2 installations. You should definitely hire a professional when:
- A new 240-volt circuit needs to be run from the panel
- Your electrical panel needs an upgrade or sub-panel installation
- Wiring must pass through finished walls, concrete, or complex routing
- You are unfamiliar with NEC requirements, load calculations, or proper grounding techniques
- Your municipality requires permitted work to be performed by a licensed contractor
- You want to maintain the manufacturer's warranty (some manufacturers require professional installation for warranty validity)
Cost Comparison
Here is a general comparison of DIY versus professional installation costs:
| Installation Type | DIY Cost | Professional Cost |
|---|---|---|
| Level 1 (existing outlet) | $0 | $0–$150 (inspection only) |
| Level 2 plug-in (new outlet, short run) | $200–$500 (materials) | $500–$1,200 |
| Level 2 hardwired (standard installation) | $300–$600 (materials) | $800–$1,800 |
| Level 2 with panel upgrade | Not recommended | $2,000–$4,000+ |
While DIY can save money on labor, the risks of improper electrical work — fire, equipment damage, personal injury, and insurance complications — far outweigh the savings for most homeowners. When in doubt, hire a professional.
If you are still deciding which charger to purchase, our complete EV charger buying guide breaks down the features and specifications to consider before making your selection.
EV Charger Installation Cost Breakdown
Understanding the full cost of EV charger installation helps you budget accurately and avoid surprises. Here is a detailed breakdown of the expenses you may encounter.
The Charger Unit
Level 2 home chargers range in price from approximately $250 to $700, depending on features, amperage, brand, and smart capabilities. Basic units with minimal features start at the lower end, while premium chargers with Wi-Fi connectivity, load balancing, and longer cables command higher prices. Refer to our top-rated home EV charger reviews for current pricing and recommendations.
Electrical Materials
- Double-pole breaker: $10–$50
- Wire (6 AWG or 8 AWG copper): $2–$5 per foot
- NEMA 14-50 receptacle: $10–$30
- Conduit & fittings: $50–$200 depending on run length
- Junction boxes, wire nuts, & misc. hardware: $20–$50
Labor Costs
Electricians typically charge between $75 and $150 per hour. A straightforward installation with a short wire run and easy panel access may take 2 to 4 hours, while complex installations involving long wire runs, wall fishing, or conduit work can take 6 to 8 hours or more.
Panel Upgrade (If Needed)
If your electrical panel lacks capacity, upgrading from 100-amp to 200-amp service typically costs $1,500 to $3,000 including the new panel, labor, and utility coordination. In some cases, installing a sub-panel near the charger location ($500–$1,000) is a more cost-effective solution.
Permits & Inspections
Expect to pay $50 to $200 for an electrical permit, depending on your local jurisdiction. Inspection fees are usually included in the permit cost.
Available Rebates & Incentives
Many utility companies, state governments, and local municipalities offer rebates or tax incentives for home EV charger installation. These can significantly offset your costs:
- Utility rebates: Many electric utilities offer $250 to $500 rebates for installing a Level 2 charger, especially if you agree to participate in demand response programs
- State incentives: Various states offer tax credits or rebates for EV charging equipment and installation
- Federal tax credit: The federal Alternative Fuel Infrastructure Tax Credit may cover a percentage of charger equipment and installation costs (check current eligibility requirements with the Department of Energy)
Always check with your local utility and state energy office for current incentive programs before starting your installation, as these can reduce your out-of-pocket expense by hundreds or even thousands of dollars.
Critical Safety Tips for EV Charger Installation
Working with 240-volt electricity carries serious risks, including electrocution and fire. Whether you are performing a DIY installation or overseeing a professional job, these safety tips are essential.
Electrical Safety Fundamentals
- Always turn off the main breaker before working inside the electrical panel. Use a non-contact voltage tester to confirm power is off before touching any wires.
- Never work on a live panel. Even with the main breaker off, the service entrance conductors remain energized. Exercise extreme caution.
- Use the correct wire gauge. Undersized wire creates a fire hazard. Always follow NEC ampacity tables and the charger manufacturer's specifications.
- Torque all connections to specification. Loose connections create resistance, which generates heat and is a leading cause of electrical fires. Use a torque screwdriver or torque wrench as specified by the manufacturer.
- Ensure proper grounding. The equipment grounding conductor must be correctly sized and securely connected at both the panel and the outlet or charger.
Ongoing Safety After Installation
- Inspect the outlet and plug regularly for signs of heat damage, discoloration, or melting. Many EV owners report outlet degradation over time with high-amperage charging — this is why many electricians recommend hardwired installations for chargers drawing 40 amps or more.
- Do not use extension cords with your EV charger unless the manufacturer explicitly approves a specific product. Standard extension cords are not rated for continuous high-amperage loads.
- Keep the charging area clear of flammable materials, standing water, and trip hazards.
- Install a smoke detector near the charging location if one is not already present.
- Consider a dedicated GFCI breaker if your local code requires it, but be aware that some EV chargers have built-in ground fault protection that may cause nuisance tripping with GFCI breakers. Consult both the NEC requirements and your charger's installation manual.
Following manufacturer installation instructions precisely is critical. Major charger manufacturers such as ChargePoint, Tesla, and Emporia provide detailed installation guides that supplement NEC requirements. Always defer to the most stringent applicable standard.
Troubleshooting Common EV Charger Installation Issues
Even with a careful installation, you may encounter issues when commissioning your new EV charger. Here are the most common problems and their solutions.
Charger Does Not Power On
- Verify the breaker is in the ON position
- Check for a tripped GFCI breaker and reset if necessary
- Use a multimeter to confirm 240V is present at the outlet or charger terminals
- Inspect wire connections at both the panel and the charger for loose or disconnected wires
Charging Starts but Stops Intermittently
- Check for voltage drop — long wire runs with undersized wire can cause voltage to drop below the charger's minimum threshold
- Inspect the outlet for loose blade connections (a common issue with NEMA 14-50 receptacles under continuous load)
- Reduce the charger's amperage setting in the app or DIP switches if available
- Ensure the charger is not overheating — check for adequate ventilation and ambient temperature
Breaker Trips During Charging
- Confirm the breaker is sized correctly for the charger's continuous load (125% of rated amperage)
- Check for other loads on the same circuit — the EV charger should be on a dedicated circuit
- Inspect for short circuits or ground faults in the wiring
- Verify the breaker is not defective by testing with a known-good replacement
Wi-Fi Connectivity Issues (Smart Chargers)
- Ensure your Wi-Fi signal reaches the charger location — garages and exterior walls often have poor signal penetration
- Consider a Wi-Fi extender or mesh network node near the charger
- Check that your router's 2.4 GHz band is enabled, as most smart chargers do not support 5 GHz networks
- Reset the charger's network settings and re-pair through the manufacturer's app
Vehicle Reports Charging Fault
- Try a different charging cable or adapter if available
- Verify the charger's ground connection is solid — many EVs will refuse to charge without a proper ground
- Check for firmware updates on both the charger and the vehicle
- Test the charger with a different EV if possible to isolate whether the issue is with the charger or the vehicle
If you continue to experience issues after troubleshooting, contact the charger manufacturer's support team. Most reputable brands offer multi-year warranties and responsive technical support. For reliable options, see our roundup of the most reliable EV chargers on the market.
Frequently Asked Questions
Can I install an EV charger myself without an electrician?
Level 1 charging with a standard 120V outlet requires no installation at all — simply plug in. For Level 2 charging, if you already have a properly wired NEMA 14-50 outlet, you can plug in a compatible charger yourself. However, any new 240-volt circuit installation should be performed by a licensed electrician. Working with high-voltage electricity without proper training is dangerous, and most jurisdictions require permitted electrical work to be done by a licensed professional. The cost of hiring an electrician is a worthwhile investment in your safety and the long-term reliability of your installation.
Do I need to upgrade my electrical panel for an EV charger?
Not necessarily. If your home has a 200-amp electrical panel with available breaker slots and sufficient remaining capacity after a load calculation, you can likely add a Level 2 charger without a panel upgrade. Homes with 100-amp service or panels that are already near capacity may require an upgrade to 200-amp service, which typically costs $1,500 to $3,000. A licensed electrician can perform a load calculation to determine whether your current panel can support the additional load. Some homeowners opt for smart chargers with load management features that dynamically adjust charging speed to stay within the panel's capacity, avoiding the need for an upgrade entirely.
How long does a typical EV charger installation take?
A straightforward Level 2 installation — where the electrical panel is near the charger location and the wire run is short and accessible — typically takes 2 to 4 hours. More complex installations involving long wire runs through finished walls, conduit installation along exterior surfaces, or sub-panel additions can take 6 to 8 hours or more. If a panel upgrade is required, the entire project may span one to two days. The permit application and inspection process adds additional time but does not typically delay the physical installation if you apply for the permit in advance.
Is a hardwired EV charger better than a plug-in model?
Both hardwired and plug-in chargers have distinct advantages. Hardwired chargers can support higher amperage (up to 80 amps on some models), eliminate the cost of a NEMA 14-50 receptacle, and avoid the potential for outlet degradation over time. They are also required by some local codes for outdoor installations. Plug-in chargers offer portability — you can unplug the unit and take it with you when you move, or easily replace the unit without electrical work. For most homeowners charging at 40 amps or below, a properly installed NEMA 14-50 outlet with a plug-in charger provides an excellent balance of performance, flexibility, and cost. For higher amperage installations (48 amps and above), hardwiring is generally recommended.
Will installing an EV charger increase my home's value?
Yes, a professionally installed Level 2 EV charger is generally considered a value-adding home improvement, particularly as EV adoption continues to grow. Real estate studies have shown that homes with EV charging infrastructure appeal to a growing segment of buyers and can command a premium in competitive markets. A permitted, inspected installation with documentation adds more value than an unpermitted DIY job. Additionally, the electrical panel upgrade that sometimes accompanies a charger installation improves your home's overall electrical infrastructure, which is attractive to buyers regardless of whether they own an EV.
Ready to get started? Explore our complete guide to home EV charging for even more tips on optimizing your setup, reducing charging costs, and getting the most out of your electric vehicle ownership experience.