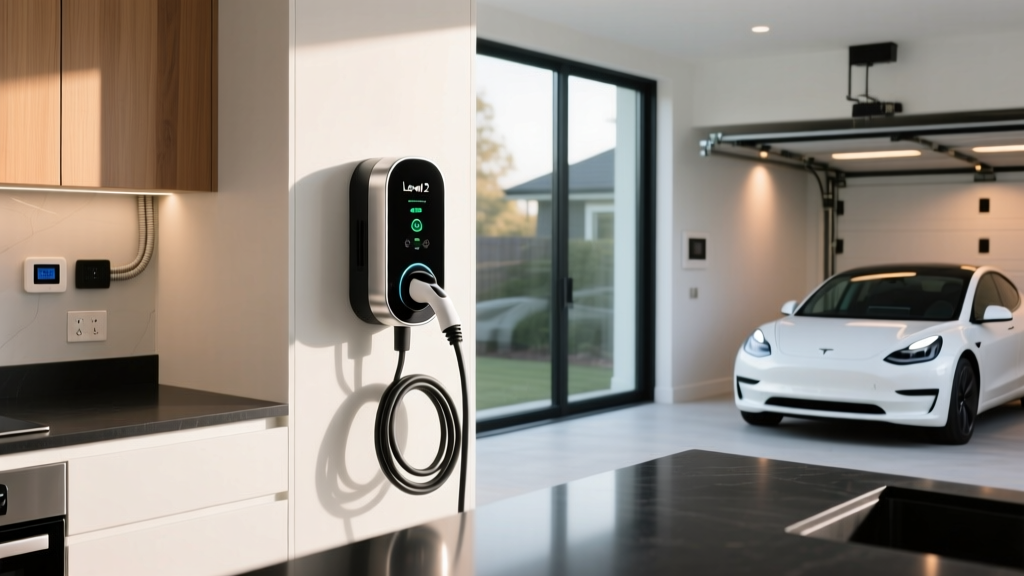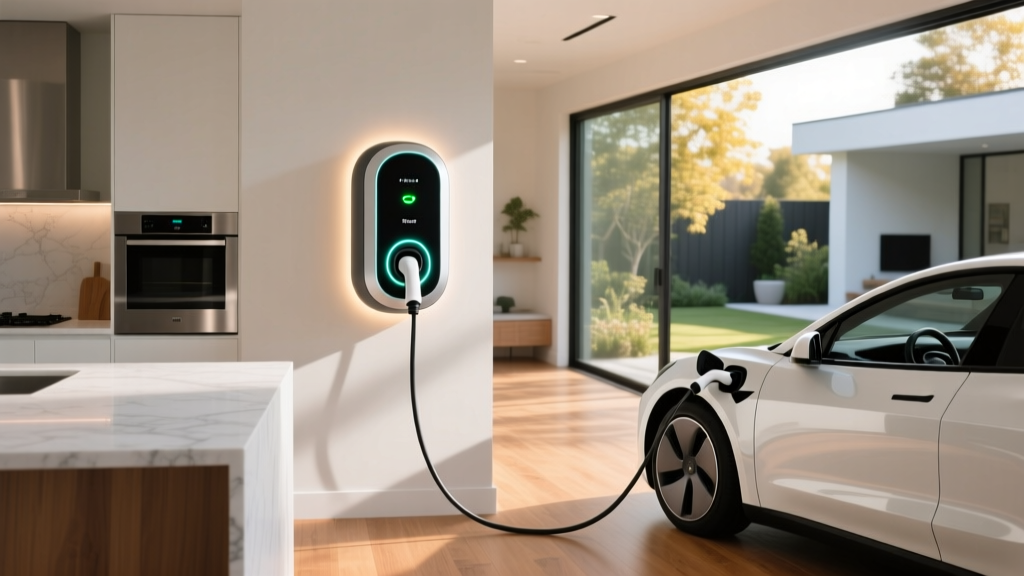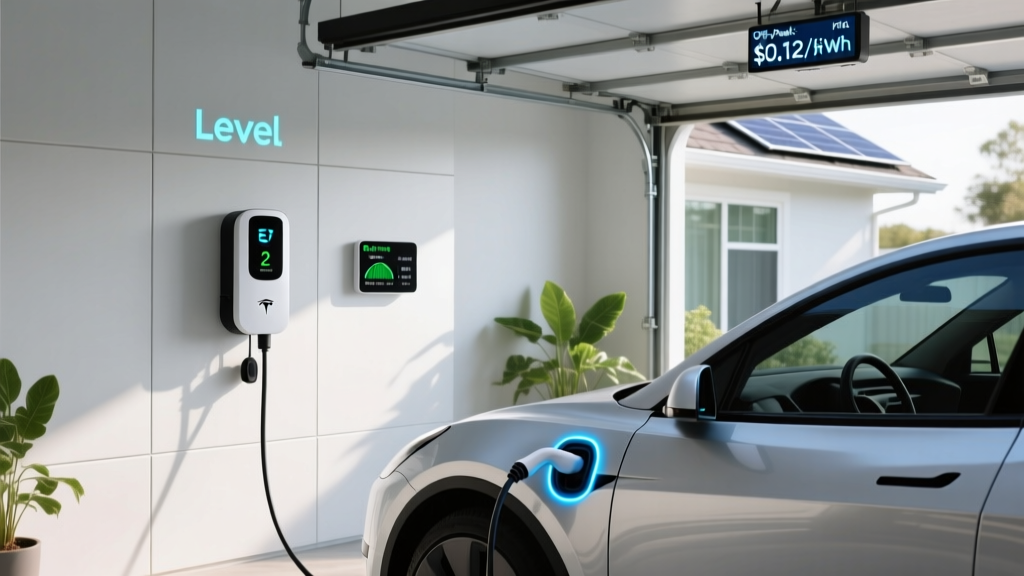
The Ultimate Guide to Portable Level 2 EV Chargers: Setup, Installation & Safety
As electric vehicles (EVs) continue to dominate the automotive landscape, the need for reliable, efficient, and flexible home charging solutions has never been greater. While hardwired wall connectors are a popular choice for dedicated garage setups, the portable Level 2 EV charger has emerged as a favorite among EV owners who value versatility. Whether you are visiting family, renting a property, or simply want the freedom to take your charger on road trips, a portable Level 2 unit offers the perfect balance of speed and convenience.
Unlike standard Level 1 chargers that plug into a typical 120V household outlet and deliver a sluggish 3 to 5 miles of range per hour, portable Level 2 chargers utilize 240V power to deliver anywhere from 12 to 35 miles of range per hour. However, harnessing this power requires a proper understanding of electrical requirements, safety protocols, and setup procedures.
Quick Overview: Difficulty & Estimated Costs
- Difficulty Level: Beginner (for daily setup & use) / Advanced (for 240V outlet installation)
- Estimated Time: 15 minutes (setup) / 2 to 6 hours (electrical installation)
- Estimated Cost: $300 to $700 (charger unit) + $0 to $800 (outlet installation)
In this comprehensive guide, we will walk you through everything you need to know about portable Level 2 EV chargers, from electrical requirements and step-by-step setup to permitting, safety, and troubleshooting. For a broader understanding of charging ecosystems, be sure to check out our EV charging basics guide.
Understanding Portable Level 2 EV Chargers & Electrical Requirements
Before plugging in your vehicle, it is crucial to understand the electrical infrastructure required to support a portable Level 2 charger. These devices do not magically create power; they rely on the existing electrical grid and your home's wiring to deliver high-voltage alternating current (AC) to your vehicle's onboard charger.
The 240V Requirement & the 80% Rule
Portable Level 2 chargers require a 240-volt circuit, which is the same type of power used by heavy-duty home appliances like electric dryers, ovens, and air conditioners. According to the National Electrical Code (NEC), EV charging is classified as a "continuous load." This means the charger is expected to draw maximum current for three hours or more. Consequently, the NEC mandates the 80% rule: a circuit must be rated for 125% of the continuous load. Therefore, a portable charger that draws 40 amps continuously must be plugged into a 50-amp circuit.
Common NEMA Outlet Configurations
Portable Level 2 chargers typically come with a NEMA 14-50 plug, though adapters are widely available. Understanding the differences between these outlets is vital for safety and compatibility:
- NEMA 14-50 (50-Amp, 4-Prong): This is the gold standard for EV charging. It features two hot wires, a neutral wire, and a dedicated ground wire. It is the most common and safest outlet for modern portable EV chargers.
- NEMA 6-50 (50-Amp, 3-Prong): Often found in older homes or dedicated workshop setups, this outlet features two hot wires and a ground, but no neutral. Many portable chargers support this configuration via a swap-out plug or adapter.
- NEMA 10-50 (50-Amp, 3-Prong): Commonly used for older electric dryers, this outlet lacks a dedicated ground wire. Safety Warning: The Department of Energy (DOE) and EV manufacturers strongly advise against using NEMA 10-50 outlets for EV charging due to the severe shock and fire hazards associated with ungrounded 240V circuits.
If your home lacks a compatible 240V outlet, you will need to explore home EV charger installation options to upgrade your electrical infrastructure.
Step-by-Step Setup & Installation Guide
Setting up a portable Level 2 charger is straightforward once the correct 240V outlet is installed. Follow these steps to ensure a safe and efficient charging session.
Step 1: Inspect the Equipment & Outlet
Before every use, visually inspect the charger's control box, the cable, and the plug prongs for any signs of wear & tear, melting, or exposed copper. Similarly, inspect the wall receptacle. If the outlet feels loose or shows scorch marks, do not use it. A loose connection creates high resistance, which generates dangerous heat.
Step 2: Mount the Holster & Cable Management
While portable chargers are designed to be thrown in the trunk, leaving them on the garage floor invites damage from foot traffic, rolling tires, and moisture. Most premium units come with a wall-mounted holster. Install the holster at a height that prevents the cable from dragging on the ground. Use a cable organizer or velcro straps to coil the excess cable neatly. Avoid wrapping the cable tightly around the control box, as this can damage the internal wiring over time.
Step 3: Plug Into the Wall Receptacle
Firmly push the NEMA plug into the 240V wall outlet until it seats completely. You should feel a firm resistance. Once plugged in, observe the control box indicator lights. Most units will display a solid green or blue light to indicate that the unit has successfully performed a self-diagnostic check and is receiving proper voltage.
Step 4: Connect to the Vehicle
Open your vehicle's charge port and insert the J1772 or NACS (Tesla) connector. Push firmly until you hear a mechanical click, indicating that the latch has engaged. The vehicle and the EVSE (Electric Vehicle Supply Equipment) will now perform a digital "handshake" to negotiate the maximum safe amperage. Charging will commence shortly after.
For recommendations on the best units currently on the market, read our review of the top-rated portable EV chargers.
Electrical Requirements: Do You Need a Permit & Inspection?
A common question among EV owners is whether they need to involve the local building department when using a portable charger. The answer depends entirely on the state of your existing electrical infrastructure.
Using an Existing Outlet
If you are simply plugging your portable Level 2 charger into an already existing 240V outlet (such as a dryer or stove outlet) that is in good condition and properly grounded, you generally do not need a permit or an inspection. The outlet was already permitted and inspected when it was originally installed.
Installing a New 240V Outlet
If your garage or driveway lacks a 240V outlet, you must hire an electrician to install a new NEMA 14-50 receptacle. This electrical work absolutely requires a permit and a subsequent inspection. The NEC Article 625 specifically governs EV charging infrastructure. Local inspectors will verify that the wire gauge is appropriate (typically 6 AWG copper for 50 amps), that the breaker is sized correctly, and that the outlet is properly grounded. Furthermore, recent NEC updates require GFCI (Ground Fault Circuit Interrupter) protection for all 240V EV receptacles. Skipping the permit process can void your home insurance policy and create severe liability issues in the event of an electrical fire.
DIY Outlet Installation vs. Hiring a Professional Electrician
The internet is full of tutorials showing homeowners how to wire a NEMA 14-50 outlet themselves. While DIY projects can save time & money, installing a 240V, 50-amp circuit is not a beginner-friendly weekend project.
The Risks of DIY Electrical Work
Working with 240V power carries a high risk of lethal arc flashes and electrocution. Furthermore, EV charging places a unique, sustained thermal load on wiring that standard appliances do not. If a DIYer fails to use a torque screwdriver to tighten the terminal screws to the manufacturer's exact specifications, the loose connection will slowly heat up over weeks of use, eventually melting the receptacle and potentially igniting a structural fire. Additionally, many modern homes require the installation of a GFCI breaker to meet code, which involves complex wiring in the main service panel.
When to Call a Professional
You should always hire a licensed, bonded, and insured electrician to install a new 240V EV outlet. A professional will perform a load calculation on your main electrical panel to ensure your home has the spare capacity to handle an additional 40 to 50 amps. If your panel is maxed out, the electrician can advise you on whether a panel upgrade or a smart load-management device is necessary. The peace of mind, adherence to NEC codes, and protection of your home insurance policy make professional installation the only logical choice for new circuits.
Cost Breakdown: Portable Level 2 Chargers & Electrical Upgrades
Budgeting for a portable Level 2 charging setup involves two distinct categories: the hardware itself and the electrical infrastructure. Here is a general breakdown of what you can expect to spend.
- Portable Level 2 Charger Unit: $300 to $700. Basic models without Wi-Fi sit on the lower end, while smart chargers with app integration, scheduling, and interchangeable plugs sit on the higher end.
- Plug Adapters: $50 to $150. If you need to swap a NEMA 14-50 pigtail for a NEMA 6-50 or a European-style outlet for international travel, proprietary adapters can add to the cost.
- New 240V Outlet Installation: $300 to $800. This assumes your electrical panel has sufficient capacity and is located relatively close to the garage or driveway. Costs increase if trenching or long conduit runs are required.
- Electrical Panel Upgrade: $1,500 to $3,500+. If your home has an older 100-amp panel and lacks the spare capacity for a 50-amp EV circuit, you will need to upgrade to a 200-amp service.
Be sure to check with your local utility provider and state government, as many offer lucrative rebates that can cover a significant portion of the electrical installation costs.
Essential Safety Tips for Portable EV Charging
Safety should always be your top priority when dealing with high-voltage electricity and lithium-ion batteries. Follow these best practices recommended by the DOE and EV manufacturers to ensure safe operation.
Avoid Standard Extension Cords
Never use a standard household extension cord with a portable Level 2 charger. Standard cords are not rated for the continuous 40-amp draw and will overheat rapidly, causing a fire. If you absolutely must extend the reach of your charger, purchase a heavy-duty, EV-rated extension cord specifically designed for 50-amp continuous loads, and keep it as short as physically possible to minimize voltage drop.
Weatherproofing & Outdoor Use
Most high-quality portable Level 2 chargers are rated NEMA 4 or NEMA 4X, meaning the control box and vehicle connector are waterproof and can withstand rain, snow, and hose-directed water. However, the wall plug and the receptacle are not always waterproof. If you are charging outdoors, ensure the 240V receptacle is housed in a weatherproof "in-use" bubble cover to prevent moisture from entering the connection point.
Cable Care & Storage
The thick copper stranding inside a Level 2 cable is susceptible to fatigue. Never run over the cable with your vehicle, and avoid sharp, tight kinks. When storing the unit in your trunk, use a dedicated EV charging bag to protect the connector pins from dirt, moisture, and impact damage.
Troubleshooting Common Portable Charger Issues
Even the best portable chargers can occasionally encounter hiccups. Here is how to troubleshoot the most common issues.
- Charger Shows a Red Fault Light: This usually indicates a ground fault or a wiring issue in the wall receptacle. Unplug the unit, wait 30 seconds, and plug it back in. If the red light persists, have an electrician test the outlet for proper grounding and correct neutral-to-ground bonding.
- Breaker Trips Mid-Charge: If your 50-amp breaker trips after 20 minutes of charging, the breaker may be aging, or the ambient temperature in the garage may be excessively high. It could also indicate that the charger is drawing more than the 80% continuous limit. Lower the amperage output in the charger's settings or via the vehicle's infotainment screen to 32 amps and see if the charging session completes.
- Vehicle Plugs In But Won't Charge: Check the connector pins for debris or corrosion. Ensure the latch has fully engaged. Sometimes, the proximity pilot pin fails to register that the plug is fully seated, preventing the vehicle from closing the contactors and accepting power.
- Slow Charging Speeds: If your 40-amp charger is only delivering 16 amps, check your vehicle's settings. Many EVs allow you to artificially limit the charging current to prevent overloading a specific circuit. Ensure the vehicle is set to draw maximum available current.
Frequently Asked Questions (FAQ)
Can I use an extension cord with my portable Level 2 charger?
Manufacturers universally advise against using extension cords due to fire risks. However, if an extension is unavoidable, you must use a premium, heavy-duty cord rated for 50 amps and 240 volts (typically 6 AWG wire). Keep the extension cord as short as possible, ensure it is fully uncoiled to prevent heat buildup, and never daisy-chain multiple cords together.
How fast will a portable Level 2 charger charge my EV?
Charging speed depends on the amperage of the charger and the capacity of your vehicle's onboard charger. A standard 32-amp portable charger will deliver roughly 7.6 kW of power, adding about 25 to 30 miles of range per hour. A 40-amp or 48-amp portable unit can deliver up to 11.5 kW, adding 35 to 45 miles of range per hour, provided your vehicle's onboard charger can accept that level of power.
Is it safe to leave a portable Level 2 charger plugged in outdoors?
Yes, provided the equipment is rated for outdoor use (NEMA 4) and the wall receptacle is protected by an in-use weatherproof cover. The control box and vehicle connector are designed to withstand rain and snow. However, prolonged exposure to direct, intense UV sunlight can degrade the cable jacket over time, so mounting the holster in a shaded area is highly recommended.
Can I take my portable Level 2 charger on road trips?
Absolutely. The primary advantage of a portable Level 2 charger is its mobility. They are invaluable for visiting friends or family who have a 240V dryer or stove outlet, staying at RV parks equipped with NEMA 14-50 pedestals, or as a backup emergency charger. Just be sure to pack any necessary plug adapters and a heavy-duty EV extension cord if you anticipate difficult parking situations.
What is the difference between a NEMA 14-50 and a NEMA 6-50 outlet?
The NEMA 14-50 is a 4-prong outlet that includes two hot wires, a neutral wire, and a ground wire. It is the modern standard for EV charging and heavy appliances. The NEMA 6-50 is a 3-prong outlet that includes two hot wires and a ground wire, but lacks a neutral wire. While both can safely deliver 240V power to an EV, the NEMA 14-50 is much more common in residential settings and is generally preferred for new installations.