EV Charger Installation Near Me: The Complete Guide to Home Charging Setup
If you own an electric vehicle or are planning to make the switch, one of the first and most important questions you will face is how to set up reliable home charging. Searching for “EV charger installation near me” is the starting point for thousands of drivers who want the convenience, speed, and cost savings that a dedicated home charging station provides. This comprehensive guide walks you through everything you need to know about finding qualified installers, understanding costs, navigating permits, and ensuring a safe, code-compliant setup.
Quick Overview
Difficulty Level: Moderate to Advanced (electrical work required)
Estimated Cost: $500 – $2,500+ (including equipment & labor)
Time Required: 2 – 6 hours for professional installation
Permits Required: Yes, in most jurisdictions
Best For: Level 2 (240V) home charging stations
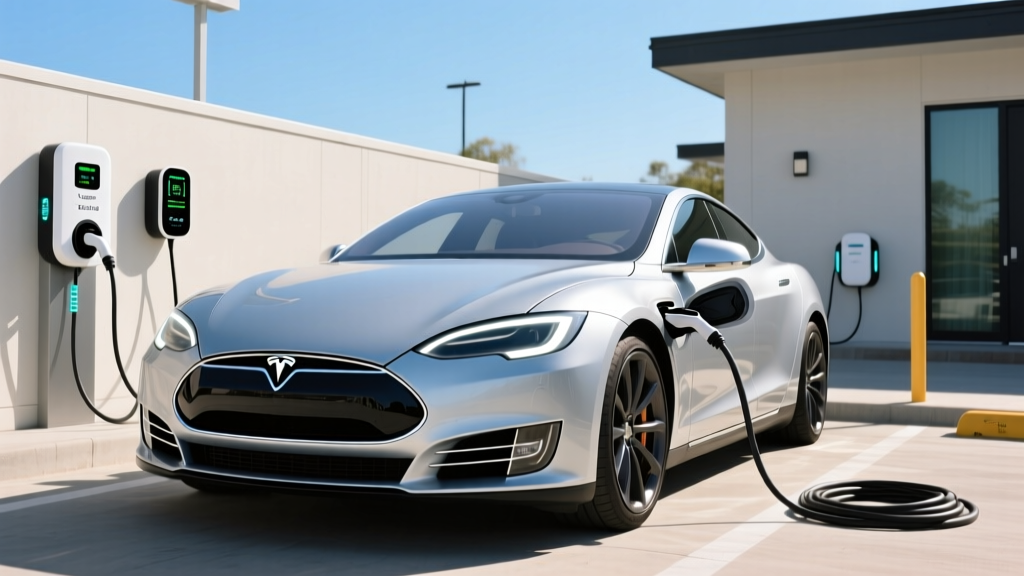
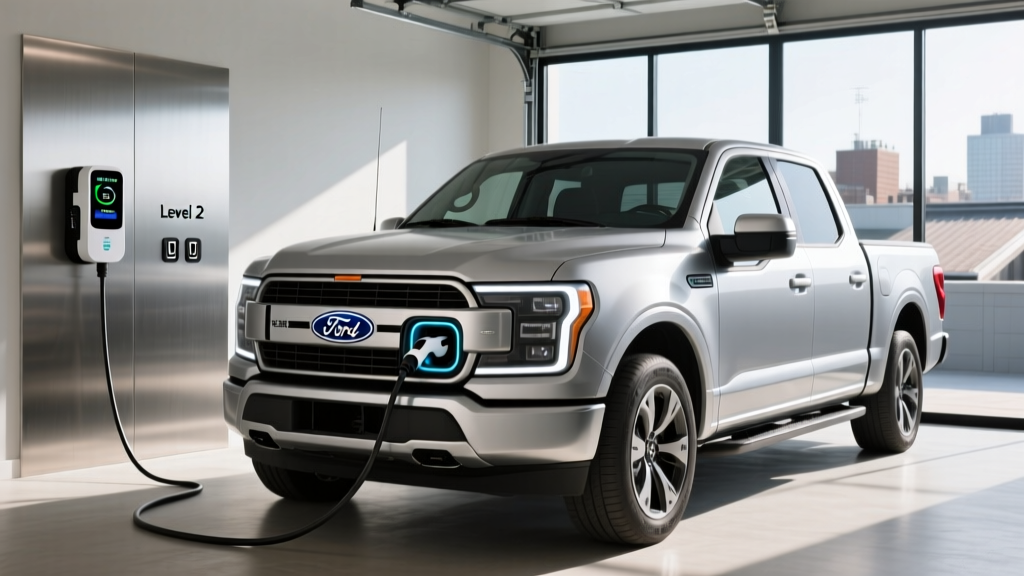
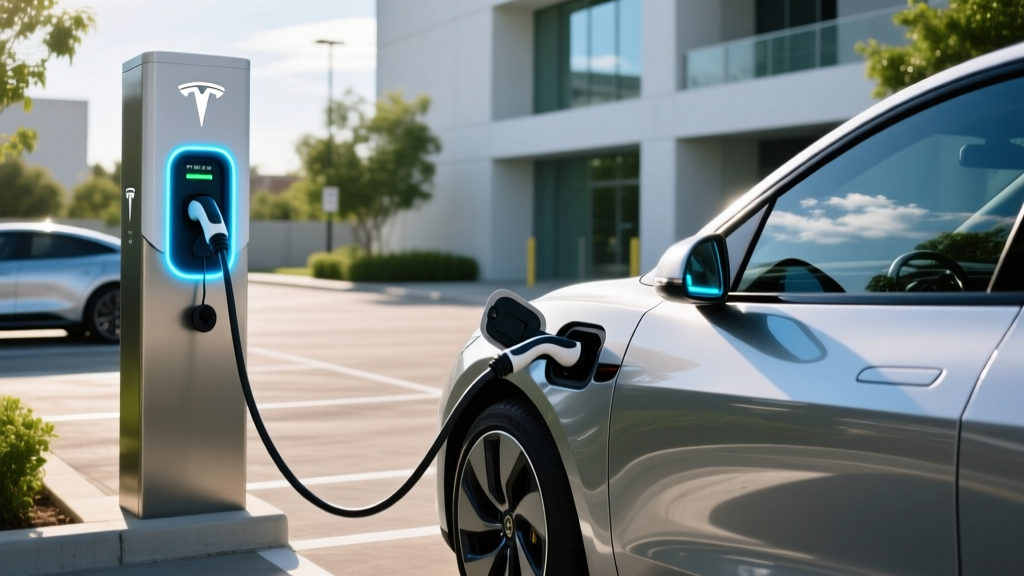
Whether you drive a Tesla, Ford, Hyundai, BMW, or any other electric vehicle, having a properly installed Level 2 charger at home transforms your ownership experience. No more searching for public stations or waiting hours on a standard 120V outlet. Let us break down the entire process so you can make informed decisions and find the right EV charger installation service near you.
Understanding EV Charger Requirements for Home Installation
Before you start contacting electricians or browsing charger options, it is essential to understand what your home and your vehicle actually need. Not every garage is ready for a high-powered charging station, and choosing the wrong equipment can lead to frustration, wasted money, or even safety hazards.
Types of Home EV Chargers
There are two primary types of home EV chargers you will encounter:
- Level 1 Chargers (120V): These plug into a standard household outlet and deliver roughly 3–5 miles of range per hour of charging. They require no special installation but are extremely slow for daily use.
- Level 2 Chargers (240V): These require a dedicated 240-volt circuit, similar to what powers your electric dryer or oven. They deliver 20–60 miles of range per hour depending on amperage and are the standard recommendation for home charging.
For most EV owners, a Level 2 charger is the practical choice. If you want to explore the best options on the market, check out our reviews of the best Level 2 EV chargers to compare features, pricing, and performance.
Electrical Panel Capacity
Your home’s electrical panel is the single most important factor in determining whether you can install an EV charger and what it will cost. Most modern homes have a 100-amp or 200-amp main service panel. A Level 2 charger typically draws between 16 amps and 48 amps, which means you need sufficient spare capacity in your panel to accommodate this additional load.
Here is a general guideline for circuit requirements based on charger amperage:
| Charger Amperage | Required Circuit Size | Wire Gauge | Approximate Power |
|---|---|---|---|
| 16A | 20A breaker | 12 AWG | 3.8 kW |
| 24A | 30A breaker | 10 AWG | 5.8 kW |
| 32A | 40A breaker | 8 AWG | 7.7 kW |
| 40A | 50A breaker | 6 AWG | 9.6 kW |
| 48A | 60A breaker | 4 AWG | 11.5 kW |
According to the U.S. Department of Energy, the National Electrical Code (NEC) requires that continuous loads like EV chargers must not exceed 80% of the circuit breaker’s rated capacity. This is why a 40-amp charger requires a 50-amp breaker, not a 40-amp breaker.
NEMA Outlet vs. Hardwired Installation
You have two options for connecting your Level 2 charger:
- NEMA 14-50 Outlet: This is a 240V receptacle that allows you to plug in your charger. It offers portability — you can unplug the unit and take it with you if you move. Many chargers, including popular models we review in our ChargePoint Home Flex review, ship with NEMA 14-50 plugs.
- Hardwired Connection: The charger is permanently connected directly to your electrical panel via a junction box. Hardwired installations are required for chargers above 40 amps and generally provide a cleaner, more reliable connection.
The National Electrical Code (NEC) published by the National Fire Protection Association sets the standards that govern both types of installations, and your local jurisdiction will enforce these codes through the permitting process.
Step-by-Step EV Charger Installation Process
Understanding the full installation process helps you know what to expect, whether you hire a professional or attempt a DIY approach. Here is how a typical Level 2 EV charger installation unfolds from start to finish.
Step 1: Assess Your Electrical Panel
The first step is a thorough assessment of your main electrical panel. You or your electrician will need to calculate your home’s existing electrical load and determine whether there is enough spare capacity to add a new 40-amp, 50-amp, or 60-amp circuit. This involves adding up the amperage of all existing circuits and comparing the total to your panel’s main breaker rating.
If your panel is already near capacity, you may need a panel upgrade, which typically costs between $1,500 and $3,000 on its own. Some homeowners opt for a smart load management system or a lower-amperage charger to avoid this expense.
Step 2: Choose Your Charger Location
Location matters more than most people realize. Consider these factors when selecting where to mount your charger:
- Proximity to your parking spot: The charging cable needs to reach your vehicle’s charge port comfortably. Most cables are 18–25 feet long, but you should measure the actual distance.
- Distance from the electrical panel: The farther the charger is from your panel, the more wire you need, which increases cost significantly. Wire costs can add $5–15 per foot for heavier gauges.
- Indoor vs. outdoor mounting: If your charger will be outdoors, ensure it has a NEMA 4 weatherproof rating. Our guide to the best outdoor EV chargers covers units built to withstand the elements.
- WiFi signal strength: Many smart chargers require a stable WiFi connection for scheduling, energy monitoring, and firmware updates.
Step 3: Obtain Necessary Permits
Most municipalities require an electrical permit before any EV charger installation can begin. The permitting process typically involves:
- Submitting an application to your local building department
- Providing details about the circuit size, wire gauge, breaker type, and charger specifications
- Paying a permit fee (usually $50–$200)
- Scheduling an inspection after installation is complete
Do not skip the permitting step. Unpermitted electrical work can void your homeowner’s insurance, create safety hazards, and cause problems when you sell your home. Professional electricians typically handle the permit process on your behalf.
Step 4: Run the Electrical Circuit
This is the core of the installation work. Your electrician will:
- Install a new double-pole breaker in your main panel
- Run appropriate-gauge wiring from the panel to the charger location (through walls, attic, crawlspace, or conduit)
- Install a junction box or NEMA 14-50 receptacle at the charger location
- Ensure proper grounding according to NEC requirements
The complexity of this step varies enormously depending on your home’s construction. A garage with an open wall and a nearby panel might take an hour. A charger on the far side of a finished basement might require several hours of fishing wire through walls and installing conduit.
Step 5: Mount and Connect the Charger
Once the circuit is in place, the charger itself is mounted to the wall using the manufacturer’s included bracket. For hardwired units, the electrician connects the wires directly to the charger’s terminal block. For plug-in units, the NEMA outlet is tested and the charger is plugged in.
Step 6: Test and Configure
After installation, the charger should be tested with your vehicle to confirm proper operation. Smart chargers will also need to be connected to your WiFi network and configured through the manufacturer’s app. You can set charging schedules, enable energy monitoring, and configure access controls if multiple drivers use the charger.
Permits, Inspections & Code Compliance
Electrical permits and inspections exist to protect you. EV chargers draw significant current for extended periods, making them one of the most demanding continuous loads in a typical home. Proper oversight ensures that the installation meets safety standards and will not cause overheating, fires, or equipment damage.
Why Permits Are Non-Negotiable
Some homeowners are tempted to skip permits to save time and money. This is a serious mistake for several reasons:
- Safety: The inspection process catches wiring errors, improper grounding, and overloaded panels that could lead to electrical fires.
- Insurance: If an electrical fire occurs and the work was unpermitted, your homeowner’s insurance company may deny your claim.
- Resale value: Unpermitted electrical work can become a major issue during a home inspection when you try to sell your property.
- Utility rebates: Many utility companies require proof of permitted installation before issuing EV charger rebates or special rate plans.
What Inspectors Look For
During the post-installation inspection, the electrical inspector will verify several critical items:
- Correct breaker size for the circuit and load
- Proper wire gauge for the circuit amperage and run length
- Adequate grounding and bonding
- Proper wire connections and terminations (no loose or exposed wires)
- Correct conduit type and fill ratio (if conduit is used)
- GFCI protection where required by code
- Panel load calculation confirming sufficient capacity
- Proper labeling of the new circuit in the panel
The National Electrical Code (NEC) Article 625 specifically addresses Electric Vehicle Charging System Equipment and outlines requirements for wiring methods, disconnecting means, and ventilation. Your local inspector will enforce the version of the NEC adopted by your state or municipality.
Working with Your Utility Company
Before or during the installation process, contact your local utility company. Many utilities offer:
- Special time-of-use (TOU) rate plans that make overnight charging significantly cheaper
- Rebates for purchasing and installing qualified EV chargers
- Free or discounted smart chargers through partnership programs
- Guidance on whether a service upgrade is needed for your home
Some utilities even offer managed charging programs where they slightly reduce charging speed during peak demand periods in exchange for bill credits. These programs can save you hundreds of dollars annually.
DIY Installation vs. Hiring a Professional Electrician
One of the most common questions from EV owners is whether they can install a charger themselves. The honest answer depends on your electrical experience, local regulations, and comfort level with high-voltage work.
When DIY Might Make Sense
A DIY installation may be reasonable if:
- You have prior experience with electrical work (installing circuits, working in panels)
- Your local jurisdiction allows homeowner electrical permits
- You have a straightforward installation (short wire run, open walls, panel with clear capacity)
- You are installing a plug-in unit with a NEMA 14-50 outlet rather than a hardwired connection
- You are willing to study NEC requirements thoroughly and follow them precisely
When You Should Absolutely Hire a Professional
Professional installation is strongly recommended or required when:
- You have no experience working with electrical panels or 240V circuits
- Your panel needs an upgrade or sub-panel installation
- The wire run is long, complex, or requires going through finished walls
- Your local jurisdiction requires a licensed electrician for permit approval
- You are installing a hardwired charger above 40 amps
- You want to maintain the manufacturer’s warranty (some require professional installation)
The Risks of Improper Installation
Working with 240V circuits carries real danger. Risks of improper installation include:
- Electrical shock or electrocution during installation
- Overheating wires that can cause fires inside walls
- Tripped main breakers from overloaded panels
- Damage to your EV’s onboard charger from voltage irregularities
- Voided warranties on both the charger and your vehicle
- Code violations that must be corrected at additional expense
For most homeowners, hiring a licensed electrician is the safest and most cost-effective path. The labor cost is typically a fraction of the total project, and the peace of mind is invaluable.
Complete Cost Breakdown for EV Charger Installation
Understanding the full cost picture helps you budget accurately and avoid surprises. Here is a detailed breakdown of what you can expect to pay for a professional Level 2 EV charger installation.
Equipment Costs
| Item | Cost Range |
|---|---|
| Level 2 EV Charger (hardware) | $300 – $700 |
| NEMA 14-50 Receptacle | $10 – $50 |
| Double-Pole Breaker | $15 – $60 |
| Wire (per foot, depending on gauge) | $3 – $15 |
| Conduit & Fittings (if needed) | $50 – $200 |
| Junction Box & Mounting Hardware | $20 – $80 |
Labor Costs
| Service | Cost Range |
|---|---|
| Standard Installation (simple run) | $300 – $800 |
| Complex Installation (long run, finished walls) | $800 – $1,500 |
| Electrical Panel Upgrade | $1,500 – $3,000 |
| Sub-Panel Installation | $500 – $1,200 |
| Permit Fees | $50 – $200 |
| Trenching (for detached garages) | $500 – $2,000 |
Total Cost Scenarios
Based on real-world data, here are three common scenarios:
- Simple Installation ($600–$1,200): Panel is in the garage, short wire run, open walls, 40-amp circuit, plug-in charger with NEMA 14-50 outlet.
- Moderate Installation ($1,200–$2,000): Panel is in the basement, moderate wire run through finished areas, 50-amp hardwired charger, conduit required for portions of the run.
- Complex Installation ($2,000–$4,000+): Panel upgrade required, long wire run to a detached garage, trenching needed, 60-amp hardwired charger with load management system.
Rebates and Incentives That Reduce Cost
Do not overlook available incentives that can significantly reduce your out-of-pocket cost:
- Federal tax credits: Check current availability of residential energy credits that may cover EV charging equipment
- Utility rebates: Many electric utilities offer $250–$500 rebates for installing qualified Level 2 chargers
- State and local incentives: Some states offer additional rebates or tax credits on top of federal programs
- Manufacturer promotions: Automakers and charger companies periodically offer installation credits or discounted equipment
Check with your utility provider and state energy office for current programs in your area. For a deeper look at value and features, our EV charging cost comparison guide breaks down the long-term economics of home versus public charging.
How to Find Qualified EV Charger Installers Near You
Finding the right electrician for your EV charger installation is about more than just finding the lowest price. You want someone who understands EV charging requirements, follows code precisely, and stands behind their work.
Where to Look for Installers
- Manufacturer-certified installer networks: Companies like ChargePoint, Tesla, and Enel X maintain lists of certified installers who have completed specific training on their equipment.
- Electrician referral services: Licensed electrician directories allow you to search by zip code and read verified reviews from other homeowners.
- Your utility company: Many utilities maintain preferred installer lists, and using a listed installer may be required to qualify for certain rebates.
- Local EV owner communities: Online forums and social media groups for EV owners in your area are excellent sources for personal recommendations.
- General contractor platforms: Home improvement platforms let you post your project and receive competitive bids from licensed electricians.
Questions to Ask Potential Installers
Before hiring anyone, ask these critical questions:
- Are you licensed and insured for electrical work in this jurisdiction?
- How many EV charger installations have you completed?
- Will you handle the permit application and schedule the inspection?
- Can you provide a detailed written estimate that separates equipment and labor?
- Do you offer a warranty on your installation work?
- Will you perform a load calculation on my panel before recommending a circuit size?
- Are you familiar with NEC Article 625 requirements for EV charging systems?
Red Flags to Watch For
Walk away from any installer who:
- Suggests skipping the permit to save money
- Cannot explain the 80% continuous load rule
- Quotes a price without first assessing your electrical panel
- Is unwilling to provide references from previous EV charger installations
- Recommends a circuit size that exceeds your panel’s available capacity without suggesting a panel upgrade or load management solution
Getting at least three quotes is always recommended. Prices can vary significantly based on the electrician’s experience level, overhead costs, and how they assess the complexity of your specific installation.
Safety Tips & Best Practices for EV Charging at Home
Once your charger is installed, following best practices ensures safe, efficient, and long-lasting operation. These guidelines apply regardless of which charger brand or vehicle you own.
Electrical Safety
- Never use extension cords with your EV charger. They are not rated for the continuous high-current draw and can overheat dangerously.
- Inspect the cable and connector regularly for signs of wear, cracking, or damage. Replace damaged components immediately.
- Keep the charging area clear of flammable materials, standing water, and debris.
- Do not daisy-chain adapters or use plug adapters to connect a NEMA 14-50 plug to a different outlet type.
- Ensure proper ventilation in enclosed garages, especially if you charge immediately after driving when battery temperatures are elevated.
Equipment Longevity
- Mount the charger at the height recommended by the manufacturer to prevent cable strain.
- Use the cable management system (hooks, reels, or wraps) provided with your charger to prevent kinking and damage.
- Keep firmware updated on smart chargers to ensure you have the latest safety features and bug fixes.
- Consider a surge protector on the dedicated circuit if you live in an area with frequent lightning or power surges.
Charging Best Practices
- Set your charger or vehicle to charge during off-peak hours (typically overnight) to take advantage of lower electricity rates.
- Avoid charging to 100% daily unless necessary. Most EV batteries last longest when kept between 20% and 80% state of charge for routine use.
- If your vehicle supports it, use preconditioning features to warm or cool the battery before scheduled departures, which improves efficiency.
- Monitor your charging sessions through your charger’s app to identify any irregularities or unexpected interruptions.
For more tips on optimizing your EV ownership experience, explore our complete EV charging best practices guide.
Troubleshooting Common EV Charger Installation Issues
Even with a professional installation, you may encounter issues from time to time. Here are the most common problems and how to resolve them.
Charger Will Not Power On
Possible causes: Tripped breaker, loose wire connection, faulty outlet, or GFCI trip.
Solutions: Check your electrical panel for a tripped breaker and reset it. If using a NEMA 14-50 outlet, ensure the plug is fully seated. If the breaker trips repeatedly, contact your electrician — this indicates a wiring fault that needs professional attention.
Charging Speeds Are Slower Than Expected
Possible causes: Vehicle is limiting charge rate due to battery temperature, charger is configured for lower amperage than the circuit supports, or voltage drop from an undersized wire run.
Solutions: Check your charger’s app settings to confirm the amperage configuration matches your circuit. If the wire run is very long (over 100 feet), voltage drop may be reducing effective power. An electrician can measure voltage at the charger under load to diagnose this issue.
WiFi Connectivity Problems
Possible causes: Weak WiFi signal in the garage, incompatible network settings, or router firewall blocking the charger.
Solutions: Try a WiFi extender or mesh node near the garage. Ensure your charger supports your network’s frequency band (many smart chargers only support 2.4 GHz). Check your router settings to ensure the charger’s MAC address is not blocked.
Breaker Trips During Charging
Possible causes: Overloaded panel, undersized breaker, loose connection causing arcing, or a faulty breaker.
Solutions: This is a serious issue that requires an electrician. Do not continue using the charger until the problem is diagnosed. The electrician will check connections, verify breaker sizing, and may perform a thermal scan of the panel to identify hot spots.
Ground Fault or GFCI Errors
Possible causes: Moisture in the outlet or connector, damaged cable insulation, or a ground fault in the wiring.
Solutions: Inspect the connector and outlet for moisture or debris. If the problem persists in dry conditions, the GFCI breaker or the charger’s internal ground fault detection may need service. Contact your installer or the charger manufacturer’s support line.
Frequently Asked Questions About EV Charger Installation
How long does EV charger installation take?
A straightforward installation with a nearby electrical panel and open walls typically takes 2 to 4 hours. More complex installations involving long wire runs, finished walls, conduit, or panel upgrades can take 4 to 8 hours or may be split across two visits. The permitting and inspection process adds additional time, usually 1 to 3 weeks depending on your local building department’s schedule. Plan the entire process from initial quote to final inspection to take approximately 2 to 6 weeks.
Can I install an EV charger in a detached garage?
Yes, but it will likely cost more than an attached-garage installation. Running a dedicated circuit to a detached garage typically requires underground conduit and trenching, which adds $500 to $2,000 to the project. In some cases, it may be more practical to install a sub-panel in the detached garage, especially if you plan to add other electrical loads there in the future. An experienced electrician can evaluate the most cost-effective approach for your specific property layout.
Do I need a smart EV charger or is a basic unit sufficient?
A basic, non-smart charger will charge your vehicle just as effectively as a smart charger. However, smart chargers offer features that many owners find valuable: scheduled charging during off-peak hours, energy usage tracking, remote start and stop via smartphone, integration with solar panel systems, and load balancing if you have multiple EVs. If your utility offers time-of-use rates, a smart charger can pay for itself through energy savings. Review our smart vs. basic EV charger comparison to decide which is right for you.
Will installing an EV charger increase my home value?
Studies and real estate data consistently show that homes with EV charging infrastructure are more attractive to buyers, particularly as EV adoption continues to grow. A professionally installed, permitted Level 2 charger can add perceived value and differentiate your home in the market. Even if it does not directly increase the appraised value by the full cost of installation, it can reduce time on market and appeal to the growing segment of buyers who own or plan to own electric vehicles. Be sure to keep all permits, inspection reports, and receipts as documentation for potential buyers.
What happens if my electrical panel does not have enough capacity?
If your panel lacks spare capacity, you have several options. The most straightforward is a panel upgrade from 100 amps to 200 amps, which typically costs $1,500 to $3,000. Alternatively, you can install a lower-amperage charger (such as a 16-amp or 24-amp unit) that draws less current and may fit within your existing capacity. Some homeowners install a smart load management device that automatically reduces charger output when other high-draw appliances are running, allowing you to use a higher-amperage charger without a panel upgrade. Your electrician can perform a detailed load calculation and recommend the most practical solution for your home and budget.
Finding the right EV charger installation near you does not have to be overwhelming. By understanding your electrical requirements, researching qualified installers, budgeting realistically, and following safety best practices, you will have a reliable home charging setup that makes EV ownership effortless. Start by getting quotes from at least three licensed electricians in your area, and do not hesitate to ask detailed questions about their experience with EV charging installations. The investment you make in a quality installation today will pay dividends in convenience and peace of mind for years to come.
Ready to choose the right charger for your new setup? Browse our top-rated home EV charger reviews to find the perfect unit for your vehicle and budget.