EV Charger Installation Instructions: Complete Step-by-Step Guide
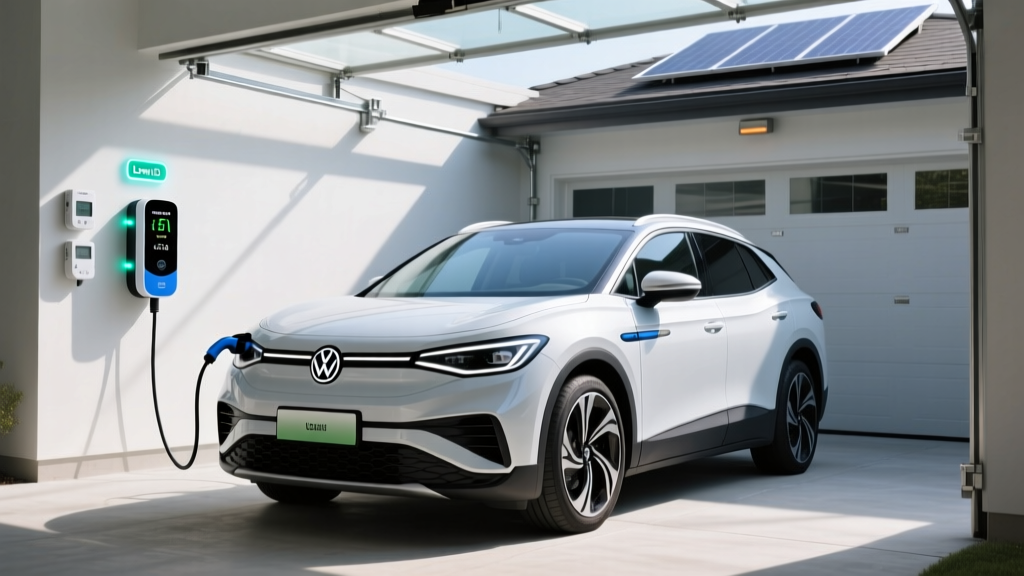
Installing a home EV charger is one of the most impactful upgrades any electric vehicle owner can make. Instead of relying on public charging stations or slow Level 1 outlets, a properly installed Level 2 home charger delivers faster charging speeds, unmatched convenience, and long-term savings. Whether you own a Tesla, Ford, Hyundai, or any other electric vehicle, understanding the installation process ensures you get the most out of your investment.
This comprehensive guide walks you through everything you need to know about EV charger installation — from electrical requirements and permits to step-by-step wiring instructions and final inspection. We will also help you decide whether a DIY approach makes sense or if hiring a licensed electrician is the smarter route.
Difficulty Level: Moderate to Advanced (electrical work required)
Estimated Time: 2–6 hours (depending on panel upgrades & conduit runs)
Estimated Cost: $500–$2,500+ (charger unit + materials + professional labor if applicable)
Before diving into the installation steps, it is worth exploring our best home EV chargers roundup to find the right unit for your vehicle and electrical setup.
Electrical Requirements & Prerequisites for EV Charger Installation
Before you pick up a single tool, you need to understand the electrical foundation required for a safe and code-compliant EV charger installation. Most Level 2 home chargers operate on a 240-volt circuit — the same type of power your electric dryer or oven uses — and deliver anywhere from 16 amps to 80 amps of charging current.
Understanding Circuit & Amperage Requirements
The National Electrical Code (NEC), specifically Article 625 of the NEC, governs electric vehicle charging systems. Under NEC guidelines, an EV charger is considered a continuous load, meaning the circuit must be rated for 125% of the charger's maximum amperage. For example:
- A 32-amp charger requires a 40-amp circuit (32 × 1.25 = 40)
- A 40-amp charger requires a 50-amp circuit (40 × 1.25 = 50)
- A 48-amp charger requires a 60-amp circuit (48 × 1.25 = 60)
- A 80-amp charger requires a 100-amp circuit (80 × 1.25 = 100)
This 125% rule is not optional — it is a critical safety requirement that prevents overheating, breaker trips, and potential fire hazards. Always check your charger's specifications and match the circuit breaker accordingly.
Evaluating Your Electrical Panel
Your home's main electrical panel must have enough spare capacity to support the new circuit. Most modern homes have a 200-amp service panel, which is typically sufficient for adding a 40- to 60-amp EV charging circuit. However, older homes with 100-amp panels may require a panel upgrade before installation can proceed.
To assess your panel capacity, perform a basic load calculation or hire an electrician to conduct a professional one. Key factors include:
- Total amperage of your main service panel
- Number of available breaker slots
- Current load from existing appliances (HVAC, water heater, dryer, etc.)
- Available physical space near the panel for conduit runs
Wiring Gauge & Conduit Specifications
The wire gauge you need depends on the circuit amperage. Common pairings include:
- 40-amp circuit: 8 AWG copper wire (THHN/THWN)
- 50-amp circuit: 6 AWG copper wire
- 60-amp circuit: 4 AWG copper wire (or 6 AWG for some short runs per local code)
- 100-amp circuit: 1 AWG copper wire or 1/0 AWG aluminum
All wiring must be run through appropriate conduit (EMT, PVC, or flexible metal conduit) when exposed, and must comply with local building codes. The U.S. Department of Energy provides additional guidance on residential charging infrastructure standards.
Hardwired vs. NEMA Outlet Installation
You have two options for connecting your EV charger to the electrical circuit:
- Hardwired: The charger is directly wired to the circuit with no plug. This method is required for circuits above 60 amps and is generally considered safer and more reliable for high-amperage installations.
- NEMA Outlet (Plug-in): A NEMA 14-50 or NEMA 6-50 receptacle is installed, and the charger plugs into it. This offers portability — you can take the charger with you if you move — but adds a potential point of failure at the plug connection.
For a deeper comparison of hardwired and plug-in models, check out our detailed hardwired vs. plug-in EV charger guide.
Step-by-Step EV Charger Installation Instructions
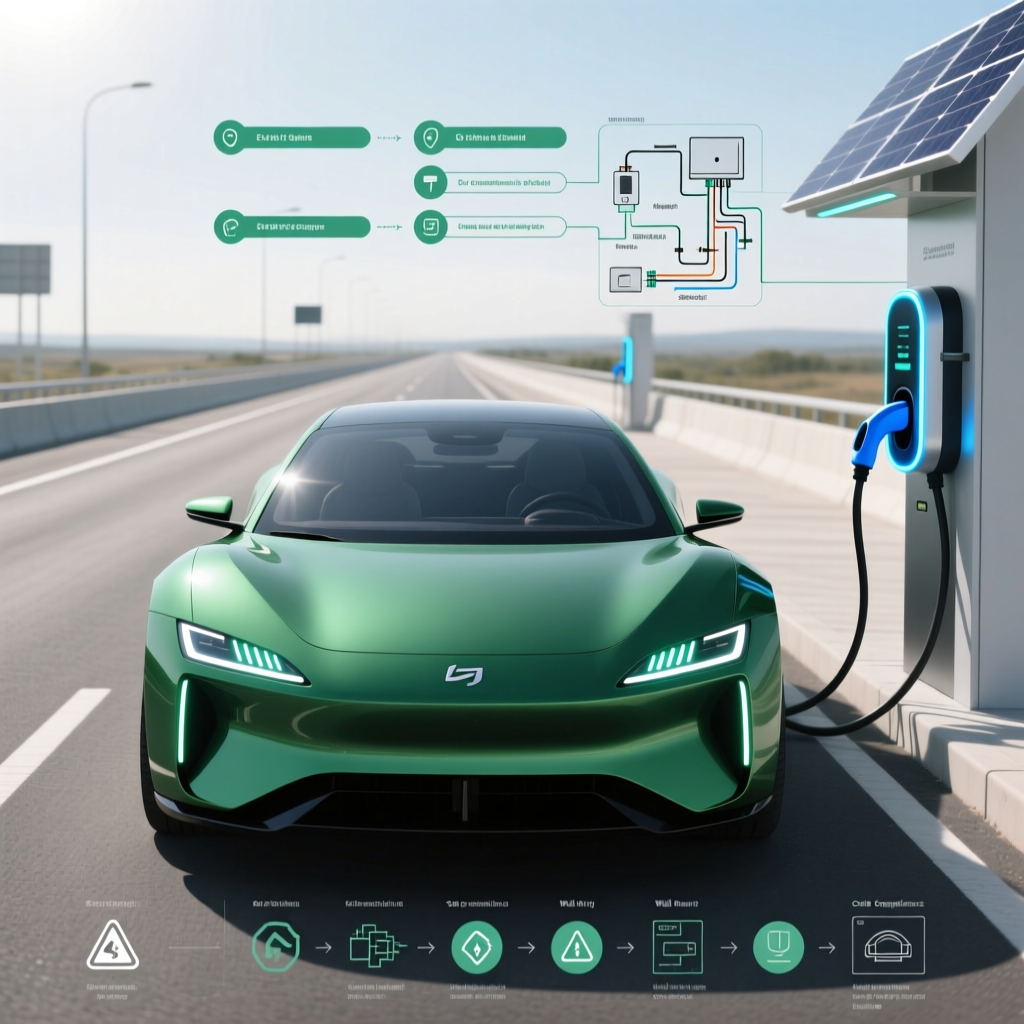
With your electrical requirements confirmed, you are ready to begin the physical installation. The following steps apply to a typical residential Level 2 EV charger installation. Always refer to your specific charger's manufacturer installation manual for model-specific instructions.
Step 1: Choose the Installation Location
Select a location that meets the following criteria:
- Within reach of your vehicle's charging port (most cables are 18–25 feet long)
- Close to your electrical panel to minimize conduit run length and wire costs
- Mounted on a structurally sound wall (stud-mounted preferred)
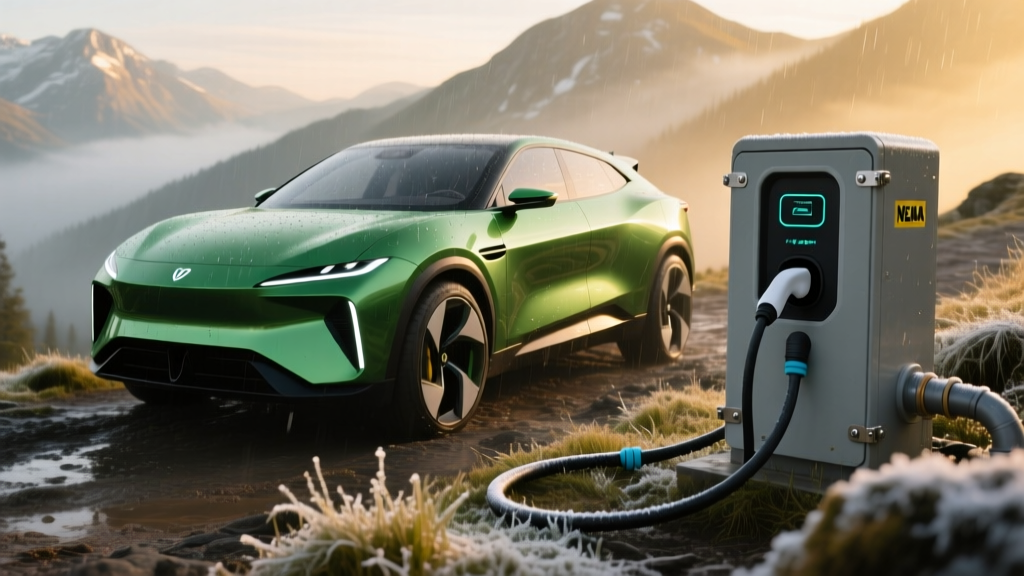
- Protected from direct water exposure if installed outdoors (use a NEMA 4-rated enclosure or outdoor-rated charger)
- At a comfortable height — typically 48 inches from the floor to the center of the unit, which also meets ADA accessibility guidelines
Step 2: Turn Off Power at the Main Breaker
This is the most critical safety step. Locate your main breaker and switch it to the OFF position. Use a non-contact voltage tester to verify that power is completely de-energized at the panel before touching any wires or bus bars. Never skip this step — working on a live panel can be fatal.
Step 3: Install the Circuit Breaker
Install the appropriately sized double-pole breaker into an available slot in your electrical panel. For a 50-amp circuit, you will use a 50-amp double-pole breaker. Ensure the breaker is fully seated and snapped into the bus bar. Connect the ground wire to the panel's ground bus bar and the neutral wire (if required) to the neutral bus bar.
Step 4: Run Conduit & Wiring
Run conduit from the electrical panel to the charger location. The type of conduit depends on your installation environment:
- EMT (Electrical Metallic Tubing): Ideal for indoor garage installations along walls and ceilings
- PVC Conduit (Schedule 40 or 80): Best for outdoor runs and underground burial
- Flexible Metal Conduit (FMC): Useful for short transitions and tight spaces
Pull the appropriate gauge wires through the conduit: two hot wires (black and red), one neutral wire (white, if required), and one ground wire (green or bare copper). Secure the conduit with appropriate straps and fittings every 3 to 6 feet as required by code.
Step 5: Mount the Charger Unit
Using the mounting template provided by the manufacturer, mark and drill holes into wall studs. Secure the charger's mounting bracket using lag bolts rated for the wall material. For drywall installations without stud access, use heavy-duty toggle bolts rated for the charger's weight. Ensure the unit is level before fully tightening all fasteners.
Step 6: Make Electrical Connections
For a hardwired installation, connect the two hot wires from the conduit to the charger's L1 and L2 terminals, the neutral wire to the neutral terminal (if applicable), and the ground wire to the ground terminal. Tighten all terminal screws to the torque specifications listed in the manufacturer's installation manual — many installers overlook this step, but improper torque can cause arcing and overheating.
For a plug-in installation, wire the NEMA 14-50 or NEMA 6-50 receptacle according to the outlet's wiring diagram, then plug in the charger.
Step 7: Restore Power & Test
Double-check all connections, ensure no bare wires are exposed, and close the electrical panel cover. Turn the main breaker back on, then switch on the new EV charger breaker. The charger should power up and display its ready indicator. Plug your EV into the charger and verify that charging begins. Use the charger's companion app (if available) to confirm proper amperage delivery and run a diagnostic check.
Permits, Inspections & Code Compliance
One of the most commonly overlooked aspects of EV charger installation is obtaining the proper permits. In most jurisdictions across the United States, adding a new 240-volt circuit requires an electrical permit issued by your local building department.
Why Permits Matter
Permits are not just bureaucratic red tape — they protect you. A permitted installation ensures that a qualified inspector will verify your work meets NEC standards and local amendments. This matters for several reasons:
- Safety: An inspector catches wiring errors, improper grounding, and overloaded panels that could lead to fires
- Insurance: Many homeowner's insurance policies require permitted electrical work; unpermitted installations may void coverage in the event of a claim
- Resale value: Unpermitted electrical work can become a liability during home inspections when selling your property
- Utility rebates: Many utility companies and state incentive programs require proof of permitted installation before issuing rebates
The Permit & Inspection Process
The typical process follows these steps:
- Apply for a permit at your local building or electrical department (many jurisdictions now offer online applications)
- Pay the permit fee, which typically ranges from $50 to $200 depending on your municipality
- Complete the installation according to NEC and local code requirements
- Schedule a rough-in inspection (if conduit is being run behind walls or underground) before closing up any walls
- Schedule a final inspection after the charger is fully installed and operational
- Receive approval — the inspector will sign off on the permit, and you will receive a certificate of completion
If you are working with a licensed electrician, they will typically handle the entire permit process on your behalf. For DIY installations, you will need to manage this yourself.
NEC Code Highlights for EV Chargers
Beyond the 125% continuous load rule, NEC Article 625 includes several other requirements worth noting:
- The disconnecting means (breaker) must be readily accessible
- Charging equipment must be listed by a recognized testing laboratory (UL, ETL, etc.)
- Outdoor installations must use equipment rated for wet locations
- GFCI protection may be required for receptacle-based installations in garages per NEC 2020 and later editions
- Ventilation requirements apply if installing in a confined space where hydrogen gas from batteries could accumulate
DIY Installation vs. Hiring a Professional Electrician
One of the biggest decisions you will face is whether to install the EV charger yourself or hire a licensed electrician. Both approaches have merits, and the right choice depends on your skill level, local regulations, and the complexity of your specific installation.
When DIY Installation Makes Sense
A DIY installation may be appropriate if:
- You have prior experience with residential electrical work (installing outlets, running conduit, working in breaker panels)
- Your electrical panel has ample spare capacity and available breaker slots
- The charger location is close to the panel, requiring a short, straightforward conduit run
- Your local jurisdiction allows homeowner-permitted electrical work (most do, but some require a licensed contractor)
- You are installing a plug-in charger with a NEMA 14-50 outlet rather than a hardwired unit
When You Should Hire a Professional
Hiring a licensed electrician is strongly recommended — and in some cases legally required — when:
- Your electrical panel needs an upgrade (e.g., from 100A to 200A service)
- The conduit run is long, complex, or requires underground burial
- You are unfamiliar with NEC code requirements or load calculations
- Your local jurisdiction requires licensed electricians for 240-volt installations
- You want to ensure warranty coverage and insurance compliance
- The installation involves a sub-panel addition or service lateral work
Cost Comparison
A DIY installation can save $500 to $1,500 in labor costs, but mistakes can be far more expensive — both financially and in terms of safety. A professional electrician brings code knowledge, proper tools, liability insurance, and the ability to pull permits seamlessly. Many electricians offer flat-rate EV charger installation packages that include the permit, materials, and labor.
If you are still researching which charger to buy before scheduling installation, browse our EV charger reviews section for detailed comparisons of top-rated models.
EV Charger Installation Cost Breakdown
Understanding the full cost picture helps you budget accurately and avoid surprises. Here is a detailed breakdown of typical expenses associated with a residential Level 2 EV charger installation.
Charger Unit Cost
Level 2 home chargers range from approximately $200 for basic 16-amp units to $700+ for premium 48- to 80-amp smart chargers with Wi-Fi connectivity, load management, and advanced scheduling features. Popular options include the ChargePoint Home Flex, Tesla Wall Connector, Emporia Vue, and Enel X JuiceBox. For detailed comparisons, visit our best home EV chargers guide.
Electrical Materials
| Item | Estimated Cost |
|---|---|
| Double-pole breaker (40–60A) | $15–$50 |
| Wire (per foot, 6 AWG THHN) | $1.50–$3.00/ft |
| Conduit & fittings | $50–$150 |
| NEMA 14-50 receptacle (if plug-in) | $15–$40 |
| Junction boxes, straps, connectors | $20–$60 |
Professional Labor
Licensed electricians typically charge $75 to $150 per hour. A straightforward installation with a short conduit run may take 2 to 3 hours ($150–$450), while complex installations involving panel upgrades, long conduit runs, or trenching can take 6 to 8 hours or more ($500–$1,200+).
Panel Upgrade (If Required)
If your home's electrical panel cannot support the additional load, a panel upgrade from 100A to 200A typically costs $1,500 to $3,000, including the new panel, labor, and utility coordination. This is the single largest cost variable in EV charger installation.
Permits & Inspections
Permit fees typically range from $50 to $200 depending on your municipality. Some jurisdictions bundle the inspection fee into the permit cost, while others charge separately.
Total Estimated Cost Ranges
- Simple DIY installation (no panel upgrade): $300–$700 (charger + materials)
- Professional installation (no panel upgrade): $800–$2,000
- Professional installation with panel upgrade: $2,500–$5,000+
Be sure to check for federal, state, and utility rebates that can offset installation costs. The federal Alternative Fuel Infrastructure Tax Credit and many state-level incentive programs offer significant savings. Learn more about maximizing savings in our EV charging incentives guide.
Safety Tips & Best Practices
Electrical work carries inherent risks, and EV charger installation is no exception. Follow these safety guidelines to protect yourself, your home, and your vehicle.
Always De-Energize Before Working
Never work on a live electrical panel. Turn off the main breaker and verify with a non-contact voltage tester before touching any wires or components. Wear insulated gloves and safety glasses as additional protection.
Use a Torque Screwdriver
Many charger manufacturers now specify exact torque values for terminal connections. Under-torqued connections can loosen over time and cause arcing, while over-torqued connections can damage terminals. A calibrated torque screwdriver ensures precise, code-compliant connections every time.
Ensure Proper Grounding
A solid ground connection is your primary defense against electrical shock. Verify that your panel's grounding system is intact and that the ground wire for the new circuit is properly connected to both the panel's ground bus bar and the charger's ground terminal. If your home has an older grounding system, consider having it evaluated by an electrician.
Protect Against Moisture & Physical Damage
For outdoor installations, use weatherproof enclosures, in-use covers for receptacles, and chargers rated for outdoor use (NEMA 4 or IP65 rated). Route conduit and wiring to avoid areas where they could be damaged by vehicles, landscaping equipment, or foot traffic.
Install a Dedicated Circuit
Your EV charger should always be on its own dedicated circuit — never share a circuit with other high-draw appliances. Sharing circuits increases the risk of overloading, nuisance breaker trips, and potential fire hazards.
Consider Surge Protection
EV chargers contain sensitive electronics that can be damaged by power surges. Installing a whole-home surge protector at your electrical panel, or a point-of-use surge protector near the charger, provides an added layer of protection against lightning strikes and utility grid fluctuations.
Troubleshooting Common EV Charger Installation Issues
Even with careful planning, you may encounter issues during or after installation. Here are solutions to the most common problems.
Charger Will Not Power On
Verify that the breaker is fully in the ON position (some breakers require a firm push past a midpoint). Check that all wire connections at the breaker, along the conduit run, and at the charger terminals are secure. Use a multimeter to confirm 240V is reaching the charger's input terminals. If voltage is present but the unit does not power on, the charger itself may be defective — contact the manufacturer.
Breaker Trips Immediately or During Charging
An immediate trip usually indicates a short circuit or ground fault — inspect all connections for bare wires touching metal surfaces or other conductors. If the breaker trips after several minutes of charging, the circuit may be undersized for the charger's amperage draw. Confirm your breaker is rated at 125% of the charger's maximum amperage per NEC requirements.
Charging Speed Is Slower Than Expected
Verify that the charger is configured for the correct amperage in its settings menu or companion app. Some smart chargers default to a lower amperage setting for safety and must be manually adjusted. Also check that your vehicle's onboard charger is not the bottleneck — a vehicle with a 6.6 kW onboard charger will never draw more than 32 amps regardless of the charger's capability.
Wi-Fi or Smart Features Not Connecting
Garages often have weak Wi-Fi signals. Try relocating your router, installing a Wi-Fi range extender, or using a powerline adapter to bring connectivity to the garage. Some chargers also support Ethernet connections for a more reliable link.
GFCI Breaker Nuisance Tripping
If your jurisdiction requires a GFCI breaker for receptacle-based EV charger installations, you may experience nuisance tripping due to the charger's internal ground fault protection conflicting with the breaker's GFCI mechanism. Consult the charger manufacturer's documentation — some manufacturers recommend specific GFCI breaker models or hardwired installation to avoid this issue.
Frequently Asked Questions
Can I install an EV charger myself without an electrician?
Yes, in many jurisdictions homeowners are permitted to perform their own electrical work, provided they obtain the necessary permits and pass inspection. However, this is only advisable if you have solid experience with residential electrical systems. Working inside an electrical panel carries serious risk of shock, arc flash, and fire if done incorrectly. If you have any doubt about your ability to perform the work safely and to code, hiring a licensed electrician is the wisest choice. The labor cost is a small price to pay for peace of mind and code compliance.
How long does a typical EV charger installation take?
A straightforward installation — where the charger is mounted on a garage wall near the electrical panel with a short conduit run — typically takes 2 to 4 hours. More complex installations involving long conduit runs, wall or ceiling penetrations, sub-panel additions, or outdoor mounting can take 4 to 8 hours or more. If a panel upgrade is required, add an additional 4 to 6 hours plus coordination with your utility company for a temporary service disconnect.
Do I need a permit to install an EV charger at home?
In the vast majority of U.S. jurisdictions, yes. Adding a new 240-volt circuit constitutes electrical work that requires a permit and inspection. The permit process protects you by ensuring the installation meets NEC safety standards. Failing to obtain a permit can result in fines, insurance claim denials, and complications when selling your home. Some jurisdictions offer expedited or simplified permitting processes specifically for EV charger installations, so check with your local building department for details.
Will installing an EV charger increase my electric bill significantly?
Charging an EV at home does increase your electricity consumption, but the cost is typically far less than what you would spend on gasoline for equivalent miles. On average, charging an EV adds $30 to $60 per month to your electric bill depending on your driving habits, local electricity rates, and vehicle efficiency. Many utilities offer time-of-use (TOU) rate plans that provide significantly cheaper electricity during off-peak hours (typically overnight), which can reduce your charging costs even further. Smart chargers with scheduling features can automatically charge during these low-rate windows.
What is the best circuit breaker size for a home EV charger?
The best breaker size depends on your charger's maximum amperage rating. Following the NEC 125% continuous load rule, a 48-amp charger requires a 60-amp breaker, a 40-amp charger requires a 50-amp breaker, and a 32-amp charger requires a 40-amp breaker. The most popular and versatile choice for modern homes is a 60-amp circuit supporting a 48-amp charger, which provides fast Level 2 charging for virtually any EV on the market. However, if your panel capacity is limited, a 40-amp or 50-amp circuit with a correspondingly rated charger is an excellent and safe alternative.
For more information on choosing the right charger for your setup, explore our complete EV charging guides library, including our detailed breakdown of Level 1 vs. Level 2 charging to understand the performance differences that make a proper Level 2 installation so worthwhile.