Installing an EV charger at home is one of the smartest upgrades any electric vehicle owner can make. If you have been browsing options, you have likely noticed that Home Depot carries a wide selection of Level 2 EV chargers and offers installation services through licensed contractors. But what does the entire process actually look like? How much will it cost? And can you handle it yourself?
This comprehensive guide walks you through everything you need to know about EV charger installation at Home Depot — from choosing the right charger and understanding electrical requirements to navigating permits, inspections, and safety best practices. Whether you are planning a simple plug-in setup or a hardwired installation requiring a panel upgrade, this article has you covered.
⚡ Quick Overview
Difficulty Level: Moderate to Advanced (electrical work required)
Estimated Cost: $500–$2,500+ (charger + installation, before incentives)
Time Required: 2–8 hours depending on complexity
Permit Required: Yes, in most jurisdictions
Understanding Home Depot's EV Charger Options and Electrical Requirements
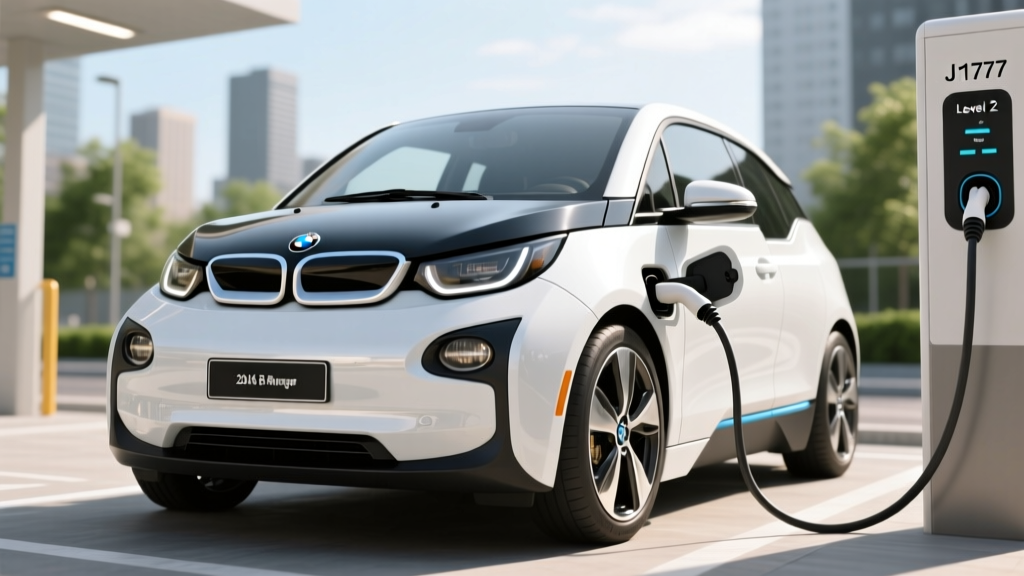
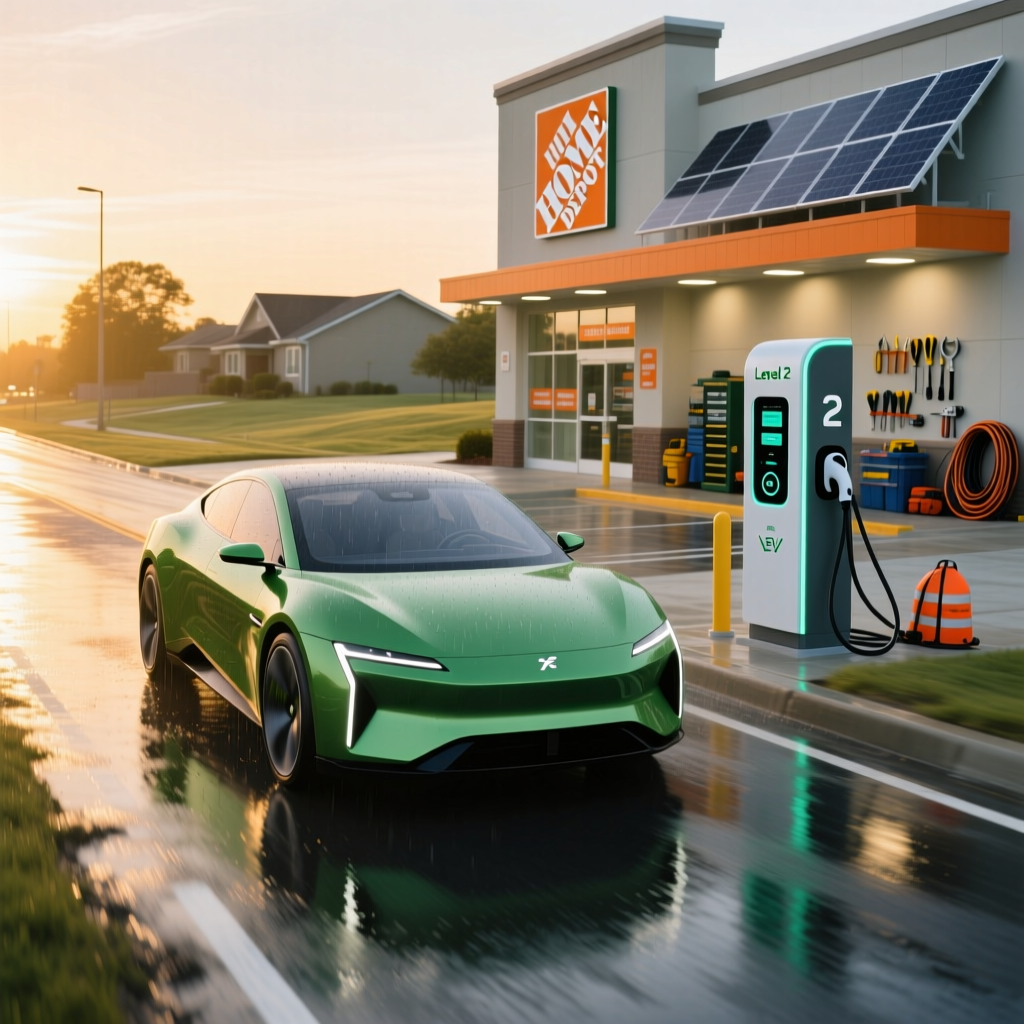
Before scheduling any installation, it is essential to understand what Home Depot offers and what your home's electrical system can support. Home Depot stocks a variety of Level 2 EV chargers from top brands like ChargePoint, Emporia, Lectron, and others. Most of these chargers operate on a 240-volt circuit — the same type of power your electric dryer or oven uses — and can add anywhere from 15 to 44 miles of range per hour of charging.
Types of EV Chargers Available at Home Depot
Home Depot primarily sells two categories of home charging equipment:
- Plug-in Level 2 Chargers (NEMA 14-50): These units plug into a dedicated 240V outlet, typically a NEMA 14-50 receptacle. They are the most popular choice for homeowners because they offer flexibility — you can unplug the charger and take it with you if you move. Installation involves adding the dedicated outlet on its own circuit.
- Hardwired Level 2 Chargers: These units connect directly to your electrical panel without a plug. Hardwired installations often support higher amperage (up to 48 amps or more), which means faster charging speeds. They are permanently mounted and generally considered safer for outdoor installations since there is no plug connection that could be exposed to moisture.
For a detailed comparison of popular models, check out our best Level 2 EV charger reviews to find the right unit for your vehicle and budget.
Electrical Panel Capacity
Your home's electrical panel is the starting point for any EV charger installation. Most modern homes have a 200-amp service panel, which is typically sufficient to support a Level 2 charger drawing 30 to 50 amps. However, older homes with 100-amp service may require a panel upgrade before installation can proceed.
A licensed electrician will perform a load calculation to determine whether your panel has enough spare capacity. This calculation considers your existing electrical loads — HVAC systems, appliances, lighting — and ensures the new circuit will not overload the system. The National Electrical Code (NEC) Article 220 governs these load calculations, and any qualified electrician working through Home Depot's installation program will follow these requirements strictly.
According to the U.S. Department of Energy, most homes can accommodate a Level 2 charger without a panel upgrade, but the assessment is critical for safety and code compliance.
Step-by-Step EV Charger Installation Process
Whether you purchase your charger directly from Home Depot or use their installation service, the physical installation process follows a well-defined sequence. Here is what to expect from start to finish.
Step 1: Site Assessment and Charger Selection
The first step is determining where your charger will be installed. Most homeowners choose a location on the garage wall near where the vehicle parks. Key considerations include:
- Proximity to the electrical panel: Shorter wire runs reduce material costs and voltage drop. If your panel is on the opposite side of the house from your parking spot, expect higher installation costs.
- Cord length and reach: Most Level 2 chargers come with 18 to 25-foot cables. Ensure the cord can comfortably reach your vehicle's charge port without stretching across walkways.
- Indoor vs. outdoor mounting: Outdoor installations require chargers rated for weather resistance (look for NEMA 4 or IP65 ratings). Hardwired units are generally preferred for outdoor setups.
- WiFi signal strength: Smart chargers that connect to apps for scheduling and monitoring need adequate WiFi coverage at the installation point.
Explore our complete guide to home EV charging for more tips on choosing the ideal setup for your situation.
Step 2: Electrical Circuit Installation
This is the core of the installation work and must be performed by a licensed electrician (or by you, if you have advanced electrical skills and your local jurisdiction allows homeowner electrical work). The process involves:
- Shutting off the main breaker to de-energize the panel.
- Installing a new double-pole breaker sized appropriately for the charger. A 40-amp charger requires a 50-amp breaker (NEC requires circuits to be rated at 125% of the continuous load). A 48-amp charger requires a 60-amp breaker.
- Running conduit and wiring from the panel to the charger location. Electricians typically use 6 AWG or 4 AWG copper wire (THHN in conduit or NM-B/Romex where permitted) depending on the amperage and local code requirements.
- Installing the receptacle or hardwiring the unit. For plug-in setups, a NEMA 14-50 outlet is installed. For hardwired units, the charger's whip is connected directly to the circuit wiring in a junction box or within the charger enclosure.
- Mounting the charger to the wall using the included bracket and hardware, ensuring it is secured to a stud or with appropriate anchors.
The National Electrical Code (NEC) Article 625 specifically addresses electric vehicle charging systems and outlines requirements for circuit sizing, grounding, and installation methods that your electrician must follow.
Step 3: Charger Setup and Configuration
Once the electrical work is complete, the charger needs to be configured:
- Power on the unit and verify indicator lights show normal operation.
- Download the manufacturer's app (for smart chargers like ChargePoint, Emporia, or Wallbox) and connect the charger to your home WiFi network.
- Set the amperage dip switches if applicable — some chargers allow you to adjust the output to match your circuit size.
- Register the charger with the manufacturer to activate the warranty.
- Perform a test charge with your vehicle to confirm everything is functioning correctly.
Permits and Inspections: What You Need to Know
One of the most overlooked aspects of EV charger installation is the permitting and inspection process. In most jurisdictions across the United States, adding a new 240-volt circuit requires an electrical permit. Skipping this step can lead to fines, problems when selling your home, and potentially voided insurance coverage in the event of an electrical fire.
When Is a Permit Required?
Generally, a permit is required whenever new wiring or a new circuit is added to your home. This applies to both plug-in installations (where a new NEMA 14-50 outlet is installed) and hardwired installations. The only scenario where a permit might not be needed is if you are simply plugging a charger into an existing, code-compliant 240V outlet that was already permitted — but even then, some jurisdictions require a permit for the EV charger itself.
How the Permit Process Works
The typical permit process follows these steps:
- Application: Your electrician (or you, if DIY) submits an electrical permit application to the local building department. This includes details about the circuit size, wire type, breaker rating, and charger specifications.
- Fee payment: Permit fees typically range from $50 to $200 depending on your municipality.
- Rough-in inspection: In some cases, an inspector visits before the walls are closed (if drywall was opened) to verify wiring methods.
- Final inspection: After installation is complete, an inspector visits to verify the installation meets NEC and local code requirements. They will check breaker sizing, wire gauge, grounding, GFCI protection (where required), proper mounting, and labeling.
- Approval: Once the inspection passes, you receive a certificate or final approval. Keep this document for your records — it may be needed for insurance, home sales, or utility rebate applications.
If you use Home Depot's installation service, the contracted electrician typically handles the permit process on your behalf. Always confirm this before work begins.
Utility Rebates and Incentives
Many electric utilities offer rebates for installing Level 2 home chargers, but most require proof of permitted installation to qualify. Check with your local utility to see what incentives are available. Some utilities offer rebates of $250 to $1,000 or more, which can significantly offset your installation costs. Federal and state tax credits may also apply — consult a tax professional for current eligibility details.
DIY Installation vs. Hiring a Professional Through Home Depot
One of the biggest decisions you will face is whether to install the charger yourself or hire a licensed electrician. Home Depot offers both paths: you can purchase the charger outright and install it yourself, or you can use their installation service, which connects you with a vetted, licensed contractor.
When DIY Makes Sense
A DIY installation can be appropriate if:
- You have prior experience with electrical work, including running conduit, pulling wire, and installing breakers.
- Your local jurisdiction allows homeowners to perform their own electrical work (some areas require a licensed electrician for all work).
- Your panel has clear spare capacity and the wire run from the panel to the charger location is straightforward — short distance, no walls to open, easy conduit routing.
- You are comfortable pulling a permit and scheduling inspections yourself.
- You understand and can follow NEC Article 625 requirements for EV charging equipment.
The potential savings from DIY are significant — you could save $500 to $1,500 in labor costs. However, the risks of improper installation include electrical shock, fire, equipment damage, and code violations that could affect your home insurance.
When to Hire a Professional
Professional installation is strongly recommended when:
- Your electrical panel needs an upgrade or is already near capacity.
- The wire run is long (over 50 feet), requires running through finished walls, or involves complex conduit routing.
- You are unfamiliar with electrical work or local code requirements.
- Your jurisdiction requires a licensed electrician for all electrical installations.
- You want the peace of mind that comes with a professional warranty on the workmanship.
Home Depot's installation service typically includes a free in-home consultation where the electrician assesses your panel, discusses placement options, and provides a detailed quote. The work is performed by a licensed and insured contractor, and most installations come with a workmanship warranty.
For more information on choosing the right setup, read our Level 1 vs Level 2 charging comparison to make sure a Level 2 installation is the right choice for your driving habits.
Complete Cost Breakdown: EV Charger Installation at Home Depot
Understanding the full cost picture helps you budget accurately and avoid surprises. Here is a detailed breakdown of what you can expect to pay for an EV charger installation through Home Depot or with a charger purchased from Home Depot.
Charger Unit Cost
| Charger Type | Price Range | Typical Amperage |
|---|---|---|
| Basic Level 2 (non-smart) | $200 – $400 | 16 – 32 amps |
| Smart Level 2 (WiFi-enabled) | $350 – $700 | 32 – 48 amps |
| Premium/High-power Level 2 | $600 – $900+ | 48 – 80 amps |
Installation Labor and Materials
| Installation Scenario | Estimated Cost |
|---|---|
| Simple install (panel nearby, short wire run, plug-in) | $300 – $600 |
| Moderate install (30–50 ft wire run, conduit, hardwired) | $600 – $1,200 |
| Complex install (long run, wall penetration, trenching) | $1,200 – $2,500+ |
| Electrical panel upgrade (if needed) | $1,500 – $4,000+ |
Additional Costs to Consider
- Permit fees: $50 – $200 depending on your municipality.
- Conduit and wire materials: $50 – $300 depending on run length and type.
- GFCI breaker (if required): $50 – $120 — some jurisdictions require GFCI protection for EV charging circuits, particularly for plug-in installations.
- WiFi extender: $30 – $80 if your smart charger needs a stronger signal at the installation point.
- EV adapter cables: $50 – $200 if your vehicle uses a non-standard connector. For more details, see our guide to EV charging connector types.
The total cost for a typical Home Depot EV charger installation — including the charger unit, professional labor, materials, and permits — usually falls between $800 and $2,000 for a straightforward installation. Complex installations or those requiring panel upgrades can exceed $3,000 to $5,000.
Essential Safety Tips for Home EV Charger Installation
Safety should always be the top priority when dealing with high-voltage electrical installations. A Level 2 EV charger operates at 240 volts and can draw significant current for hours at a time, making proper installation critical to preventing fire hazards and electrical shock.
Follow NEC Requirements
The National Electrical Code establishes minimum safety standards for EV charger installations. Key requirements include:
- Circuit sizing: The circuit must be rated at 125% of the charger's maximum continuous draw. A 40-amp charger requires a 50-amp circuit. A 32-amp charger requires a 40-amp circuit.
- Proper wire gauge: Using undersized wire creates a fire hazard. Your electrician must match the wire gauge to the breaker size and account for voltage drop on longer runs.
- Dedicated circuit: EV chargers must be on their own dedicated circuit — they cannot share a circuit with other appliances or outlets.
- Grounding: Proper equipment grounding is mandatory. The grounding conductor must be sized correctly and connected to the home's grounding electrode system.
- Disconnecting means: The breaker in the panel serves as the disconnecting means for most residential installations.
Practical Safety Checklist
- Never work on an energized panel. Always turn off the main breaker before beginning any work.
- Use a voltage tester to confirm circuits are de-energized before touching any wires.
- Ensure all connections are torqued to manufacturer specifications — loose connections cause arcing and fires.
- Install a surge protector on the circuit if recommended by the charger manufacturer, especially in areas prone to lightning.
- Label the breaker clearly in the panel as "EV Charger" for easy identification.
- Keep the charger and cord away from areas where vehicles could drive over or damage the cable.
- For outdoor installations, ensure all connections are in weatherproof enclosures and the charger is rated for outdoor use.
- Install a GFCI breaker if required by local code — particularly important for outdoor receptacles used for plug-in chargers.
Maintenance and Ongoing Safety
After installation, periodically inspect the charger, cord, and plug for signs of wear, damage, or overheating. Discoloration on the plug face or a warm plug during charging can indicate a loose connection that needs immediate attention. Refer to the manufacturer's maintenance guidelines and contact a licensed electrician if you notice any issues. For more safety guidance, visit the NFPA's National Electrical Code resources.
Troubleshooting Common EV Charger Installation Issues
Even with a professional installation, you may encounter issues after your EV charger is up and running. Here are the most common problems and how to resolve them.
Charger Won't Power On
If your charger shows no lights or signs of life after installation, check the following:
- Verify the breaker in the panel is in the ON position. New breakers sometimes trip during initial energization.
- Check for a tripped GFCI if a GFCI breaker is installed — press the reset button on the breaker.
- Confirm all wire connections at both the breaker and the charger/outlet are secure.
- For plug-in chargers, ensure the plug is fully seated in the receptacle.
Charging Starts but Stops Intermittently
Intermittent charging interruptions are often caused by:
- Overheating connections: A loose wire or undersized outlet can overheat, causing the charger's thermal protection to shut it down. This requires immediate attention from an electrician.
- Voltage drop: If the wire run is too long for the gauge used, voltage may drop below the charger's minimum threshold under load, causing it to shut off.
- WiFi connectivity issues: Smart chargers that lose their WiFi connection may pause charging or fail to resume. Consider a WiFi extender or mesh node near the charger.
- Vehicle-side issues: Sometimes the problem is with the vehicle's onboard charger or charge port. Try charging at a public station to isolate the issue.
Breaker Trips Repeatedly
A breaker that trips consistently during charging usually indicates:
- The charger's amperage setting exceeds the circuit rating. Verify the charger is configured to draw no more than 80% of the breaker's rated capacity.
- The circuit is not truly dedicated and is sharing load with another appliance.
- The breaker itself is defective — this is uncommon but possible, especially with GFCI breakers.
- A wiring fault such as a short circuit or ground fault exists in the installation.
Slow Charging Speeds
If your charger is delivering less range per hour than expected:
- Verify the charger's amperage dip switches are set correctly for your circuit.
- Check the vehicle's onboard charger capacity — some EVs cannot accept the full amperage a Level 2 charger can deliver.
- Ensure the charger is not in a reduced-power or eco mode via its app settings.
- Cold weather can reduce charging speeds temporarily — this is normal battery behavior.
If troubleshooting does not resolve the issue, contact the charger manufacturer's support line or the electrician who performed the installation. Most Home Depot installation contractors provide a workmanship warranty that covers installation-related issues.
Frequently Asked Questions
Does Home Depot install EV chargers directly?
Home Depot does not employ in-house electricians for EV charger installations. Instead, they partner with licensed, insured third-party contractors who handle the installation. You can arrange this service through Home Depot's website or in-store. The contractor will typically conduct a free in-home assessment before providing a final quote. This arrangement means you benefit from Home Depot's vetting process while getting work performed by a local professional familiar with your area's building codes and permit requirements.
Can I plug my EV charger into an existing dryer outlet?
While it may be tempting to use an existing NEMA 10-30 or 14-30 dryer outlet, this is generally not recommended and often violates electrical code. EV chargers require a dedicated circuit, meaning no other appliance can share it. Sharing a dryer outlet means you would need to unplug the dryer every time you charge — which is impractical and creates a wear point on the receptacle. Additionally, older NEMA 10-30 outlets lack a dedicated ground wire, which is a safety concern. The proper approach is to install a new dedicated circuit with the correct outlet type. If your budget is tight, consider a lower-amperage charger that can run on a smaller, less expensive dedicated circuit. See our portable EV charger reviews for flexible options.
How long does a typical Home Depot EV charger installation take?
The physical installation typically takes between 2 and 6 hours for a straightforward job where the electrical panel is close to the charger location and the wire run is simple. More complex installations — those involving long conduit runs, wall penetrations, attic or crawlspace routing, or panel upgrades — can take a full day or more. The entire process from initial consultation to final inspection can span one to three weeks, depending on contractor availability, permit processing times, and inspection scheduling in your area. Plan ahead and schedule your installation well before you actually need daily home charging.
Will installing an EV charger increase my home's value?
Yes, in most markets, a professionally installed Level 2 EV charger is considered a desirable home feature that can increase resale value. As electric vehicle adoption continues to grow, homebuyers increasingly look for homes with existing charging infrastructure. A permitted, inspected installation with documentation provides the most value because it gives buyers confidence the work was done correctly. Keep all receipts, permits, and inspection certificates in your home records. The investment in a quality charger and professional installation often pays dividends when it comes time to sell.
What size breaker do I need for a Level 2 EV charger from Home Depot?
The breaker size depends on the charger's maximum amperage draw. Per the NEC, continuous loads (which EV charging qualifies as) must not exceed 80% of the circuit's rated capacity. Here is a quick reference:
- 16-amp charger: Requires a 20-amp breaker with 12 AWG wire
- 24-amp charger: Requires a 30-amp breaker with 10 AWG wire
- 32-amp charger: Requires a 40-amp breaker with 8 AWG wire
- 40-amp charger: Requires a 50-amp breaker with 6 AWG wire
- 48-amp charger: Requires a 60-amp breaker with 4 AWG wire (hardwired only per NEC)
Your electrician will confirm the correct breaker and wire size based on your specific charger model, wire run length, and local code amendments. Always err on the side of a larger wire gauge if the run is long, as this reduces voltage drop and heat buildup. For more technical details, explore our EV charging speeds explained guide to understand how amperage affects your charging times.