EV Charger Installation Guide: Complete Step-by-Step Setup & Requirements
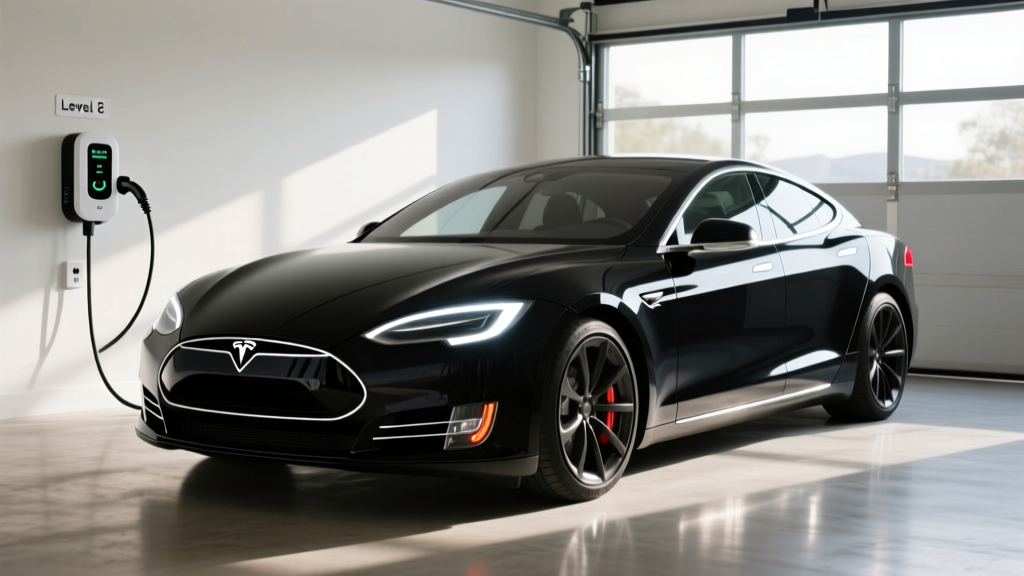
Installing a Level 2 EV charger at home is one of the most impactful upgrades any electric vehicle owner can make. Instead of relying on slow Level 1 charging from a standard wall outlet, a properly installed Level 2 home charger delivers between 16 and 80 amps of power, cutting charge times dramatically and adding genuine convenience to your daily routine. This comprehensive EV charger installation guide covers everything you need to know — from electrical panel requirements and permitting to step-by-step wiring, cost breakdowns, and critical safety considerations.
Difficulty Level: Intermediate to Advanced (electrical work required)
Estimated Cost: $500 – $2,500+ (charger unit + installation materials + labor if hiring an electrician)
Time Required: 4 – 10 hours depending on complexity
Tools Needed: Voltage tester, wire strippers, drill, conduit bender, torque screwdriver, fish tape, level, stud finder
Whether you are planning a DIY installation or preparing to hire a licensed electrician, this guide serves as your complete reference — essentially an EV charger installation guide in article form that you can bookmark, print, or save as a PDF for reference on installation day. If you are still deciding which charger to buy, check out our best Level 2 EV chargers roundup for top-rated options.
Electrical Requirements & Panel Assessment
Before purchasing any equipment or pulling a single wire, you must confirm that your home's electrical system can support a Level 2 EV charger. This is the single most important step in the entire installation process, and skipping it can lead to tripped breakers, damaged equipment, or even electrical fires.
Understanding Your Electrical Panel
Most modern homes in the United States have a 200-amp main electrical service panel. A Level 2 EV charger typically requires a dedicated 240-volt circuit rated between 20 and 60 amps, depending on the charger model. The National Electrical Code (NEC) requires that continuous loads — which include EV chargers that run for three or more hours — be limited to 80% of the circuit breaker's rated capacity. This means a 50-amp breaker supports a maximum continuous draw of 40 amps, and a 60-amp breaker supports 48 amps of continuous charging.
To assess your panel's capacity, locate the main breaker and note its amperage rating. Then perform a basic load calculation by adding up the amperage of all existing breakers. If the total approaches or exceeds the main breaker rating, you may need a panel upgrade before installing an EV charger. According to the U.S. Department of Energy, homes with older 100-amp panels frequently require upgrades to accommodate modern EV charging demands alongside existing household loads.
Circuit & Wiring Specifications
The wire gauge you need depends on the circuit amperage and the distance from your panel to the charger location. Here are the most common configurations:
- 20-amp circuit: 12 AWG copper wire (supports up to 16A continuous)
- 30-amp circuit: 10 AWG copper wire (supports up to 24A continuous)
- 40-amp circuit: 8 AWG copper wire (supports up to 32A continuous)
- 50-amp circuit: 6 AWG copper wire (supports up to 40A continuous)
- 60-amp circuit: 4 AWG copper wire (supports up to 48A continuous)
For runs longer than 100 feet, you may need to increase the wire gauge by one size to account for voltage drop. Your charger's installation manual will specify the exact wire gauge and breaker size required. For a comparison of popular charger models and their power requirements, see our Level 1 vs Level 2 charging comparison guide.
NEMA Outlet vs. Hardwired Connection
You have two connection options for a Level 2 charger. A NEMA 14-50 outlet is the most common receptacle choice, offering a 50-amp connection that works with many popular chargers. The advantage of an outlet is portability — you can unplug the charger and take it with you if you move, or use the outlet for other high-power appliances like a welder or RV hookup. A hardwired connection eliminates the outlet and connects the charger directly to the circuit wiring inside the wall. Hardwired installations are generally considered safer for continuous high-amperage use because they eliminate the plug connection as a potential failure point, and many chargers support higher amperage when hardwired compared to plugged in.
Step-by-Step EV Charger Installation Process
Once you have confirmed your panel has sufficient capacity and you have obtained the necessary permits (covered in the next section), you can begin the physical installation. The following steps apply to both hardwired and NEMA outlet installations.
Step 1: Plan the Route
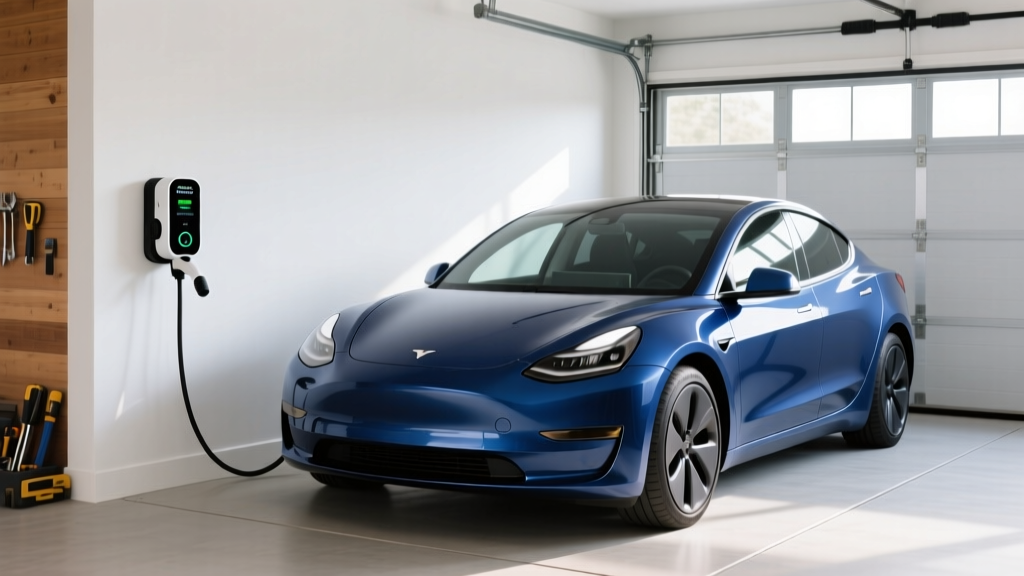
Map the path from your electrical panel to the desired charger location. The ideal spot is near where you park your vehicle, typically in a garage or on an exterior wall near the driveway. Consider the length of your charger's cable — most range from 18 to 25 feet — and ensure the connector will comfortably reach your vehicle's charge port. Plan to run conduit along walls or through crawl spaces to protect the wiring. Keep the route as short and direct as possible to minimize wire costs and voltage drop.
Step 2: Install the Circuit Breaker
Turn off the main breaker to de-energize the panel. Remove the panel cover and identify two adjacent open slots for your double-pole breaker. Snap the new breaker into place, ensuring it seats firmly on the bus bar. Connect the ground wire to the ground bus bar and the neutral wire to the neutral bus bar (for NEMA outlet installations). For hardwired installations, only the two hot wires and the ground wire are needed.
Step 3: Run Conduit & Wire
Install conduit from the panel to the charger location. You can use rigid metal conduit (RMC), intermediate metal conduit (IMC), or PVC Schedule 80 conduit depending on local code requirements and whether the run is indoors or outdoors. Pull the appropriate gauge wires through the conduit using fish tape. For a NEMA 14-50 outlet, you will need two hot wires (black and red), one neutral wire (white), and one ground wire (green or bare copper). For a hardwired installation, you typically need two hot wires and one ground wire.
Step 4: Mount the Charger or Outlet
For a hardwired charger, mount the unit to the wall using the provided bracket and hardware. Most manufacturers recommend mounting the charger between 40 and 52 inches from the floor for comfortable access. Use a level to ensure the unit is straight, and anchor it into wall studs or use appropriate masonry anchors for concrete walls. For a NEMA outlet installation, mount the outlet box at the desired location and terminate the wires to the receptacle terminals, following the manufacturer's torque specifications precisely.
Step 5: Make Final Connections
Connect the wires to the charger's terminal block or the NEMA receptacle. Tighten all terminal screws to the manufacturer-specified torque values using a calibrated torque screwdriver — this step is critical and often overlooked by DIY installers. Loose connections are a leading cause of overheating and electrical fires. After all connections are made, carefully tuck wires into the enclosure, replace covers, and restore power at the main breaker.
Step 6: Test the Installation
With power restored, use a multimeter to verify that the correct voltage (approximately 240V) is present at the charger terminals or outlet. Power on the charger and run a test charge with your vehicle. Monitor the connection for the first several charging sessions, checking for unusual warmth at the plug, outlet, or breaker. Many modern chargers include built-in diagnostics and will report any electrical anomalies through their companion app. For setup instructions for specific models, browse our EV charger setup instructions library.
Permits, Inspections & Code Compliance
Electrical permits are required for EV charger installations in the vast majority of U.S. jurisdictions. The permitting process exists to protect you — it ensures that a qualified inspector verifies the work meets safety standards before you energize the circuit.
Why Permits Matter
Installing a 240-volt circuit without a permit can void your homeowner's insurance coverage in the event of an electrical fire. It may also violate local building codes and result in fines. Additionally, many utility rebates and federal or state tax incentives for EV charger installation require proof of permitted work. If you ever sell your home, unpermitted electrical work can become a liability during the inspection process.
The Permitting Process
Contact your local building department to determine the specific permit requirements for your area. In most cases, you will need to submit an electrical permit application that includes details about the circuit amperage, wire gauge, conduit type, and charger model. Permit fees typically range from $50 to $200. After the installation is complete, schedule an inspection with your local electrical inspector. The inspector will verify proper wire sizing, breaker sizing, grounding, GFCI protection (where required by the NEC), and overall workmanship.
NEC Code Requirements
The National Electrical Code includes several provisions specific to EV charging installations. NEC Article 625 covers Electric Vehicle Charging System Equipment and addresses requirements for branch circuit ratings, disconnecting means, ventilation, and cable management. Key requirements include GFCI protection for receptacles used for EV charging (NEC 625.54), proper labeling of the EV branch circuit at the panel, and adequate working clearance around the charger. Always consult the most current edition of the NEC as adopted by your local jurisdiction, and review manufacturer installation documentation — such as those provided by ChargePoint and other leading charger brands — for model-specific code compliance details.
DIY Installation vs. Hiring a Professional Electrician
One of the most common questions EV owners face is whether to install the charger themselves or hire a licensed electrician. Both approaches have merits, and the right choice depends on your skill level, local regulations, and the complexity of the installation.
When DIY Makes Sense
A DIY installation can be appropriate if you have prior experience with electrical work, your panel has ample spare capacity, the charger location is close to the panel, and your local jurisdiction allows homeowner-permitted electrical work. Simple installations — such as adding a NEMA 14-50 outlet in a garage where the panel is on the same wall — can be completed by a knowledgeable homeowner in an afternoon. The primary advantage is cost savings, as you avoid paying for professional labor.
When to Hire a Professional
Hiring a licensed electrician is strongly recommended if your panel needs an upgrade, the wiring run is long or complex (running through finished walls, attics, or underground), your jurisdiction requires a licensed contractor for the permit, or you simply lack confidence working inside an electrical panel. Professional electricians carry liability insurance, pull permits on your behalf, and guarantee their work. They can also identify potential issues — such as aluminum wiring, insufficient grounding, or overloaded panels — that an inexperienced installer might miss.
Cost Comparison
A straightforward DIY NEMA 14-50 outlet installation might cost $150 to $400 in materials alone. Hiring an electrician for the same job typically costs $500 to $1,500 including labor and materials. More complex installations involving panel upgrades, long conduit runs, or trenching can push professional installation costs to $2,000 or more. For a detailed look at what to expect financially, see our EV charging cost breakdown guide.
Complete Cost Breakdown
Understanding the full cost of an EV charger installation helps you budget accurately and evaluate whether available incentives make the project more affordable. Here is a detailed breakdown of typical expenses.
Charger Unit Costs
- Basic Level 2 chargers (16-32A): $250 – $450
- Mid-range smart chargers (40-48A): $400 – $650
- Premium chargers with advanced features (48-80A): $600 – $900+
Electrical Materials
- Circuit breaker (double-pole): $15 – $50
- Wire (per foot, varies by gauge): $1.50 – $6.00
- Conduit & fittings: $50 – $200
- NEMA 14-50 receptacle & box: $20 – $60
- Miscellaneous (connectors, anchors, labels): $20 – $50
Professional Labor
- Simple installation (short run, no panel work): $300 – $800
- Moderate installation (longer run, conduit): $800 – $1,500
- Complex installation (panel upgrade, trenching): $1,500 – $3,500+
Available Incentives
Many utility companies offer rebates for residential EV charger installations, typically ranging from $200 to $500. Some states and municipalities provide additional tax credits or incentives. The federal Alternative Fuel Vehicle Refueling Property Credit may also apply, offering a credit of up to $1,000 for home charging equipment. Check with your local utility and the Department of Energy's EV charging resources for current incentive availability in your area.
Safety Tips & Best Practices
Working with 240-volt circuits demands strict adherence to safety protocols. The following best practices should guide every aspect of your installation.
Before You Begin
- Always turn off the main breaker before working inside the electrical panel. Use a non-contact voltage tester to confirm that all bus bars are de-energized before touching any components.
- Wear appropriate PPE including insulated gloves, safety glasses, and non-conductive footwear.
- Never work alone — have someone nearby who can call for help or administer CPR in the event of an electrical shock.
- Read the manufacturer's installation guide completely before starting. Every charger model has specific requirements for wire gauge, torque values, and mounting clearances.
During Installation
- Use a torque screwdriver to tighten all terminal connections to the manufacturer's specified values. This is not optional — under-torqued connections create resistance, heat, and fire risk, while over-torqued connections can damage terminals and strip threads.
- Maintain proper bend radius when working with conduit to avoid damaging wire insulation during the pull.
- Label the EV circuit breaker clearly in the panel directory as required by the NEC.
- Ensure adequate ventilation around the charger, especially for indoor installations. While modern EV chargers produce minimal off-gassing, the NEC still requires ventilation considerations for certain installations.
Ongoing Maintenance
- Inspect the charger cable and connector regularly for signs of wear, cracking, or damage.
- Check the outlet or hardwired connection annually for discoloration, warmth, or loose fittings.
- Keep the charger firmware updated to benefit from the latest safety and performance improvements.
- If your charger is mounted outdoors, ensure the weatherproof enclosure remains intact and the gasket seal is in good condition.
Troubleshooting Common Installation Issues
Even carefully planned installations can encounter problems. Here are solutions to the most frequently reported issues during and after EV charger installation.
Breaker Trips Immediately
If the breaker trips as soon as you restore power, you likely have a wiring fault — typically a short circuit or ground fault. Turn off the breaker, disconnect the charger or outlet, and inspect all wire connections for crossed conductors, exposed copper, or pinched insulation. Verify that the ground wire is not contacting a hot terminal. If the breaker trips only when the vehicle is connected, the issue may be with the vehicle's onboard charger or a ground fault in the charging cable.
Charger Reports Low Voltage or Fault
If your charger displays a low-voltage error or fails to deliver full power, check for voltage drop caused by undersized wire or an excessively long circuit run. Measure the voltage at the charger terminals while the vehicle is actively charging — a reading significantly below 240V indicates a voltage drop problem. Upgrading to a larger wire gauge or shortening the circuit run will resolve this issue.
Charger Gets Hot During Use
Some warmth is normal during high-amperage charging, but excessive heat at the plug, outlet, or breaker is a serious warning sign. Immediately stop charging and inspect all connections for looseness. Re-torque terminal screws to specification. If you are using a NEMA outlet, consider replacing it with an industrial-grade receptacle rated for continuous duty — standard residential outlets are not always designed for hours of sustained high-current draw. If the problem persists, switch to a hardwired connection.
Wi-Fi Connectivity Issues (Smart Chargers)
Smart chargers that connect to Wi-Fi for scheduling, monitoring, and firmware updates may struggle with connectivity if mounted in a garage with poor signal coverage. Try relocating your router, adding a Wi-Fi extender, or switching the charger to a 2.4 GHz network, which offers better range than 5 GHz. Some chargers support Ethernet or cellular connectivity as an alternative. For recommendations on smart chargers with reliable connectivity, see our smart EV charger reviews.
GFCI Nuisance Tripping
The NEC requires GFCI protection for receptacles used for EV charging in many locations. However, some EV chargers have internal ground fault detection that can conflict with the GFCI breaker or receptacle, causing nuisance tripping. If this occurs, consult the charger manufacturer's documentation for compatibility guidance. In some cases, using a hardwired connection (which may not require GFCI protection under certain NEC provisions) resolves the conflict.
Frequently Asked Questions
Can I install a Level 2 EV charger on a 100-amp electrical panel?
It depends on your home's existing electrical load. A 100-amp panel may have sufficient spare capacity for a lower-amperage Level 2 charger (such as a 16-amp or 24-amp unit) if your home does not have many high-draw appliances like electric ranges, dryers, or central air conditioning. However, you must perform a proper NEC Article 220 load calculation to determine the available capacity. In many cases, homes with 100-amp panels benefit from upgrading to a 200-amp service to safely accommodate EV charging alongside normal household loads.
Do I need a permit to install an EV charger at home?
In most jurisdictions, yes. Installing a new 240-volt circuit is considered a significant electrical modification that requires a permit and inspection. The specific requirements vary by city, county, and state. Some areas allow homeowners to pull their own electrical permits, while others require a licensed electrician to do so. Contact your local building department before beginning work to understand the requirements in your area. Skipping the permit process can result in fines, insurance complications, and problems during a future home sale.
How long does a typical EV charger installation take?
A straightforward installation — such as mounting a NEMA 14-50 outlet on a garage wall directly adjacent to the electrical panel — can be completed in two to four hours. More complex installations involving long conduit runs, running wire through finished walls or crawl spaces, or upgrading the electrical panel may take six to ten hours or even span multiple days. Professional electricians can often complete standard installations in a single visit, particularly if they have performed a thorough site assessment beforehand.
Is a hardwired EV charger better than a plug-in charger?
Both approaches have advantages. Hardwired chargers eliminate the plug connection, reducing the number of potential failure points and typically supporting higher amperage ratings. They are generally preferred for permanent, high-power installations above 48 amps. Plug-in chargers connected to a NEMA 14-50 outlet offer portability — you can unplug and take the charger with you if you move, and the outlet can serve double duty for other high-power equipment. For most homeowners using a 40-amp or 48-amp charger, either approach is safe and effective when installed correctly.
Can I use an existing dryer outlet for my EV charger?
While some EV owners consider using an existing NEMA 10-30 or 14-30 dryer outlet, this approach is generally not recommended without modifications. Dryer circuits are typically rated for 30 amps and may not support the continuous load requirements of EV charging without upgrading the wiring and breaker. Additionally, sharing a circuit between your dryer and EV charger creates a conflict — you cannot safely run both simultaneously without a smart load management device. The safest approach is to install a dedicated circuit specifically for your EV charger. If you want to explore smart load-sharing solutions, our smart home EV charging setup guide covers the latest options.
This guide provides a comprehensive overview of the EV charger installation process from start to finish. Whether you are tackling the project yourself or working with a professional electrician, understanding the electrical requirements, code compliance obligations, and safety best practices ensures a successful installation that will serve you reliably for years to come. For more EV charging resources, explore our complete library of EV charging guides and charger reviews to find the perfect setup for your home and vehicle.