EV Charger Installation Cost in the UK: Your Complete Home Charging Guide
Making the switch to an electric vehicle is an exciting step towards a greener future, but one of the first practical questions every new EV owner faces is how much it will cost to install a home charger. Understanding the EV charger installation cost in the UK is essential for budgeting effectively and ensuring you get a safe, reliable setup that serves you for years to come.
In this comprehensive guide, we break down every element of home EV charger installation — from equipment and labour to government grants and long-term savings — so you can make an informed decision with confidence.
At a Glance
Difficulty Level: Moderate to Advanced (professional installation strongly recommended)
Estimated Total Cost: £800 – £1,500 (before grants)
Typical Installation Time: 3 – 6 hours
Grant Available: Up to £350 via the OZEV EV Chargepoint Grant (for eligible applicants)
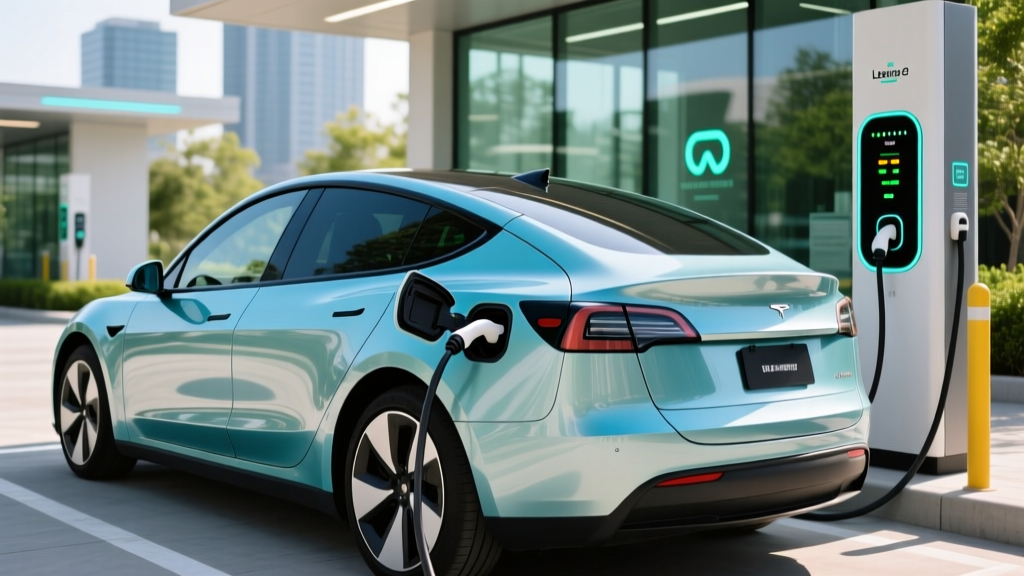
Whether you drive a Tesla, a Nissan Leaf, a BMW iX, or any other electric vehicle, having a dedicated home charging point transforms the ownership experience. No more searching for public charging stations or waiting in queues — just plug in overnight and wake up to a full battery every morning. Let us walk you through everything you need to know about getting a charger installed at your UK property.
Requirements for Installing an EV Charger at Home
Before you start comparing chargers or booking an installer, it is important to understand the technical and regulatory requirements for a home EV charging setup in the UK. Meeting these requirements ensures your installation is safe, legal, and efficient.
Electrical Supply Capacity
Most UK homes have a standard single-phase electricity supply rated at 60 to 100 amps. A typical 7kW home EV charger draws approximately 32 amps, which is manageable for most properties. However, if your home already has significant electrical load — such as electric heating, an electric shower, or other high-draw appliances — you may need to assess whether your consumer unit (fuse box) can handle the additional demand.
If your electrical supply is insufficient, you have two options:
- Upgrade your main fuse with your Distribution Network Operator (DNO) — this may involve a cost of £200 to £500 or more depending on the work required.
- Install a load management device that dynamically adjusts the charger's power draw to stay within your supply capacity.
For homes with a three-phase supply, you may be able to install a faster 11kW or even 22kW charger, significantly reducing charging times. Check out our guide to the best home EV chargers to compare options for different supply types.
Dedicated Circuit and Consumer Unit
UK regulations require that an EV charger be installed on its own dedicated circuit, separate from other household circuits. This typically means your electrician will need to install a new miniature circuit breaker (MCB) and a residual current device (RCD) in your consumer unit. If your existing consumer unit is outdated or has no spare capacity, an upgrade may be necessary, adding to the overall cost.
Wi-Fi or Mobile Connectivity
Many modern smart chargers — such as the Wallbox Pulsar Max, the Zappi, and the Ohme Home Pro — require a Wi-Fi or mobile data connection to access smart features like off-peak scheduling, energy monitoring, and solar integration. Ensure your charger's intended location has adequate signal coverage, or consider a charger with built-in SIM connectivity.
Property Suitability
To install a home EV charger, you generally need:
- Off-street parking (a driveway or private garage)
- Permission from the property owner (if you rent)
- A suitable external wall or post for mounting the charger
- A cable route from your consumer unit to the charger location that does not cross public land
If you live in a flat or apartment without dedicated parking, installation becomes more complex. You may need to explore shared charging solutions or rely on workplace and public charging infrastructure. For a broader understanding of your options, read our EV charging beginner's guide.
Step-by-Step EV Charger Installation Process
Understanding the installation process helps you know what to expect and prepares you for conversations with potential installers. Here is a detailed walkthrough of how a typical home EV charger installation unfolds in the UK.
Step 1: Site Survey and Assessment
Most reputable installers will begin with a site survey, which can often be completed remotely using photographs and a questionnaire. During this assessment, the installer evaluates:
- The location of your consumer unit relative to the desired charger position
- The cable route and any obstacles (walls, floors, garden areas)
- Your electrical supply capacity and earthing arrangement
- Whether any upgrades to your consumer unit or main supply are needed
Some installers charge a small fee for an in-person survey (£50 to £100), but many include it free of charge as part of the installation package.
Step 2: Choosing Your Charger
Based on the survey results, you will select a charger that suits your needs, budget, and electrical setup. Key factors to consider include:
- Power rating: 3.6kW (16A), 7kW (32A), or higher for three-phase supplies
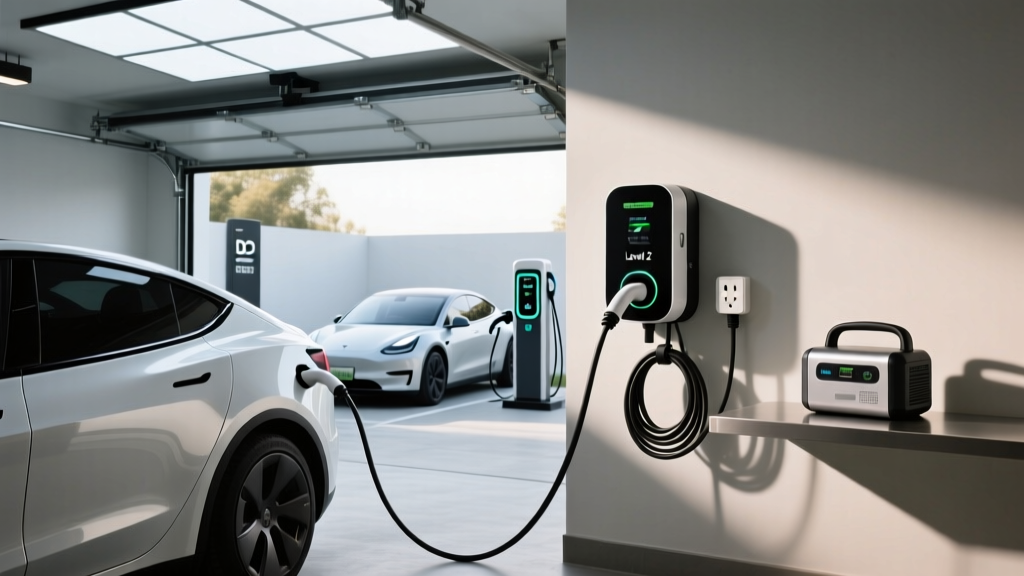
- Tethered vs. untethered: Tethered chargers have a built-in cable, while untethered units require you to use your own Type 2 cable
- Smart features: Off-peak scheduling, solar compatibility, app control, and load balancing
- Aesthetics: Many chargers now come in sleek designs to complement your property
Browse our EV charger reviews to compare top-rated models available in the UK market.
Step 3: Installation Day
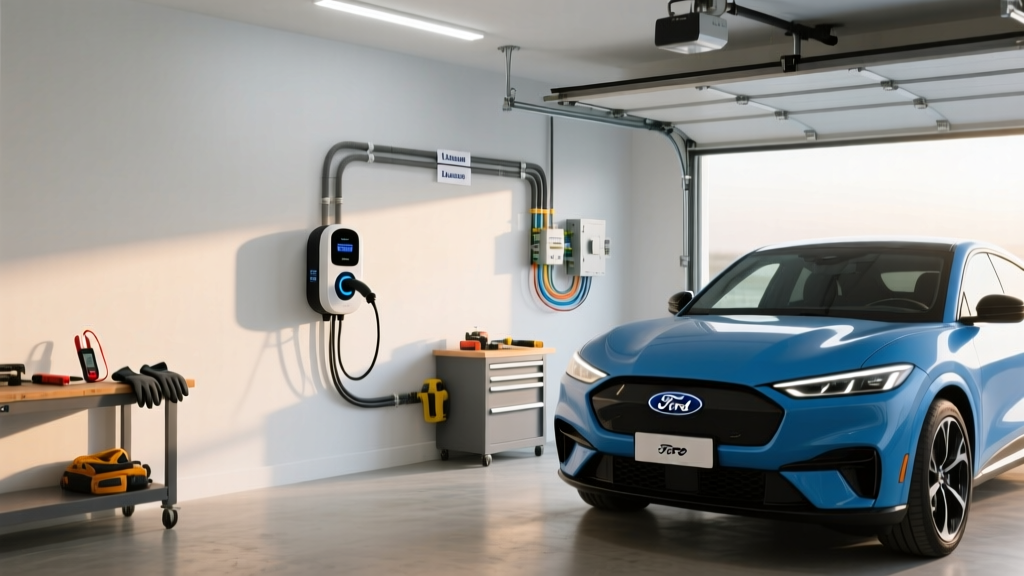
On the day of installation, a qualified electrician certified under the Office for Zero Emission Vehicles (OZEV) scheme will carry out the work. A standard installation typically takes between 3 and 6 hours and involves:
- Running a dedicated cable from your consumer unit to the charger location (through walls, under floors, or along exterior surfaces)
- Installing a new MCB and RCD in your consumer unit
- Mounting the charger unit on the wall or on a purpose-built post
- Making all electrical connections and ensuring proper earthing
- Testing the installation thoroughly, including earth loop impedance and RCD trip times
- Configuring smart features and demonstrating operation to you
Step 4: Certification and Notification
Once the installation is complete, your installer must provide you with an Electrical Installation Certificate (EIC) or a Minor Electrical Installation Works Certificate (MEIWC). They are also required to notify your local building control authority under Part P of the Building Regulations, which is typically done through a competent person scheme such as NICEIC or NAPIT.
Your installer should also notify your Distribution Network Operator (DNO) of the installation. In most cases, this is a straightforward notification process, but in some situations, prior approval from the DNO may be required — particularly if your supply capacity is near its limit.
Permits, Regulations, and Inspection Requirements
EV charger installations in the UK are subject to several regulatory frameworks designed to ensure safety and compliance. Understanding these requirements protects you legally and ensures your installation meets the highest standards.
Building Regulations (Part P)
All electrical work in dwellings in England and Wales falls under Part P of the Building Regulations. This means your EV charger installation must either be carried out by a registered competent person (who can self-certify the work) or be inspected and approved by your local building control authority. Using an OZEV-approved installer who is also registered with a competent person scheme like NICEIC, NAPIT, or ELECSA is the simplest way to ensure compliance.
BS 7671 (IET Wiring Regulations)
All EV charger installations must comply with BS 7671, also known as the IET Wiring Regulations (currently the 18th Edition). These regulations cover critical aspects such as:
- Cable sizing and protection
- Earthing and bonding requirements
- RCD protection (Type A or Type B depending on the charger)
- Isolation and switching provisions
- Protection against external influences (IP ratings for outdoor installations)
According to the Institution of Engineering and Technology (IET), compliance with BS 7671 is essential for the safety of all electrical installations, and EV chargers are no exception. The IET provides detailed guidance documents specifically addressing EV charging installations.
DNO Notification
Your installer is legally required to notify your local Distribution Network Operator (DNO) after installing an EV charger. For chargers rated at 7kW or below, this is usually a post-installation notification. For larger installations (above 7kW per phase), prior approval from the DNO may be necessary. The DNO has 28 days to respond and may require additional measures if they determine the local network capacity is constrained.
Planning Permission
In most cases, you do not need planning permission to install a home EV charger in the UK, provided the installation meets certain conditions under permitted development rights. These conditions include:
- The charger must not exceed 0.2 cubic metres in volume
- It must not be installed within 2 metres of a highway
- It must not be on a listed building or within the curtilage of a listed building (listed building consent may be required)
- Only one charger is permitted per parking space
If you live in a conservation area or an Area of Outstanding Natural Beauty, it is advisable to check with your local planning authority before proceeding.
Government Grants and Incentives
The UK government has offered various grant schemes to support EV charger installation. The most notable current scheme is the EV Chargepoint Grant, administered by OZEV, which provides up to £350 towards the cost of purchasing and installing a smart home charger for eligible applicants. Eligibility criteria typically include:
- You must own or lease an eligible electric vehicle
- You must have dedicated off-street parking
- The charger must be installed by an OZEV-authorised installer
- The scheme is available to flat owners and renters (the previous EV Homecharge Scheme for homeowners in houses has ended)
Check the official GOV.UK grant guidance for the most current eligibility requirements and application process.
DIY vs. Professional Installation: Which Should You Choose?
One of the most common questions EV owners ask is whether they can install a home charger themselves to save money. Let us examine both options honestly.
The Case Against DIY Installation
While it may be tempting to save on labour costs by attempting a DIY installation, there are compelling reasons why professional installation is strongly recommended — and in most cases, legally required:
- Legal compliance: Under Part P of the Building Regulations, most EV charger installations constitute notifiable electrical work. Unless you are a qualified electrician registered with a competent person scheme, you cannot self-certify the work and would need to arrange (and pay for) building control inspection.
- Safety risks: An improperly installed EV charger can pose serious risks including electric shock, fire, and damage to your vehicle. The high continuous current drawn by EV chargers places significant demands on electrical circuits, making proper installation critical.
- Insurance implications: If an electrical fire occurs and the investigation reveals an uncertified installation, your home insurance may be invalidated.
- Grant eligibility: Government grants like the EV Chargepoint Grant require installation by an OZEV-authorised installer. A DIY installation means forfeiting up to £350 in grant funding.
- Warranty validity: Most charger manufacturers stipulate that their product warranty is only valid if the unit is installed by a qualified electrician in accordance with BS 7671.
The Benefits of Professional Installation
Hiring a qualified, OZEV-approved installer provides numerous advantages:
- Peace of mind: You know the work is safe, compliant, and certified
- Full warranty protection: Both the charger and the installation work are covered
- Grant access: Your installer handles the grant application process on your behalf
- DNO liaison: Professional installers manage all DNO notification requirements
- Expert advice: A qualified installer can recommend the best charger and configuration for your specific setup
- Aftercare support: Reputable installers offer ongoing support and maintenance
The UK Government's guidance on EV chargepoint installation explicitly recommends using authorised installers to ensure safety and compliance. The relatively modest labour cost is a worthwhile investment in safety and long-term reliability.
Complete Cost Breakdown: What You Will Actually Pay
Now let us get into the numbers. Understanding the full cost breakdown helps you budget accurately and identify potential areas for savings.
Equipment Costs
| Component | Typical Cost Range |
|---|---|
| Basic 7kW smart charger (untethered) | £300 – £500 |
| Premium 7kW smart charger (tethered) | £500 – £800 |
| Solar-compatible charger (e.g., Zappi) | £600 – £900 |
| Type 2 charging cable (for untethered units) | £80 – £150 |
| Charger mounting post (if no wall available) | £100 – £250 |
Labour and Installation Costs
| Service | Typical Cost Range |
|---|---|
| Standard installation (short cable run, simple setup) | £300 – £500 |
| Complex installation (long cable run, multiple walls) | £500 – £800 |
| Consumer unit upgrade | £250 – £500 |
| Main fuse upgrade (DNO) | £200 – £500+ |
| Load management device | £100 – £200 |
| Earth rod installation (if required) | £80 – £150 |
Total Cost Scenarios
Scenario 1 — Simple Installation: A standard 7kW tethered smart charger with a short cable run from a modern consumer unit with spare capacity. Total cost: £800 – £1,000 (before grants).
Scenario 2 — Moderate Installation: A premium smart charger with a longer cable route requiring some trunking and a minor consumer unit modification. Total cost: £1,000 – £1,300 (before grants).
Scenario 3 — Complex Installation: A solar-compatible charger with a long cable run, consumer unit upgrade, and load management device. Total cost: £1,300 – £1,800+ (before grants).
Applying the Grant
If you are eligible for the EV Chargepoint Grant, you can deduct up to £350 from the total cost. This brings a simple installation down to approximately £450 – £650, making home charging an incredibly cost-effective solution compared to relying on public charging networks.
Long-Term Savings
Once installed, the cost of charging at home is significantly lower than public charging. With an off-peak electricity tariff (such as those offered by Octopus Energy, OVO, or British Gas), you can charge your EV for as little as 5p to 10p per kWh. For a typical 60kWh battery, a full charge costs between £3.00 and £6.00 — compared to £15 to £25 on public rapid chargers. Over the course of a year, home charging can save you hundreds of pounds compared to public charging.
For more on maximising your savings, see our guide to off-peak EV charging tariffs.
Safety Tips and Best Practices
Safety should always be the top priority when installing and using an EV charger. Follow these essential guidelines to protect yourself, your property, and your vehicle.
Use Only Certified Installers
Always use an installer who is registered with a competent person scheme (NICEIC, NAPIT, or equivalent) and authorised under the OZEV scheme. Verify their credentials before commissioning any work. You can check an installer's registration status on the GOV.UK website or through the relevant scheme's online directory.
Ensure Proper RCD Protection
Your EV charger circuit must be protected by an appropriate residual current device. Depending on the charger model and whether it has built-in DC fault detection, you may need either a Type A RCD (for chargers with integrated 6mA DC detection) or a Type B RCD (for chargers without this feature). Type B RCDs are more expensive but provide comprehensive protection against both AC and DC fault currents.
Protect Your Cable Route
External cables should be properly protected using conduit or trunking to prevent damage from UV exposure, weather, and physical impact. Cables running across driveways or walkways should be buried or protected with cable ramps to prevent tripping hazards and mechanical damage.
Install a Dedicated Isolator Switch
A clearly accessible isolator switch should be installed near the charger to allow quick disconnection in an emergency. This is a regulatory requirement and a vital safety measure.
Regular Inspection and Maintenance
While EV chargers are generally low-maintenance devices, you should:
- Visually inspect the charger, cable, and connector regularly for signs of damage or wear
- Keep the charger and surrounding area clean and free from debris
- Have the installation inspected periodically by a qualified electrician (recommended every 3 to 5 years, or as part of your regular EICR inspection)
- Follow the manufacturer's maintenance recommendations
- Report any unusual sounds, smells, or behaviours immediately and stop using the charger until it has been inspected
Weather and Environmental Considerations
All outdoor EV chargers should have an appropriate IP (Ingress Protection) rating — typically IP65 or higher — to withstand rain, dust, and temperature fluctuations. Ensure your charger is rated for outdoor use and that all cable entries and connections are properly sealed.
For detailed information on charger durability and weather resistance, check our best outdoor EV chargers review.
Troubleshooting Common Installation Issues
Even with a professional installation, you may occasionally encounter issues with your EV charger. Here are common problems and how to address them.
Charger Will Not Start Charging
Possible causes: Tripped RCD or MCB, faulty cable connection, vehicle not properly plugged in, or a communication error between the charger and vehicle.
Solution: Check your consumer unit for tripped breakers and reset them. Ensure the charging cable is fully inserted into both the charger and the vehicle. Try restarting the charger using its app or power switch. If the problem persists, contact your installer.
Charging Speed Is Slower Than Expected
Possible causes: Load management device reducing power, vehicle limiting charge rate, cable rated for lower current, or supply voltage drop.
Solution: Check your charger app to see if load management is active. Verify that your vehicle's onboard charger supports the full 7kW rate. Ensure you are using a cable rated for 32A. If voltage drop is suspected, have your installer measure the supply voltage at the charger.
Wi-Fi Connectivity Issues
Possible causes: Weak Wi-Fi signal at the charger location, router configuration issues, or firmware problems.
Solution: Try relocating your router, using a Wi-Fi extender, or switching to a charger with built-in mobile connectivity. Ensure your charger's firmware is up to date. Most chargers will still function for basic charging even without a Wi-Fi connection — you simply lose access to smart features.
Charger Displaying Error Codes
Possible causes: Various faults indicated by manufacturer-specific error codes, including earth faults, over-temperature, over-voltage, or under-voltage conditions.
Solution: Consult your charger's user manual for error code meanings. Some errors (like over-temperature) may resolve on their own. For persistent errors, contact your installer or the manufacturer's support line. Do not attempt to open or repair the charger yourself.
RCD Keeps Tripping
Possible causes: Earth leakage from the vehicle, moisture ingress in the charger or cable, incorrect RCD type, or a fault in the installation wiring.
Solution: This requires professional attention. Contact your installer to investigate. They may need to test the earth leakage current, check for moisture, or upgrade the RCD type. Persistent RCD tripping should never be ignored as it indicates a genuine safety concern.
Frequently Asked Questions
How much does it cost to install a 7kW EV charger at home in the UK?
The total cost of installing a 7kW EV charger at home in the UK typically ranges from £800 to £1,500, including both the charger unit and professional installation. The exact cost depends on the charger model you choose, the complexity of the cable route, and whether any upgrades to your consumer unit or electrical supply are required. Eligible applicants can reduce this cost by up to £350 through the OZEV EV Chargepoint Grant.
Do I need planning permission to install an EV charger at my home?
In most cases, you do not need planning permission to install a home EV charger in the UK. Wall-mounted chargers fall under permitted development rights, provided they meet certain size and positioning criteria (no larger than 0.2 cubic metres, not within 2 metres of a highway, and not on a listed building). If you live in a listed building or a conservation area, it is best to check with your local planning authority before proceeding.
Can I install an EV charger myself to save money?
While it is technically possible for a qualified electrician to install their own EV charger, DIY installation by an unqualified person is strongly discouraged and may be illegal. EV charger installations are notifiable under Part P of the Building Regulations, require compliance with BS 7671, and must be performed by an OZEV-authorised installer to qualify for government grants. Attempting a DIY installation risks safety hazards, invalidated insurance, voided warranties, and potential legal consequences.
Will installing an EV charger increase my electricity bill significantly?
Your electricity bill will increase to cover the energy used for charging, but the cost is typically much lower than what you would spend on petrol or diesel for equivalent mileage. Charging a 60kWh battery on an off-peak tariff costing 7.5p per kWh works out to approximately £4.50 for a full charge — delivering around 200 miles of range. Most EV owners find that their overall fuel costs decrease substantially after switching to electric, even accounting for the increase in electricity usage. Pairing your charger with solar panels can reduce charging costs even further.
How long does a typical EV charger installation take?
A standard home EV charger installation typically takes between 3 and 6 hours, depending on the complexity of the job. A straightforward installation with a short cable run from the consumer unit to an external wall might be completed in as little as 2 to 3 hours. More complex installations involving long cable routes, consumer unit upgrades, or the installation of load management devices may take a full day or occasionally longer. Your installer should provide a time estimate following the initial site survey.
Installing a home EV charger is one of the most impactful upgrades you can make as an electric vehicle owner. With costs starting from around £800 and significant savings available through grants and off-peak tariffs, home charging offers convenience, reliability, and long-term value that public charging simply cannot match. By choosing a qualified installer, selecting the right charger for your needs, and following best safety practices, you will enjoy years of effortless, cost-effective charging right at your doorstep.
Ready to find the perfect charger for your home? Explore our comprehensive EV charger reviews and charging guides to make the best choice for your electric vehicle journey.