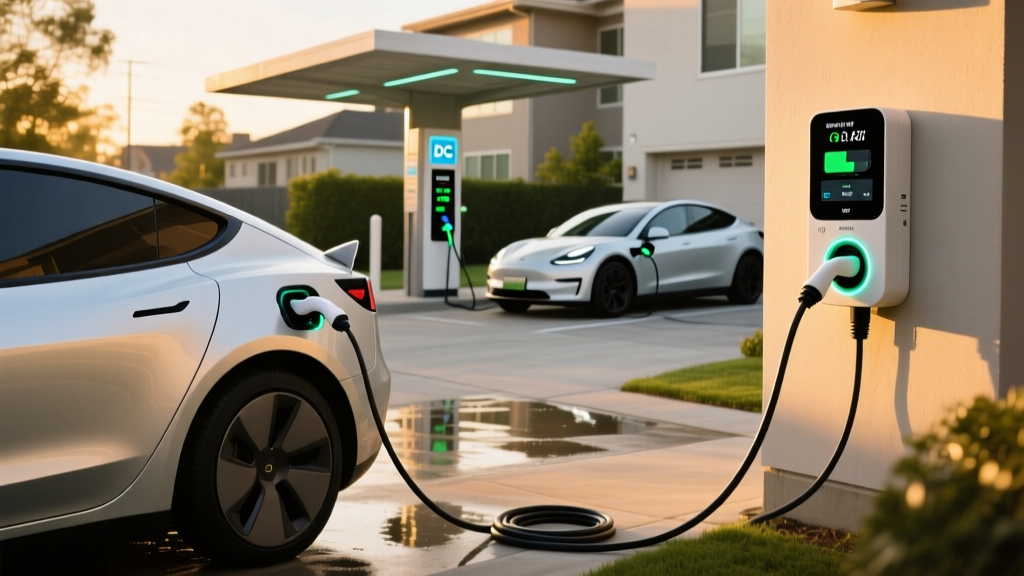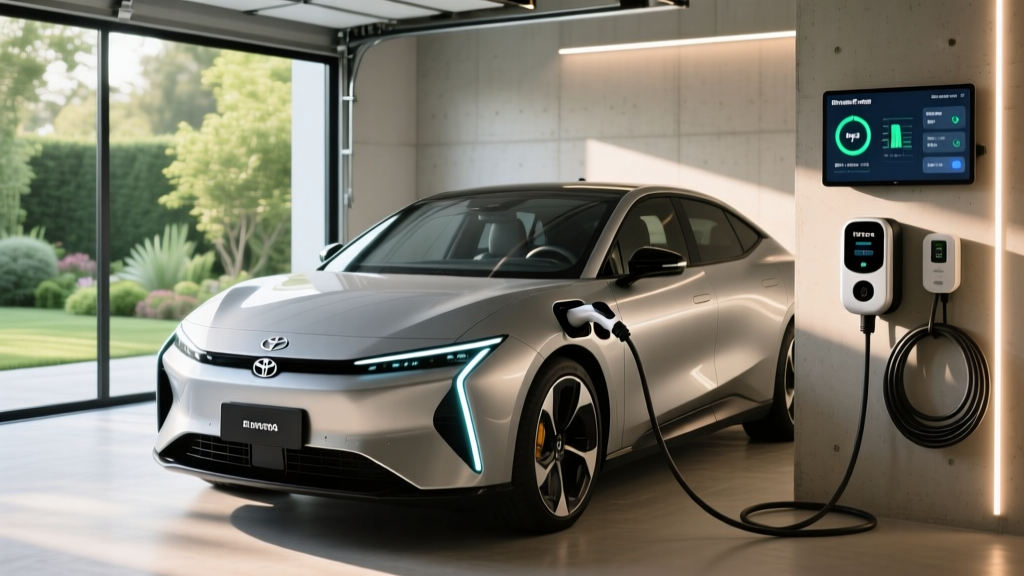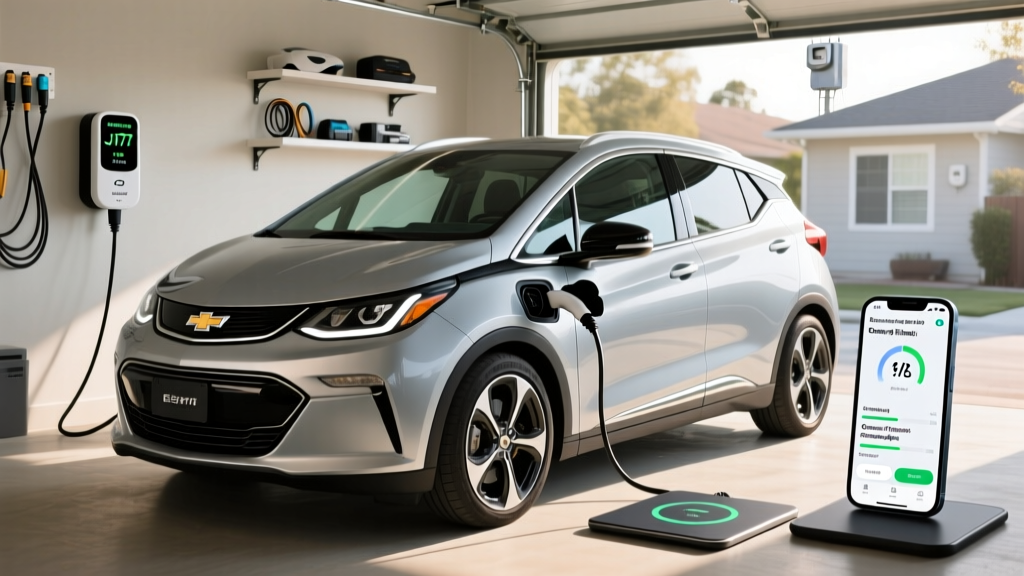
Transitioning to an electric vehicle (EV) is one of the most impactful decisions you can make for your daily commute and your carbon footprint. However, owning an EV brings a new set of considerations, chief among them being how to charge it efficiently at home. For New Zealand drivers, understanding the EV charger installation cost in NZ is a critical first step before purchasing a vehicle or a charging unit. While plugging into a standard wall socket might seem like a temporary solution, a dedicated home EV charger offers faster charging speeds, enhanced safety, and smart features that protect your home's electrical grid.
Difficulty Level: Advanced (Professional installation legally required in New Zealand)
Estimated Cost: $1,200 to $3,500+ NZD (including equipment and labor)
In this comprehensive guide, we will break down everything you need to know about setting up a home charging station. From navigating New Zealand's strict electrical safety regulations to understanding the variables that influence the final price, this guide will prepare you for a seamless installation. If you are still deciding on which hardware to buy, be sure to check out our roundup of the best home EV chargers available on the market today.
Understanding the Requirements for EV Charger Installation in NZ
Before an electrician even picks up a drill, your property must be assessed for its electrical capacity and structural suitability. New Zealand's electrical infrastructure is governed by the AS/NZS 3000 Wiring Rules, which dictate how high-load appliances must be integrated into residential grids. An EV charger is not like a standard household appliance; it draws a continuous, high-amperage load for hours at a time, which generates significant heat and requires specialized circuit protection.
Single-Phase vs. Three-Phase Power
Most residential homes in New Zealand are equipped with single-phase power (230V). A standard single-phase connection can typically support a 32-amp EV charger, delivering up to 7.4 kW of power. This is sufficient to add roughly 40 to 50 kilometers of range per hour of charging, which is more than enough for overnight charging. However, if you own a large property, a high-performance EV with a massive battery pack, or multiple electric vehicles, you might require a three-phase power connection (400V). Upgrading to three-phase allows for 22 kW chargers but involves significantly higher installation and utility connection costs.
Switchboard Capacity and Load Balancing
Your home's main switchboard must have enough spare capacity to handle the additional 7 kW to 22 kW load. If your home already has high-draw appliances like electric underfloor heating, a spa pool, or an electric oven, adding an EV charger could trip your main fuse. To solve this, modern installations often utilize Dynamic Load Balancing (DLB). DLB systems monitor your home's real-time energy usage and automatically throttle the EV charger's output to prevent the main fuse from blowing. The Energy Efficiency and Conservation Authority (EECA) highly recommends smart chargers with load management capabilities to ensure grid stability and optimize home energy use.
Step-by-Step EV Charger Installation Process
A professional EV charger installation is a meticulous process that ensures your equipment operates safely and efficiently for years to come. Here is what you can expect when a licensed electrician arrives at your property.
Step 1: Site Survey and Assessment
The electrician will evaluate the distance between your main switchboard and the proposed charger location (usually the garage or carport). They will check the condition of your existing wiring, the age of your switchboard, and the structural integrity of the wall where the unit will be mounted.
Step 2: Switchboard Upgrades
If your switchboard lacks the necessary space or safety features, the electrician will install a dedicated Residual Current Breaker with Overcurrent protection (RCBO). Under current AS/NZS 3000 standards, EV chargers require specific Type A or Type B Residual Current Devices (RCDs) to protect against direct current (DC) leakage, which standard household RCDs cannot detect.
Step 3: Cable Routing and Trenching
Heavy-duty, weather-rated cabling must be run from the switchboard to the charger. If your switchboard is inside the house and the charger is in a detached garage, the electrician will need to trench underground, lay protective conduit, and potentially cut through concrete driveways. This is often the most labor-intensive part of the process.
Step 4: Mounting and Termination
The charger unit is securely mounted to the wall using heavy-duty anchors. The cables are terminated, ensuring all connections are torqued to the manufacturer's exact specifications to prevent arcing and overheating.
Step 5: Commissioning and Network Setup
Once physically installed, the electrician will power up the unit, test the earth loop impedance, and verify the RCD trip times. For smart chargers, they will help you connect the unit to your home Wi-Fi network and pair it with the manufacturer's mobile app. For a deeper dive into how these systems communicate with your car, read our guide on EV charging basics.
Permits, Inspections, and Compliance
In New Zealand, electrical work is heavily regulated to protect homeowners from fire hazards and electrocution. You cannot simply install a hardwired EV charger and forget about the paperwork. Compliance is mandatory and non-negotiable.
Certificate of Compliance (CoC)
Upon completing the installation, your licensed electrician must issue an Electrical Certificate of Compliance (CoC). This legal document certifies that the new circuit and the EV charger installation meet all requirements of the AS/NZS 3000 Wiring Rules. You must keep this document safe, as it is required for home insurance claims and future property sales.
Electrical Safety Certificate (ESC)
In addition to the CoC, an Electrical Safety Certificate (ESC) may be issued, confirming that the newly installed equipment is safe to use and connected to the grid correctly. WorkSafe New Zealand strictly enforces these regulations, and failing to obtain a CoC can result in invalidated home insurance policies and severe fines.
Council Permits
Generally, installing an EV charger on an existing residential dwelling does not require a building consent from your local city or district council, provided it does not involve major structural alterations to the building. However, if you are installing a freestanding charging pillar or doing extensive earthworks that affect drainage or property boundaries, you may need to consult your local council's planning department.
DIY vs. Professional Installation
The internet is full of tutorials on DIY electrical projects, but when it comes to EV charger installation in New Zealand, the law is crystal clear: hardwired electrical work must be performed by a licensed electrician.
The Dangers and Legalities of DIY
Under the Electricity (Safety) Regulations, any work involving the fixing, altering, or extending of electrical wiring is classified as prescribed electrical work. Doing this yourself is not only illegal but incredibly dangerous. EV chargers draw continuous high currents that can easily melt improperly sized wires or cause thermal runaway in standard household sockets, leading to catastrophic electrical fires.
What About 'Plug and Play' Chargers?
Some manufacturers sell EV chargers with a standard 10A or 15A NZ plug attached. While it is technically legal to plug these into an existing, compliant outdoor socket, it is highly discouraged for regular use. Standard household sockets are not designed for continuous 8-hour high-load draws. Over time, the heat generated can degrade the socket's internal contacts, creating a severe fire hazard. For safe, reliable, and fast charging, a hardwired 32A dedicated circuit installed by a professional is the only recommended path. Protecting your EV battery health and your home's safety is worth the professional labor cost.
Comprehensive Cost Breakdown
The total EV charger installation cost in NZ varies wildly based on your property's layout, the age of your electrical infrastructure, and the brand of the charger you select. Below is a detailed breakdown of the potential expenses you might encounter.
1. The EV Charger Unit ($800 - $2,500+ NZD)
Basic, non-smart 7kW chargers start around $800. However, most homeowners opt for smart chargers with Wi-Fi connectivity, solar integration, and dynamic load balancing, which typically range from $1,200 to $2,500. Premium models with built-in cable management and sleek touchscreens can exceed $3,000.
2. Standard Installation Labor ($600 - $1,200 NZD)
If your switchboard is modern, has spare capacity, and is located on the same wall or directly behind the garage where the charger will be mounted, labor costs will be on the lower end. This covers the electrician's time to run the cable, install the RCBO, mount the unit, and issue the CoC.
3. Switchboard Upgrades ($800 - $2,500+ NZD)
If your home has an old fuse box or a switchboard that lacks space for a new RCBO, a partial or full switchboard upgrade will be necessary. Upgrading to a modern board with surge protection and individual RCBOs for all circuits is a significant investment but vastly improves overall home safety.
4. Trenching and Civil Works ($150 - $300+ per meter)
If your garage is detached or the cable must be run underground through landscaping or concrete, civil works will dramatically increase the cost. Trenching, laying heavy-duty conduit, backfilling, and repairing concrete or asphalt can easily add $1,000 to $3,000 to the final invoice.
5. Three-Phase Upgrade ($3,000 - $8,000+ NZD)
If you require a 22kW charger and your home only has single-phase power, you must apply to your local lines company for a three-phase connection. This involves new cabling from the street, a new meter, and extensive switchboard work, representing the highest possible installation cost.
Essential Safety Tips for Home EV Charging
Safety should be the paramount concern when dealing with high-voltage equipment. Beyond ensuring your installation is performed by a licensed professional, there are several safety features and habits you should adopt.
- Invest in Type B RCDs: While Type A RCDs are common, EV onboard chargers can sometimes produce smooth DC fault currents that blind Type A devices. A Type B RCD or an EV charger with built-in 6mA DC leakage detection is the gold standard for safety.
- Check IP Ratings for Outdoor Installations: If your charger is mounted outside or in an exposed carport, ensure it has an IP65 or IP66 rating. This guarantees the unit is sealed against New Zealand's heavy rain, dust, and humidity.
- Cable Management: Never leave charging cables trailing across driveways or walkways. Not only is this a tripping hazard, but driving over a cable can damage the internal copper wiring, leading to short circuits. Use holsters or cable organizers.
- Regular Visual Inspections: Periodically check the charger's plug and the vehicle's inlet for signs of scorching, melting, or debris. Moisture and dirt in the charging port can cause arcing when the high current flows.
Troubleshooting Common Installation & Charging Issues
Even with a flawless installation, you may occasionally encounter issues when charging your vehicle. Here is how to troubleshoot the most common problems.
The Charger Keeps Tripping the Breaker
If the dedicated RCBO trips shortly after plugging in, there may be an earth leakage fault in the vehicle's onboard charger, or the charger's internal safety relay is detecting a grounding issue. Try resetting the breaker and lowering the charging amperage via the car's infotainment screen. If it continues to trip, contact your electrician to test the earth loop impedance.
Slow Charging Speeds
If your 7kW charger is only delivering 2kW, the issue is likely thermal throttling. The charger may be overheating due to direct sunlight or poor ventilation, causing it to reduce power to protect its internal components. Alternatively, check your vehicle's settings to ensure you haven't accidentally set a low-amp charging limit.
Wi-Fi and App Connectivity Failures
Smart chargers rely on Wi-Fi for firmware updates and solar-divert features. Garages are often Wi-Fi dead zones. If your charger refuses to connect to the app, consider installing a Wi-Fi extender in the garage or running an ethernet cable to the charger if it supports hardwired networking.
Frequently Asked Questions (FAQ)
Do I need a council permit for an EV charger in NZ?
In most cases, no. Installing a wall-mounted EV charger on an existing residential property does not require a building consent from your local council, as it is considered minor electrical work. However, you absolutely must receive an Electrical Certificate of Compliance (CoC) from your licensed electrician to prove the work meets AS/NZS 3000 standards. If you are installing a large, freestanding pedestal in a public-facing area or doing major earthworks, council approval may be required.
Can I use a standard 10A NZ power outlet to charge my EV?
Technically, yes, you can use a portable 'granny charger' plugged into a standard 10A outlet, but it is only recommended for occasional or emergency use. A standard 10A outlet delivers roughly 2.3 kW, meaning it could take over 24 hours to fully charge a modern EV battery. Furthermore, continuous high-load drawing from standard household sockets can cause overheating and melting, posing a severe fire risk. A dedicated 32A hardwired circuit is the only safe method for daily home charging.
Will installing an EV charger increase my home insurance premiums?
Generally, installing a compliant, professionally installed EV charger will not drastically increase your home insurance premiums. However, you must notify your insurance provider about the installation. If you fail to declare the charger and a fire occurs that is traced back to the unit, your claim could be denied. Always provide your insurer with a copy of the Electrician's Certificate of Compliance (CoC) to ensure your coverage remains fully valid.
How long does a typical home EV charger installation take?
A straightforward installation, where the switchboard is close to the garage and no trenching is required, typically takes between 3 to 5 hours. If the job requires underground trenching, concrete cutting, or a full switchboard replacement, the installation can take anywhere from one to three full days to complete, depending on the complexity of the civil works and the availability of materials.
Are there any government grants for EV charger installation in NZ?
Currently, the New Zealand government does not offer direct subsidies or grants specifically for private residential EV charger installations. The Clean Car Discount scheme previously helped offset the cost of the EV itself, but home infrastructure remains the responsibility of the homeowner. However, some local lines companies or energy retailers occasionally offer off-peak charging plans or bundled deals that include discounted smart chargers to encourage load-shifting and grid stability. It is always worth checking with your local electricity provider for any promotional offers.