EV Charger Home Installation Tax Credit: Your Complete Guide to Savings & Setup
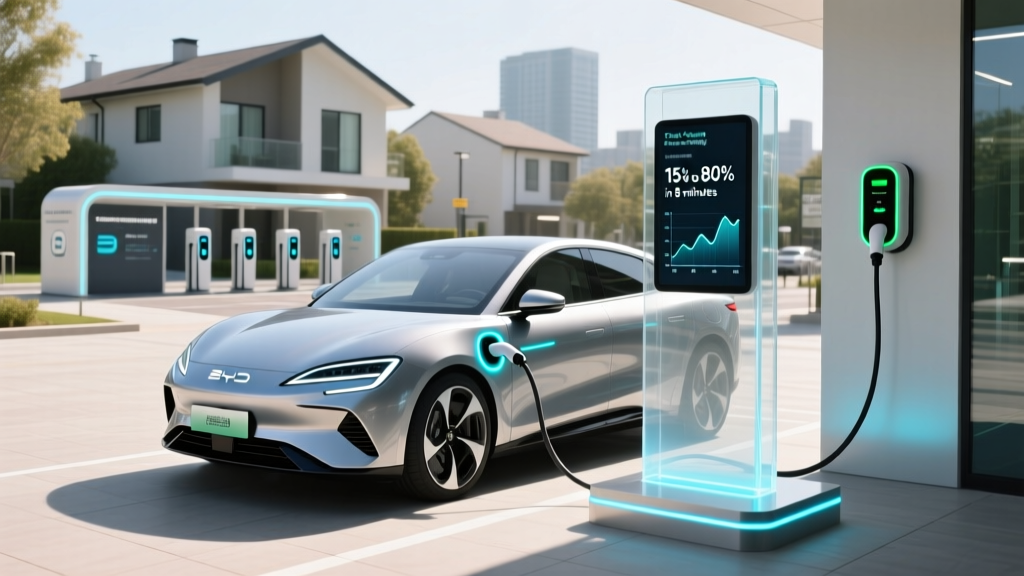
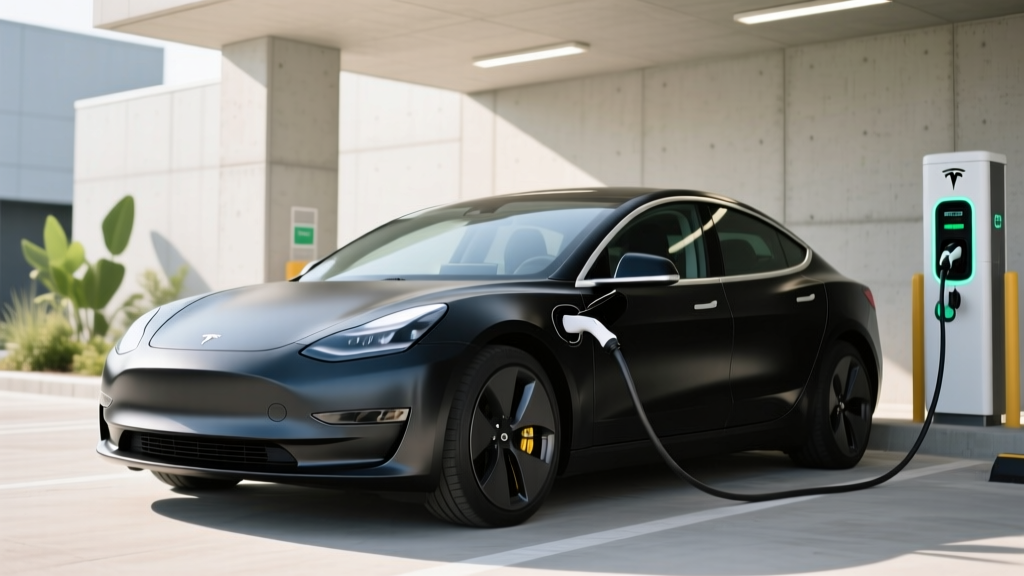
Installing a home EV charger is one of the smartest investments any electric vehicle owner can make. Not only does it provide the convenience of waking up to a fully charged car every morning, but federal and state incentives can significantly reduce your out-of-pocket costs. The EV charger home installation tax credit — officially known as the Alternative Fuel Vehicle Refueling Property Credit — can cover a meaningful percentage of both equipment and installation expenses, making the switch to home charging more affordable than ever.
In this comprehensive guide, we will walk you through everything you need to know about qualifying for the tax credit, understanding installation requirements, navigating permits and inspections, and ultimately getting your Level 2 home charger up and running safely and efficiently.
At a Glance
- Difficulty Level: Moderate to Advanced (electrical work required)
- Estimated Total Cost: $500 – $2,500 (before tax credits)
- Estimated Time: 2 – 6 hours for professional installation
- Tax Credit Savings: Up to $1,000 through federal incentives
Understanding the EV Charger Home Installation Tax Credit
The federal government offers a powerful incentive for homeowners who install qualified electric vehicle charging equipment at their primary residence. The Alternative Fuel Vehicle Refueling Property Credit, established under Internal Revenue Code Section 30C, allows taxpayers to claim a credit on their federal income tax return for the cost of purchasing and installing EV charging equipment at home.
What Qualifies for the Credit?
To be eligible for the EV charger home installation tax credit, several conditions must be met:
- Qualified Equipment: The charging station must be designed to recharge an electric vehicle and must meet applicable safety and performance standards. This includes Level 2 (240-volt) chargers and certain Level 1 equipment, though Level 2 chargers are the most common and practical choice for residential installations.
- Primary Residence: The charger must be installed at your main home — not at a vacation property or rental unit (though some exceptions exist for investment properties under different incentive structures).
- New Equipment: The charging equipment must be new and placed into service during the applicable tax period. Used or previously installed equipment does not qualify.
- Eligible Costs: Both the cost of the charging hardware and the labor costs associated with installation, including electrical upgrades, wiring, and permit fees, can count toward the credit calculation.
According to the U.S. Department of Energy, this tax credit has been instrumental in expanding residential charging infrastructure across the country. Homeowners should consult IRS Publication 946 and Form 8911 to determine their specific eligibility and credit amount.
How the Credit Is Calculated
The credit typically covers a percentage of the total qualified expenditure — which includes both the charger unit itself and the installation labor. There is a maximum cap on the credit amount, which has historically been set at $1,000 for residential installations. The exact percentage and cap can change based on legislative updates, so it is always wise to verify current rates with a tax professional or by reviewing the latest IRS guidance.
For example, if you purchase a Level 2 charger for $600 and pay $800 for professional installation, your total qualified expenditure is $1,400. Depending on the current credit percentage, you could receive a meaningful reduction in your federal tax liability.
State and Local Incentives
Beyond the federal tax credit, many states, municipalities, and utility companies offer additional rebates and incentives for home EV charger installations. These can include:
- Direct cash rebates from your local electric utility
- State income tax credits that stack on top of federal credits
- Reduced electricity rates for EV charging during off-peak hours
- Free or discounted charger equipment through utility programs
Combining federal, state, and utility incentives can sometimes reduce your total installation cost by 50% or more. Check with your local utility provider and state energy office to discover all available programs in your area.
Requirements for Home EV Charger Installation
Before you purchase a charger or schedule an electrician, it is essential to understand the technical and logistical requirements for a safe, code-compliant installation. Proper planning saves money, prevents delays, and ensures your system operates reliably for years.
Electrical Panel Capacity
Your home's electrical panel is the starting point for any EV charger installation. Most Level 2 chargers require a dedicated 240-volt circuit, typically rated between 20 and 60 amps depending on the charger's power output. Before installation, you or your electrician must evaluate whether your existing panel has sufficient capacity to support the additional load.
A standard home electrical panel provides 100 to 200 amps of total service. An electrician will perform a load calculation to determine how much unused capacity remains. If your panel is already near its limit — common in older homes with added appliances, HVAC systems, or workshop equipment — you may need a panel upgrade, which can add $1,000 to $3,000 to your project cost. The good news is that panel upgrade costs may also qualify toward your tax credit as part of the installation expenditure.
Circuit and Wiring Requirements
The National Electrical Code (NEC), published by the National Fire Protection Association, sets the standards for EV charger wiring installations. Key requirements include:
- Dedicated Circuit: Your EV charger must be on its own dedicated circuit — it cannot share a circuit with other appliances or outlets.
- Wire Gauge: The wire gauge must match the amperage of the circuit. For a 40-amp circuit (common for 32-amp chargers), 8 AWG copper wire is typically required. For 50-amp circuits, 6 AWG wire is standard.
- NEC Article 625: This specific article of the NEC covers Electric Vehicle Charging System Equipment and outlines requirements for disconnects, ventilation, and cord management.
- GFCI Protection: Ground Fault Circuit Interrupter protection is required for certain installations, particularly for outdoor chargers or those installed in garages where moisture may be present.
Charger Placement and Location
Choosing the right location for your charger affects both convenience and installation cost. Consider these factors:
- Proximity to the electrical panel: The closer your charger is to the panel, the shorter the wire run and the lower the installation cost.
- Parking habits: Install the charger where you naturally park your EV — typically a garage or carport.
- Cord length: Most chargers come with 18 to 25-foot cords. Ensure the cord can comfortably reach your vehicle's charge port without stretching across walkways.
- Weather protection: If installing outdoors, choose a NEMA 4-rated charger designed to withstand rain, snow, and dust. Indoor installations have more flexibility in equipment selection.
If you are still deciding which charger to purchase, explore our best Level 2 EV chargers roundup for detailed reviews and comparisons of top models on the market.
Step-by-Step Home EV Charger Installation Guide
Whether you are hiring a professional or considering a DIY approach (more on that below), understanding the installation process helps you plan effectively and communicate clearly with your contractor.
Step 1: Assess Your Electrical System
Begin by locating your main electrical panel and identifying the available amperage. Check the main breaker rating (usually 100, 150, or 200 amps) and review which circuits are already in use. A professional electrician will perform a detailed NEC-compliant load calculation, but you can do a rough assessment yourself by adding up the amperage of all existing breakers and comparing it to your panel's total capacity.
Step 2: Choose Your Charger and Circuit Size
Select a charger that matches your vehicle's onboard charger capacity and your electrical system's available headroom. Most EVs can accept between 32 and 48 amps of charging current, which requires a 40-amp or 60-amp circuit respectively (NEC requires circuits to be rated at 125% of the continuous load).
Popular choices include hardwired wall connectors and plug-in units that use a NEMA 14-50 outlet. Hardwired installations are generally preferred for their reliability and safety, while plug-in options offer portability. Browse our EV charger reviews to compare features, charging speeds, and smart capabilities across leading brands.
Step 3: Obtain Permits
Most jurisdictions require an electrical permit for EV charger installations. Your electrician will typically handle this step, but if you are managing the project yourself, contact your local building department to understand the specific permit requirements in your area. Permit fees generally range from $50 to $200 depending on your municipality.
Step 4: Run the Circuit
The electrician will run a dedicated 240-volt circuit from your electrical panel to the charger location. This involves:
- Installing a new double-pole breaker in your panel
- Running appropriately gauged wire through conduit or inside walls
- Mounting a junction box or directly wiring the charger to the circuit
- Ensuring all connections are properly torqued and secured
For plug-in installations, a NEMA 14-50 receptacle is installed instead of hardwiring the unit directly.
Step 5: Mount and Connect the Charger
The charging unit is mounted to the wall using the manufacturer's bracket system. Most chargers require secure attachment to a wall stud or use of appropriate anchors for masonry walls. The charger is then connected to the circuit, and all wiring is verified for correct polarity and secure connections.
Step 6: Test and Configure
Once the physical installation is complete, the system must be tested:
- Verify correct voltage at the charger terminals (should read approximately 240V)
- Test the ground fault protection
- Connect the charger to your home Wi-Fi network (for smart chargers)
- Configure charging schedules, power limits, and notification preferences through the manufacturer's app
- Perform a test charge with your EV to confirm proper operation
For tips on maximizing your charging efficiency and understanding smart charger features, check out our smart EV charging guide.
Permits, Inspections, and Code Compliance
Skipping permits and inspections might seem like a way to save time and money, but it can create serious problems down the road — from insurance claim denials to safety hazards to difficulties when selling your home. Understanding the permit and inspection process ensures your installation is legal, safe, and eligible for every available tax credit and incentive.
Why Permits Matter for Tax Credit Eligibility
Many incentive programs, including utility rebates and certain state-level credits, require proof of a permitted and inspected installation. Even if the federal tax credit does not explicitly mandate a permit, having one protects your investment and provides documentation that the work was performed to code. If you ever need to make a homeowner's insurance claim related to your charger or electrical system, the insurance company will almost certainly ask whether the installation was permitted.
The Inspection Process
After installation, your local building department will schedule an inspection. The inspector will verify:
- Correct wire gauge and type for the circuit amperage
- Proper breaker sizing and installation
- NEC-compliant disconnecting means
- Adequate working clearance around the electrical panel
- Correct grounding and bonding
- Proper mounting and support of conduit and equipment
- GFCI protection where required
If the inspector identifies any issues, your electrician will need to correct them before the installation receives final approval. Most professional installations pass inspection on the first visit, which is one of the key advantages of hiring a licensed contractor.
Working with Your Utility Company
Some utility companies require notification before you install a Level 2 charger, particularly if the installation involves a service upgrade or if you want to enroll in a time-of-use rate plan optimized for EV charging. Contact your utility early in the planning process to understand their requirements and to explore any available rebates or special EV electricity rates.
DIY vs. Professional Installation: Which Is Right for You?
One of the most common questions EV owners face is whether to install the charger themselves or hire a licensed electrician. Both approaches have trade-offs, and the right choice depends on your skills, comfort level, and local regulations.
When to Hire a Professional
Professional installation is strongly recommended in the following situations:
- Your panel needs an upgrade: Any work involving your main service panel is dangerous and should only be performed by a licensed electrician.
- Long wire runs: Running wire through walls, attics, or underground conduit requires specialized tools and knowledge.
- Local code requires it: Some jurisdictions mandate that all electrical work be performed by a licensed professional.
- You want warranty protection: Many charger manufacturers require professional installation to maintain the equipment warranty.
- You need permit documentation: Licensed electricians handle permits and inspections as part of their service, streamlining the process.
A certified electrician brings expertise in NEC compliance, proper load calculations, and safe wiring practices. The average cost for professional installation ranges from $500 to $1,500 for labor, depending on the complexity of the job and your local market. For help finding qualified installers, our EV charger installer guide provides tips on vetting contractors and getting competitive quotes.
When DIY Might Be Appropriate
Some experienced homeowners with electrical knowledge may choose to install a plug-in charger themselves, particularly if:
- A NEMA 14-50 outlet already exists in the desired location (common in homes with electric ranges or dryers)
- The installation involves only mounting a charger and plugging it into an existing, properly rated outlet
- You have experience working with electrical systems and understand NEC requirements
Even for DIY-capable individuals, we strongly recommend having the completed work inspected by a licensed electrician or your local building department to ensure safety and code compliance.
Cost Comparison: DIY vs. Professional
| Factor | DIY Installation | Professional Installation |
|---|---|---|
| Labor Cost | $0 | $500 – $1,500 |
| Permit Handling | Self-managed | Included in service |
| Warranty Impact | May void warranty | Warranty preserved |
| Safety Assurance | Depends on skill level | High (licensed & insured) |
| Time Required | 4 – 10 hours | 2 – 4 hours |
| Inspection Pass Rate | Variable | Very high |
Complete Cost Breakdown: What to Expect
Understanding the full cost picture — before and after tax credits — helps you budget accurately and evaluate the return on your investment. Here is a detailed breakdown of typical expenses associated with a home EV charger installation.
Equipment Costs
- Level 2 Charger (32A – 48A): $350 – $750
- Smart Charger with Wi-Fi & App: $450 – $800
- NEMA 14-50 Outlet (if needed): $10 – $30 (parts only)
- Mounting hardware & accessories: $20 – $60
- Cable management system: $25 – $75
Installation Costs
- Standard installation (short wire run, panel nearby): $400 – $800
- Complex installation (long wire run, conduit, wall penetration): $800 – $1,500
- Electrical panel upgrade (if needed): $1,000 – $3,000
- Permit fees: $50 – $200
- Inspection fees (if separate from permit): $50 – $100
Net Cost After Tax Credit
Here is a realistic scenario for a typical installation:
Example Installation Cost Scenario
- Level 2 Smart Charger (40A): $550
- Professional Installation (standard): $650
- Permit Fee: $100
- Total Before Credits: $1,300
- Federal Tax Credit (estimated 30%, up to $1,000): -$390
- Utility Rebate (example): -$250
- Estimated Net Cost: $660
As this example illustrates, stacking federal tax credits with utility rebates can cut your effective cost in half or more. The exact savings depend on your specific equipment, installation complexity, and available incentives in your area.
Safety Tips for Home EV Charger Installations
Safety should always be the top priority when working with high-voltage electrical systems. A 240-volt circuit carries enough current to be lethal, and improper installations can create fire hazards that may not become apparent until months or years after the work is completed.
Essential Safety Practices
- Always turn off the main breaker before working inside your electrical panel. Use a voltage tester to confirm that power is off before touching any wires or bus bars.
- Use a torque screwdriver when tightening terminal connections. Under-torqued connections can create resistance, heat buildup, and eventually arc faults or fires. Most charger manufacturers specify exact torque values in their installation documentation.
- Never exceed your panel's rated capacity. If the load calculation shows insufficient headroom, upgrade the panel rather than risking an overloaded system.
- Install proper conduit and protection for all exposed wiring. Wires running along garage walls or exterior surfaces must be protected from physical damage.
- Ensure adequate ventilation around both the charger and the electrical panel. Enclosed spaces can trap heat generated during charging sessions.
- Use ground fault protection as required by NEC Article 625, especially for outdoor installations or garages with concrete floors that may conduct moisture.
- Label the new circuit clearly in your electrical panel directory so future electricians and homeowners understand its purpose.
Ongoing Maintenance and Inspection
Once your charger is installed, perform periodic visual inspections to check for:
- Discoloration or melting around the plug or connector
- Frayed or damaged charging cables
- Loose mounting hardware or brackets
- Corrosion on outdoor connectors or conduit fittings
- Unusual sounds, smells, or heat during charging sessions
For more on keeping your home charging setup in peak condition, read our EV charger maintenance guide.
Troubleshooting Common Installation Issues
Even professionally installed chargers can occasionally experience issues. Here are the most common problems and how to address them.
Charger Will Not Power On
If your newly installed charger shows no signs of life, check the following:
- Verify that the dedicated breaker in the panel is in the ON position
- Check for a tripped GFCI breaker or outlet and reset it
- Confirm that the charger is receiving 240V at the terminals using a multimeter
- Inspect wiring connections for loose or disconnected wires
- Consult the manufacturer's troubleshooting guide for LED error code patterns
Charging Speed Is Slower Than Expected
If your EV is charging at a lower rate than the charger's rated capacity:
- Check the charger's app settings — many smart chargers allow you to set a maximum amperage that may be lower than the hardware's capability
- Verify that your EV's onboard charger is not the bottleneck (some vehicles limit charge acceptance regardless of the charger's output)
- Inspect the circuit for voltage drop, which can occur with long wire runs using undersized wire
- Ensure the charger's firmware is up to date through the manufacturer's app
Breaker Trips Repeatedly
A breaker that trips frequently indicates a serious issue that must be addressed immediately:
- The circuit may be undersized for the charger's amperage — remember, NEC requires the circuit to be rated at 125% of the continuous load
- A ground fault may be present in the wiring or the charger itself
- The breaker may be defective and require replacement
- Other loads may be improperly sharing the dedicated circuit
If you cannot identify the cause of repeated breaker trips, stop using the charger and contact a licensed electrician immediately. Do not attempt to "fix" the problem by installing a larger breaker — this can create a fire hazard if the wiring is not rated for the higher amperage.
Wi-Fi Connectivity Issues with Smart Chargers
Smart chargers that rely on Wi-Fi for scheduling and monitoring may experience connectivity problems:
- Ensure the charger is within range of your Wi-Fi router — garages and exterior walls can significantly reduce signal strength
- Consider installing a Wi-Fi range extender or mesh node near the charger
- Some chargers support Ethernet connections for more reliable connectivity
- Verify that your router's firewall is not blocking the charger's communication with the manufacturer's servers
Frequently Asked Questions
Can I claim the EV charger tax credit if I rent my home?
The federal Alternative Fuel Vehicle Refueling Property Credit is generally available only to homeowners who install qualifying equipment at their primary residence. Renters typically cannot claim this credit because they do not own the property where the charger is installed. However, some landlords may be eligible for a commercial version of the credit, and renters can still benefit from portable Level 1 chargers or public charging infrastructure. Some states and utilities offer separate incentives that may be available to renters — check with your local programs for specifics.
Does a portable Level 2 charger qualify for the installation tax credit?
The tax credit covers qualified EV charging equipment and its installation. A portable Level 2 charger that simply plugs into an existing NEMA 14-50 outlet may qualify for the equipment portion of the credit, but if no installation labor or electrical modifications are required, the installation portion may be minimal or zero. If you need to install a new NEMA 14-50 outlet to use the portable charger, that electrical work and its associated costs would typically qualify as installation expenses. Consult with a tax professional to determine exactly which costs are eligible in your specific situation.
Can I install an EV charger myself and still claim the tax credit?
The tax credit does not explicitly require professional installation — it covers qualified expenditures for equipment and installation. However, self-installed labor (your own time and effort) cannot be claimed as a cost. You can still claim the cost of materials, wire, conduit, breakers, and permit fees. Additionally, if your installation is not performed to code or fails inspection, you may face complications. Professional installation provides documentation, warranty protection, and peace of mind that the work meets all applicable safety standards. The IRS Form 8911 instructions provide additional guidance on qualifying expenditures.
What happens if my tax liability is less than the credit amount?
The Alternative Fuel Vehicle Refueling Property Credit is a non-refundable tax credit, which means it can reduce your federal tax liability to zero but cannot result in a refund beyond what you owe. If your tax liability is less than the full credit amount, you may not be able to use the entire credit in a single tax period. Unfortunately, this particular credit does not carry forward to future tax periods in most cases. This makes it important to time your installation strategically — ideally in a period when you expect sufficient tax liability to absorb the full credit. A tax professional can help you plan accordingly.
Are there income limits or phase-outs for the EV charger tax credit?
Unlike some other clean energy incentives, the EV charger installation tax credit has historically not included income-based phase-outs. Eligibility is based on the type of equipment, installation location, and placement-in-service dates rather than the taxpayer's income level. However, incentive structures can evolve with new legislation, so it is always advisable to review the most current IRS guidance or consult a qualified tax advisor before making purchasing decisions based on anticipated credits.
Final Thoughts: Maximizing Your Savings on Home EV Charging
The EV charger home installation tax credit represents a significant opportunity to reduce the cost of transitioning to convenient, at-home electric vehicle charging. By combining the federal credit with state incentives and utility rebates, many EV owners find that their net installation cost is far lower than they initially expected.
The key to a successful project is thorough planning: assess your electrical system, choose the right charger for your vehicle and lifestyle, hire a qualified professional, obtain all required permits, and keep detailed records of every expense for your tax filing. With a properly installed Level 2 charger at home, you will enjoy faster charging, greater convenience, and the satisfaction of knowing you took full advantage of every available incentive.
Ready to find the perfect charger for your home? Start with our top-rated Level 2 EV charger recommendations and explore our complete library of EV charging guides for everything from setup tips to long-term maintenance advice.