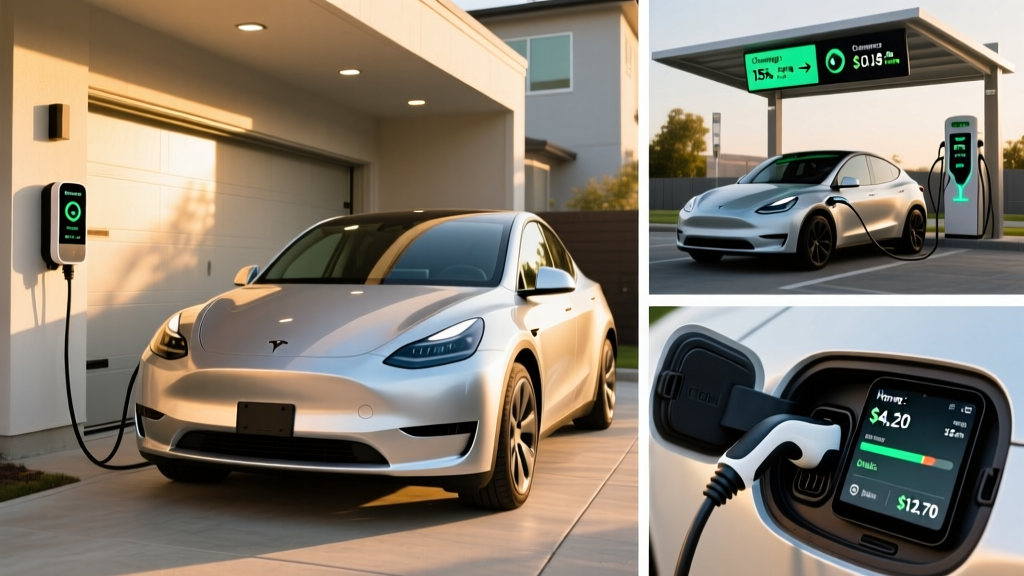
Transitioning to an electric vehicle (EV) is an exciting step toward sustainable driving, but it also introduces a new consideration: how to keep your vehicle charged efficiently at home. While Level 1 charging using a standard household outlet is technically possible, it is often too slow for modern EV batteries. This is why most EV owners opt for a Level 2 home charging station. However, setting up a Level 2 charger is not as simple as plugging in a new appliance. It requires careful planning, electrical upgrades, and adherence to strict safety codes.
In this comprehensive guide, we will break down everything you need to know about EV charger home installation requirements. Whether you are curious about electrical panel capacity, local permitting, or the overall cost breakdown, this guide will prepare you for a seamless setup.
Difficulty Level: Moderate to Advanced (Professional electrician highly recommended)
Estimated Cost: $500 to $3,000+ (depending on panel upgrades and wiring distance)
Time Required: 2 to 8 hours for professional installation
Essential Electrical Requirements for Home EV Chargers
Before purchasing any equipment from our list of the best Level 2 EV chargers, you must evaluate your home’s electrical infrastructure. Level 2 chargers operate on a 240-volt circuit, similar to what your electric oven or clothes dryer uses. The specific requirements will depend on the amperage of the charger you select and the current capacity of your home’s electrical panel.
Understanding the 80% Continuous Load Rule
According to the National Electrical Code (NEC), EV charging is classified as a “continuous load” because it can operate at maximum current for three hours or more. The NEC mandates that continuous loads must not exceed 80% of a circuit breaker’s rated capacity. Therefore, if you purchase a 40-amp EV charger, it must be installed on a 50-amp breaker. Similarly, a 48-amp charger requires a 60-amp breaker. Failing to adhere to this rule can result in overheated wires, melted receptacles, and severe fire hazards.
Hardwired vs. Receptacle (Plug-In) Installations
You generally have two choices for connecting your charger to your electrical system:
- Receptacle (NEMA 14-50 or 6-50): This involves installing a heavy-duty outlet. It offers flexibility, as you can unplug the charger and take it with you if you move. However, receptacles are prone to wear and tear, and some local codes now require GFCI (Ground Fault Circuit Interrupter) breakers for receptacles, which can cause nuisance tripping with certain EV chargers.
- Hardwired: The charger’s internal wiring is connected directly to your home’s electrical junction box. Hardwired installations are generally safer, support higher amperages (up to 80 amps), and eliminate the need for GFCI breakers since the EVSE (Electric Vehicle Supply Equipment) typically has built-in ground fault protection.
Wire Gauge and Conduit
The distance between your electrical panel and the charger dictates the wire gauge required. For a standard 50-amp circuit, 6 AWG copper wire is typically sufficient. However, if the run exceeds 100 feet, you may need to step up to 4 AWG copper wire to prevent voltage drop. Wires must be protected by PVC or EMT metal conduit, especially in garages where they might be exposed to physical damage.
Step-by-Step Home EV Charger Installation Process
If you are wondering how to install an EV charger at home, it is vital to understand the workflow. While we strongly advise hiring a licensed professional, knowing the steps helps you manage the project and understand the labor involved. For a deeper dive into charging speeds and connector types, check out our guide on understanding EV charging levels.
- Electrical Load Calculation: An electrician will calculate your home’s existing electrical load to ensure your main service panel can handle the additional 40 to 60 amps. If your home has a 100-amp service, an upgrade to 200 amps or a sub-panel installation may be necessary.
- Route Planning: The shortest, most unobtrusive path from the electrical panel to the charging location (usually the garage or driveway) is mapped out. This minimizes the cost of copper wire and conduit.
- Running Conduit and Wire: The electrician mounts the conduit to the walls or ceiling and pulls the appropriate gauge THHN copper wires through it.
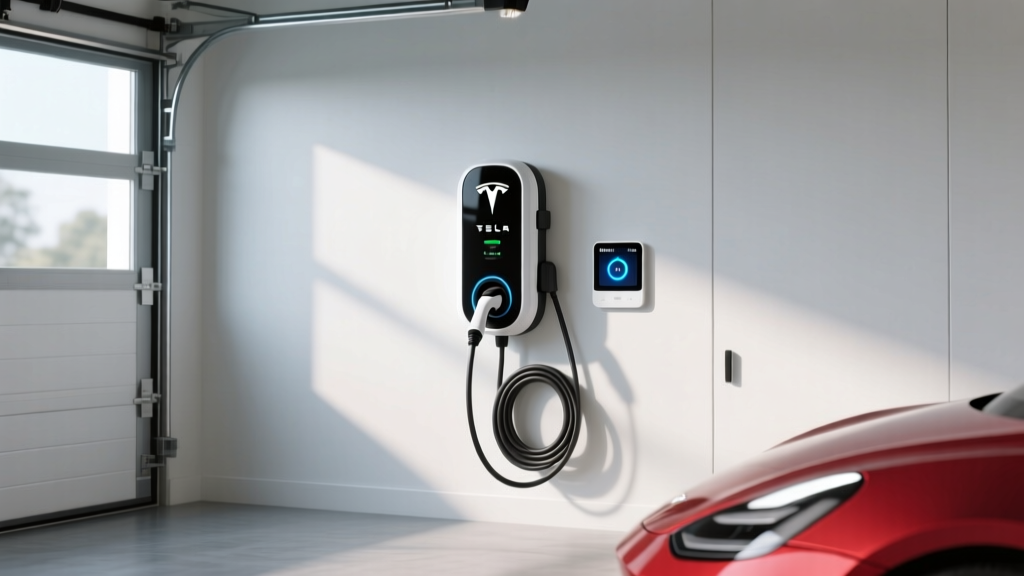
- Mounting the EVSE: The charging unit is secured to the wall studs using heavy-duty lag bolts. Proper height placement is chosen to accommodate your vehicle’s charge port and prevent the cable from resting on the ground.
- Termination and Torque: Wires are terminated at the breaker panel and the EVSE. Professional electricians use a calibrated torque screwdriver to ensure connections are tight enough to prevent arcing but not so tight that they strip the screws.
- Testing and Commissioning: The system is powered on, tested for proper grounding and voltage, and connected to your home Wi-Fi network for smart charging features.
Permits, Inspections, and Local Codes
Skipping the permitting process is a common but dangerous mistake. Installing a high-amperage, continuous-load electrical device without a permit violates local building codes and can void your home insurance policy in the event of an electrical fire.
Why Permits Matter
Local Authorities Having Jurisdiction (AHJ) require permits to ensure that the installation meets the latest safety standards. When a permit is pulled, it triggers a mandatory inspection by a city or county electrical inspector. The inspector will verify that the wire gauge, breaker size, conduit fill capacity, and torque markings all comply with the NEC and local amendments.
Utility Company Notifications
Beyond local government permits, you should notify your local utility provider. Many utility companies offer specialized Time-of-Use (TOU) rate plans that provide significantly cheaper electricity rates for EV charging during off-peak hours. Furthermore, some utilities require notification before adding a large continuous load to the local grid transformer, and they may even offer rebates for installing smart, networked chargers.
DIY Installation vs. Hiring a Licensed Electrician
With the rise of DIY home improvement videos, some homeowners are tempted to tackle EV charger installation themselves. However, when weighing the pros & cons, hiring a licensed electrician is almost always the correct choice.
The Risks of DIY Installation
Working inside a main electrical panel exposes you to lethal voltages. Even if the main breaker is turned off, the service entrance wires coming from the street remain live. Furthermore, modern NEC codes regarding GFCI protection, neutral wire bonding, and continuous load calculations are complex and frequently updated. A minor mistake in wire termination can lead to thermal runaway, melting your NEMA 14-50 receptacle and causing a house fire.
Warranty and Insurance Implications
Most premium EV charger manufacturers explicitly state in their documentation that the warranty is void if the unit is not installed by a licensed and certified electrician. Additionally, if an unpermitted, DIY-installed charger causes an electrical fire, your home insurance provider will likely deny the claim. The peace of mind, safety, and warranty protection provided by a professional far outweigh the upfront labor costs.
EV Charger Installation Cost Breakdown
The total cost to install an EV charger at home varies wildly based on your home’s existing electrical infrastructure. Here is a general breakdown of what you can expect to pay:
- The EV Charger (Equipment): $300 to $700. Smart chargers with Wi-Fi capabilities and cable management systems sit at the higher end of this spectrum.
- Standard Installation (Labor & Materials): $500 to $1,200. This assumes your electrical panel has sufficient spare capacity and the charger is being installed on a wall directly adjacent to or near the panel.
- Complex Routing & Trenching: $1,000 to $2,500+. If your electrical panel is on the opposite side of the house, or if you need to trench a concrete driveway to install a pedestal charger, labor and material costs will increase significantly.
- Electrical Panel Upgrade: $1,500 to $3,500. If your home has an older 100-amp panel, upgrading to a 200-amp service is mandatory to safely support an EV charger alongside central air conditioning and electric appliances.
- Permits & Inspections: $50 to $200, depending on your local municipality.
For those just beginning their electric vehicle journey, our comprehensive EV buying guide covers how to factor these home setup costs into your overall vehicle budget.
Crucial Safety Tips and Best Practices
Safety should be the paramount concern when dealing with high-voltage, continuous-draw equipment. Ensure your installation incorporates the following best practices:
- Thermal Monitoring: High-quality EVSE units feature built-in thermal sensors that monitor the temperature of the plug and internal components. If the system detects overheating, it will automatically throttle the charging speed or shut down completely to prevent fires.
- Weatherproofing for Outdoor Installations: If your charger is mounted outside, ensure it carries a NEMA 4 or IP65 weather-resistance rating. All outdoor conduit fittings must be sealed to prevent moisture ingress, which can cause ground faults.
- Cable Management: Use holsters or retractable cable management systems to keep the charging cable off the ground. This prevents the cable from being run over by vehicles, tripping hazards, and degradation from snow or standing water.
- Proper Grounding: A dedicated copper grounding rod or a verified connection to the home’s main grounding electrode system is non-negotiable. EV chargers are highly sensitive to ground faults and will refuse to operate if the ground is improper.
Troubleshooting Common Installation Issues
Even with a professional installation, you may encounter minor issues during the lifespan of your home charging setup. Here is how to troubleshoot the most common problems:
Breaker Tripping Randomly
If your EV charger breaker trips intermittently, it is usually due to one of two things. First, the 80% continuous load rule may have been miscalculated, and the charger is drawing more power than the breaker can handle. Second, if you are using a plug-in setup with a GFCI breaker, the EVSE’s internal ground fault detection may be conflicting with the breaker’s GFCI sensor, causing a nuisance trip. Switching to a hardwired setup with a standard breaker often resolves this.
Charging Speeds Fluctuating or Dropping
If your vehicle is charging slower than the rated speed, check for voltage drop. If the wire gauge is too thin for the distance it travels, the voltage will drop below 240V under heavy load, prompting the EV to reduce its charging rate for safety. Upgrading the wire thickness or reducing the amperage setting via the charger’s internal DIP switches can fix this.
Wi-Fi Connectivity Failures
Smart chargers require a Wi-Fi connection to access TOU scheduling and over-the-air firmware updates. Garages often act as Faraday cages, blocking Wi-Fi signals. If your charger cannot connect, try installing a Wi-Fi extender in the garage or ensure your router is broadcasting on a 2.4GHz band, which penetrates walls much better than 5GHz networks.
Frequently Asked Questions
Can I plug an EV charger into a standard household outlet?
Yes, but only for Level 1 charging. Every EV comes with a mobile charging cord that plugs into a standard 120-volt (NEMA 5-15) household outlet. However, Level 1 charging delivers only about 3 to 5 miles of range per hour of charging. For daily commuters or vehicles with large battery packs, a dedicated 240-volt Level 2 installation is highly recommended to achieve a full overnight charge.
Do I need to upgrade my electrical panel for an EV charger?
Not always, but it depends on your current panel’s amperage and your home’s existing electrical load. If you have a modern 200-amp panel and use gas appliances (gas stove, gas water heater, gas heating), you likely have plenty of spare capacity for a 40-amp or 50-amp EV circuit. However, if you have a 100-amp panel or an all-electric home with heavy simultaneous loads, an electrician will need to perform a load calculation to determine if a main panel upgrade or a dedicated sub-panel is required.
How long does a professional EV charger installation take?
A standard, straightforward installation where the electrical panel is located inside the garage, on the same wall as the charger, typically takes 2 to 4 hours. If the installation requires running conduit through attics, crawlspaces, or trenching across a driveway to an exterior wall, the job can take a full day (6 to 8 hours) or even span multiple days if utility coordination is required for a panel upgrade.
Will installing an EV charger increase my home insurance premium?
In most cases, adding a permitted, professionally installed Level 2 EV charger will not significantly increase your home insurance premium. In fact, some insurance providers offer discounts for homes with modern, smart electrical safety devices. However, you should always notify your insurance provider of the upgrade. Failing to disclose a high-amperage electrical modification could give the insurer grounds to deny a claim if an electrical fire occurs in the future.
By understanding these EV charger home installation requirements, you can ensure that your transition to electric driving is safe, efficient, and ready for the long haul. Always prioritize code compliance and professional workmanship to protect your home and your vehicle.