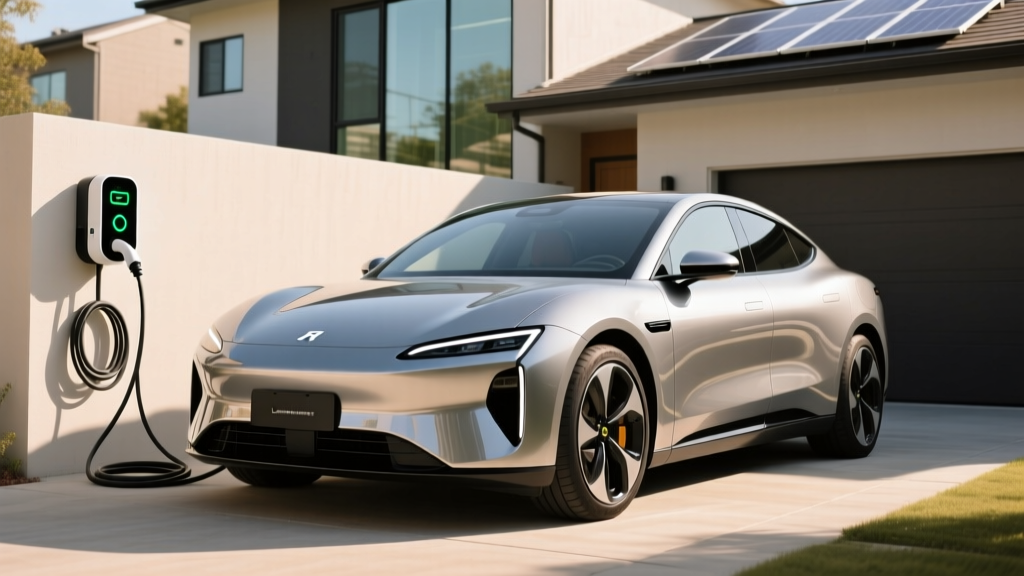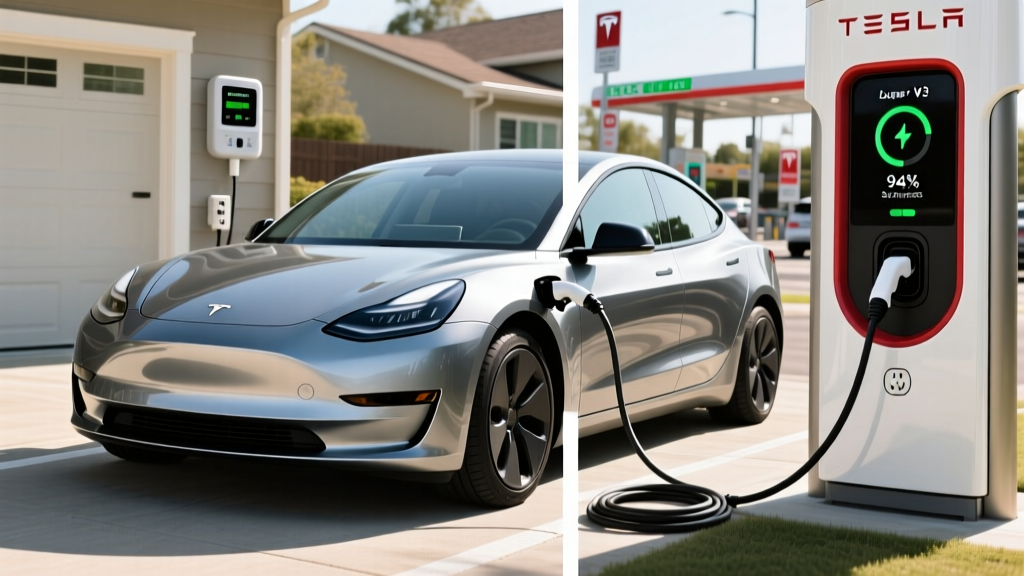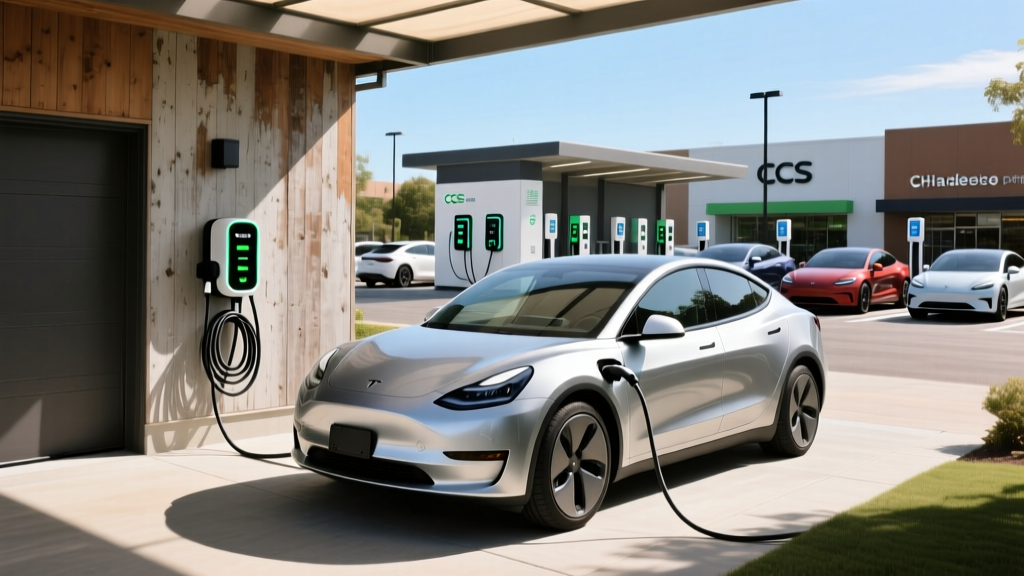
Upgrading to a Level 2 charging system using an EV charger 240V adapter is one of the most impactful improvements you can make for your electric vehicle ownership experience. While standard 120V household outlets can technically charge an EV, they only add about three to five miles of range per hour. In contrast, a properly installed 240V adapter can deliver anywhere from 20 to 50 miles of range per hour, ensuring your vehicle is always ready for your daily commute and weekend road trips.
Whether you are plugging into an existing dryer outlet or installing a dedicated NEMA 14-50 receptacle, understanding the electrical requirements, safety protocols, and local codes is critical. Below is a comprehensive guide to help you navigate the process.
- Difficulty Level: Moderate to Advanced (Electrical knowledge required)
- Estimated Cost: $400 to $2,500+ (depending on panel upgrades and labor)
- Time Required: 4 to 10 hours for professional installation
Understanding EV Charger 240V Adapter Requirements
Before purchasing any equipment from our curated list of the best Level 2 EV chargers, you must evaluate your home electrical infrastructure. A 240V circuit draws significantly more power than standard household circuits, and your electrical panel must have the capacity to handle the additional load.
Electrical Panel Capacity
Most modern homes are equipped with a 200-amp electrical service. To determine if you have enough capacity for an EV charger 240V adapter, an electrician will perform a load calculation. This calculation adds up the total amperage of your existing appliances (HVAC, electric oven, water heater) and ensures that adding a 40-amp or 50-amp EV circuit will not overload your main breaker. If your home only has 100-amp service, you may need a panel upgrade before proceeding.
The 80 Percent Continuous Load Rule
According to the National Electrical Code (NEC), EV charging is classified as a continuous load because it operates at maximum current for three hours or more. Therefore, the circuit must be rated for 125 percent of the continuous load. For example, if you want to install a 40-amp EV charger, you must install a 50-amp breaker and use wire rated for 50 amps. Similarly, a 48-amp hardwired charger requires a 60-amp breaker.
Receptacle Types: NEMA 14-50 vs. 6-50
The most common plug type for a 240V EV adapter is the NEMA 14-50, which provides up to 50 amps and includes a neutral wire. However, some older homes may have NEMA 6-50 outlets (commonly used for older welders or air compressors) which lack a neutral wire. Most modern EVSEs (Electric Vehicle Supply Equipment) do not require a neutral wire, but using a NEMA 14-50 is the industry standard for future-proofing your setup.
Step-by-Step Installation Guide for 240V EV Adapters
If you are hiring a licensed electrician, they will handle the following steps. For those with advanced electrical experience exploring a DIY route, this outline provides a clear picture of the workflow. Always consult our guide on home EV charging basics before attempting any electrical work.
- Shut Off Main Power: Turn off the main breaker to your electrical panel and verify with a non-contact voltage tester that the bus bars are completely de-energized.
- Install the Breaker: Snap the new 50-amp double-pole breaker into an available slot on the bus bar. Ensure it is compatible with your specific panel brand (e.g., Square D, Siemens, Eaton).
- Run Conduit and Wire: Route PVC or flexible metal conduit from the panel to the charging location. Pull the appropriate gauge wire through the conduit. For a 50-amp circuit, 6 AWG copper THHN wire is standard for conduit runs, while 4 AWG NM-B (Romex) is used for indoor, non-conduit runs.
- Terminate the Connections: Connect the hot wires (black and red) to the breaker, the neutral wire (white) to the neutral bus bar, and the ground wire (green or bare copper) to the ground bus bar. At the receptacle end, wire the NEMA 14-50 outlet according to the manufacturer diagram.
- Torque to Specification: This is a critical step. Use a calibrated torque screwdriver to tighten all terminal screws to the exact inch-pound specification listed on the breaker and receptacle. Loose connections cause arcing, heat buildup, and electrical fires.
- Test the Circuit: Restore power and use a multimeter to verify that you are reading approximately 240 volts across the two hot terminals, and 120 volts from each hot terminal to the ground.
Navigating Permits and Electrical Inspections
Skipping permits is a common but dangerous mistake. Installing an EV charger 240V adapter requires an electrical permit in almost all municipalities. The permitting process ensures that your installation meets local building codes and the latest NEC safety standards.
When you pull a permit, a licensed city or county inspector will visit your home to verify the installation. They will check wire gauge, breaker sizing, grounding methods, and torque marks on the terminals. Furthermore, if you ever need to file a home insurance claim due to an electrical fire, your provider will ask for proof of permitted work. Unpermitted electrical modifications can result in denied claims and voided home warranties.
Additionally, many local utility companies offer rebates for EV charger installations, but they strictly require a signed inspection card or certificate of completion before issuing the rebate check.
DIY vs. Professional Installation: Which is Right for You?
While the internet is full of tutorials showing homeowners wiring their own 240V outlets, working with high-voltage electricity carries severe risks. A 240V shock can be lethal, and improper wiring can lead to catastrophic house fires.
The Case for Professional Installation
Hiring a licensed, insured electrician guarantees that the work is done safely and up to code. Professionals carry the liability insurance necessary to protect your home, and they understand the nuances of local amendments to the NEC. Furthermore, major EV charger manufacturers often stipulate in their warranty terms that the device must be installed by a certified electrician. If a DIY-installed unit fails or causes damage, the manufacturer may deny the warranty claim.
The Case for DIY
DIY installation is only recommended if you have prior experience with high-voltage circuits, understand load calculations, and are comfortable working inside a live electrical panel. Even then, you must still pull a permit and pass an inspection. For the vast majority of EV owners, the money saved on labor is not worth the risk to personal safety and property.
Comprehensive Cost Breakdown
The total cost of setting up an EV charger 240V adapter varies wildly based on your home existing infrastructure. Here is a general breakdown of what you can expect to pay:
- Level 2 EV Charger Unit: $300 to $700 (Check out our ChargePoint Home Flex review for a top-tier option).
- Materials (Wire, Conduit, Breaker, Receptacle): $150 to $400, depending on the distance from the panel to the garage.
- Electrician Labor: $300 to $1,200. A simple install in a garage with an adjacent panel will be on the lower end, while trenching underground to a detached garage will push costs higher.
- Permits and Inspections: $50 to $200.
- Electrical Panel Upgrade (If Needed): $1,500 to $3,500. Upgrading from a 100-amp to a 200-amp service is a major project but adds significant value to your home.
According to the Department of Energy (DOE), homeowners should also factor in potential utility time-of-use rates, which can affect the long-term operational costs of charging at home versus using public networks.
Essential Safety Tips and Best Practices
Safety should always be the paramount concern when dealing with high-amperage continuous loads. Follow these best practices to ensure your EV charger 240V adapter operates safely for years to come.
- Use a Torque Screwdriver: As mentioned earlier, thermal expansion and contraction from the heavy load can cause hand-tightened screws to loosen over time. Proper torque prevents resistance heating and melting receptacles.
- Install a Weatherproof Enclosure: If your charging setup is outdoors, ensure the NEMA 14-50 receptacle is housed in a NEMA 3R or NEMA 4 weatherproof enclosure with an in-use bubble cover to protect against rain and snow.
- Monitor for Heat: Periodically check the plug and receptacle during a charging session. They should be warm to the touch, but never hot. If you notice melting, discoloration, or a burning smell, stop charging immediately and call an electrician.
- Cable Management: Use a wall-mounted holster or retractable reel to keep the charging cable off the ground. This prevents the cable from being run over, tripped on, or exposed to standing water and snow.
- Ground Fault Protection: Ensure your setup complies with local GFCI (Ground Fault Circuit Interrupter) requirements. Note that some EVSEs have built-in GFCI protection, and stacking a GFCI breaker with a GFCI-equipped EVSE can cause nuisance tripping.
Troubleshooting Common 240V Adapter Issues
Even with a flawless installation, you may occasionally encounter issues with your 240V charging setup. Here is how to troubleshoot the most common problems.
The Breaker Keeps Tripping
If your 50-amp breaker trips consistently, you may be violating the 80 percent continuous load rule. Ensure your EVSE is configured to draw a maximum of 40 amps on a 50-amp circuit. Many smart chargers allow you to dial down the amperage via a mobile app or internal dip switches. If the amperage is correct, the breaker itself may be defective or suffering from heat fatigue.
EVSE Shows a Ground Fault Error
Most modern chargers feature a blinking LED pattern to indicate a ground fault. This usually means the grounding wire is not properly bonded, or there is moisture inside the outdoor receptacle. Turn off the breaker, inspect the ground connections at both the panel and the outlet, and ensure the weatherproof cover is fully sealed.
Charging Speeds are Slower Than Expected
If your vehicle is charging at a lower amperage than advertised, check the vehicle internal settings. Many EVs allow you to limit the charging current to preserve battery health or reduce grid strain. Additionally, extreme battery temperatures (very hot or very cold) will cause the vehicle battery management system (BMS) to throttle charging speeds to protect the cells.
Frequently Asked Questions (FAQ)
Can I plug my 240V EV charger into a dryer outlet?
Technically, yes, if your EV charger is equipped with a NEMA 14-30 or 10-30 adapter plug. However, sharing a circuit with a high-draw appliance like a dryer is not recommended. If both the dryer and the EV charger run simultaneously, the breaker will trip. Furthermore, frequently unplugging and replugging a high-amperage receptacle wears out the internal contacts, increasing the risk of arcing and fire. A dedicated circuit is always the safest choice.
Do I need a GFCI breaker for my 240V EV adapter?
Recent editions of the NEC require GFCI protection for new 240V receptacles installed in garages and outdoors. However, because most high-quality EVSEs already have internal ground-fault protection, adding a GFCI breaker can lead to nuisance tripping. Many electricians recommend hardwiring the EVSE directly to the panel to bypass the receptacle GFCI requirement, while still maintaining the safety of the EVSE internal GFCI.
How long does it take to charge an EV on a 240V adapter?
Charging time depends on your vehicle battery size and the amperage of your circuit. A standard 48-amp hardwired charger delivers about 11.5 kW of power. For an EV with a 75 kWh battery, charging from 10 percent to 80 percent will take approximately 4.5 to 5.5 hours. This is perfect for overnight charging, ensuring you wake up to a full battery every morning.
Will installing a 240V adapter increase my home insurance premiums?
In most cases, adding a permitted, professionally installed EV charger will not increase your home insurance premiums. In fact, some insurers view it as a modern home upgrade. However, failing to disclose an unpermitted DIY electrical modification could give your insurer grounds to drop your policy or deny a future claim. Always notify your provider of major electrical upgrades and keep your inspection certificates on file.
What is the difference between a NEMA 14-50 and a hardwired connection?
A NEMA 14-50 is a plug-and-receptacle setup that allows you to easily unplug and take your EV charger with you if you move. Hardwired connections involve wiring the EVSE directly into the electrical panel or a junction box. Hardwired setups are generally safer because they eliminate the receptacle as a potential point of failure, require no GFCI breaker, and often support higher amperages (up to 48 or 80 amps) compared to the 40-amp limit of a standard NEMA 14-50 plug.