Emporia EV Charger Level 2 Installation Manual: Complete Step-by-Step Guide
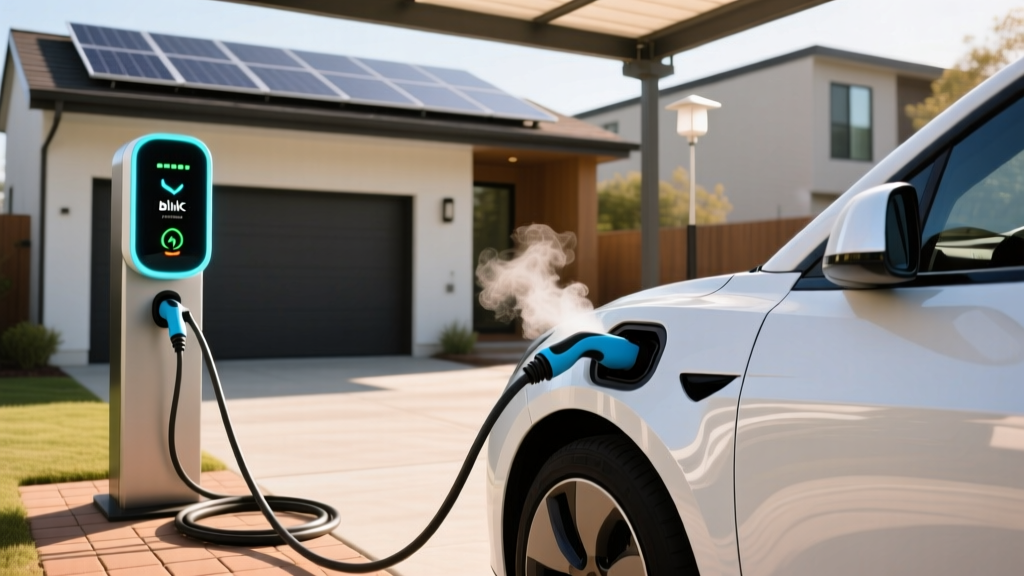
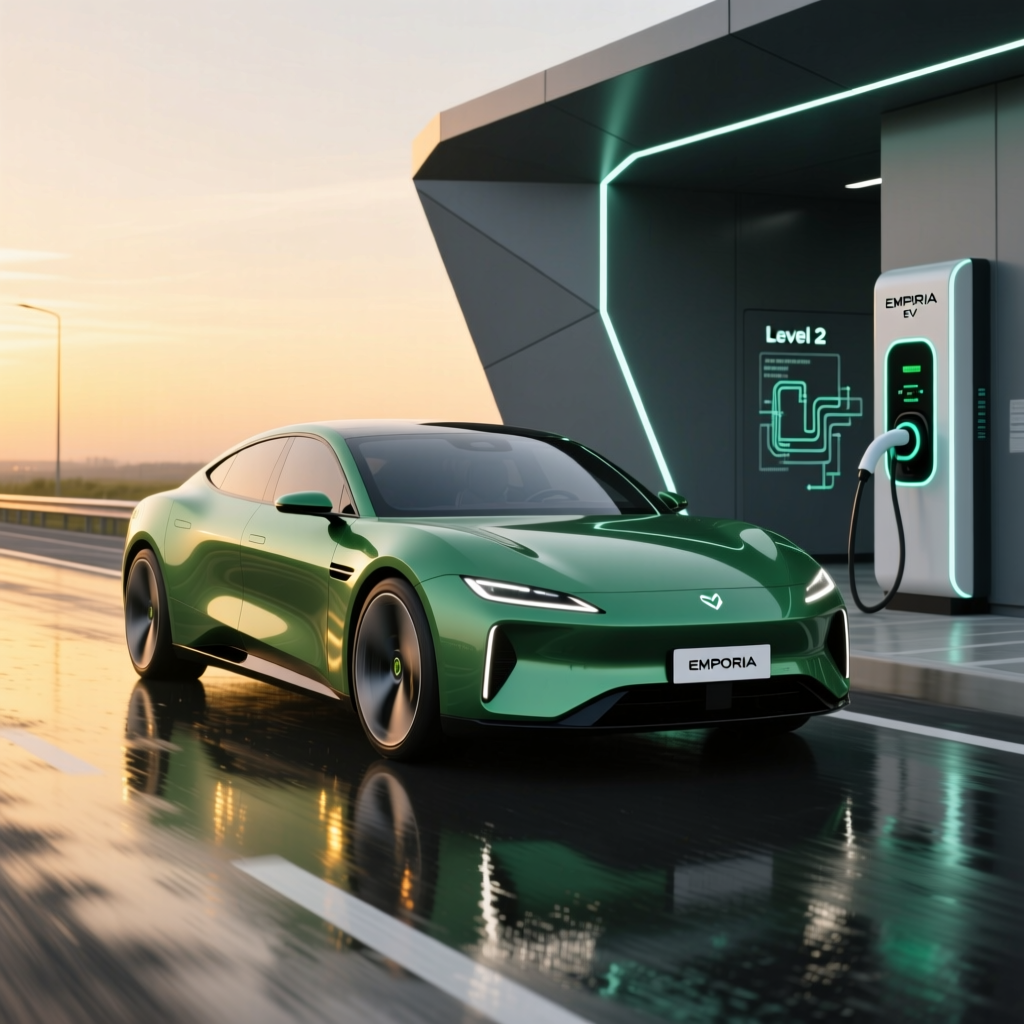
Installing a Level 2 EV charger at home is one of the smartest upgrades any electric vehicle owner can make. The Emporia EV Charger has earned a reputation as one of the most feature-rich, budget-friendly Level 2 chargers on the market, offering smart energy monitoring, solar integration, and up to 48 amps of charging power. But before you can enjoy those benefits, you need to get it properly installed — and that is where most homeowners have the most questions.
This comprehensive Emporia EV Charger Level 2 installation manual walks you through every phase of the process, from understanding electrical requirements to passing your final inspection. Whether you are considering a DIY approach or planning to hire a licensed electrician, this guide gives you the knowledge you need to make safe, informed decisions.
Difficulty Level: Intermediate to Advanced (electrical work required)
Estimated Cost: $500 – $2,000+ (including charger, materials & labor)
Estimated Time: 2 – 6 hours (depending on panel upgrades & conduit runs)
Tools Required: Voltage tester, wire strippers, drill, conduit bender, torque screwdriver, fish tape
If you are still deciding which charger is right for your setup, check out our guide to the best Level 2 EV chargers for a detailed comparison of top models.
Electrical Requirements & What You Need Before Installation
Before you unbox your Emporia EV Charger, it is critical to verify that your home's electrical system can support a Level 2 charging station. The Emporia Vue EV charger is a hardwired unit that requires a dedicated 240-volt circuit, and skipping this assessment can lead to tripped breakers, damaged equipment, or even electrical fires.
Circuit & Amperage Requirements
The Emporia EV Charger supports up to 48 amps of continuous charging current. According to the National Electrical Code (NEC), any continuous load — defined as a load expected to run for three hours or more — must be calculated at 125% of the rated amperage. This means a 48-amp charger requires a circuit rated for at least 60 amps.
- 48-amp charging: Requires a 60-amp dedicated breaker
- 40-amp charging: Requires a 50-amp dedicated breaker
- 32-amp charging: Requires a 40-amp dedicated breaker
- 24-amp charging: Requires a 30-amp dedicated breaker
- 16-amp charging: Requires a 20-amp dedicated breaker
The Emporia charger is configurable via the Emporia app, so you can set the amperage to match your available circuit capacity. This flexibility is particularly useful for older homes with limited panel space.
Wire Gauge Requirements
Proper wire sizing is essential for safety and code compliance. For a 60-amp circuit, you will typically need 6 AWG copper wire (THHN/THWN-2) run through conduit. For a 50-amp circuit, 6 AWG is also commonly used, though some jurisdictions may allow 8 AWG depending on insulation type and ambient temperature ratings. Always consult NEC Table 310.16 and your local codes to confirm the correct gauge for your installation.
Electrical Panel Capacity
Your main electrical panel must have enough spare capacity to handle the additional load. A general rule is that the total connected load should not exceed 80% of your panel's rated capacity. For example, a 200-amp panel should not have more than 160 amps of calculated load. If your panel is already near capacity, you may need a panel upgrade or a load management device before proceeding.
The U.S. Department of Energy recommends having a qualified electrician evaluate your panel before any EV charger installation. You can also explore our complete home EV charging setup guide for additional planning tips.
What You Will Need
- Emporia EV Charger unit (hardwired model)
- Appropriate circuit breaker (matching your amperage configuration)
- THHN/THWN-2 copper wire (correct gauge for your circuit)
- Conduit (EMT, PVC, or flexible — based on local code & run type)
- Junction box (if required by your run)
- Wire nuts or Wago connectors
- Cable clamps & fittings
- Mounting hardware (included with charger)
- Emporia Vue energy monitor (optional but recommended for full smart features)
Step-by-Step Emporia EV Charger Installation
This section covers the physical installation process from start to finish. Always turn off the main breaker before performing any electrical work. If at any point you feel unsure, stop and consult a licensed electrician.
Step 1: Plan the Charger Location
Choose a mounting location that is within reach of your vehicle's charging port and close enough to your electrical panel to minimize wire run length. The Emporia EV Charger has a cable length of approximately 24 feet, giving you some flexibility. Ideal locations include:
- Interior garage wall adjacent to where the vehicle parks
- Exterior wall near the driveway (the Emporia charger is rated for outdoor use with a NEMA 4 rating)
- A position that allows the cable to reach the charging port without stretching across walkways
Mount the charger at a height of approximately 48 inches from the ground to the center of the unit, which is both ergonomic and generally compliant with accessibility guidelines.
Step 2: Install the Dedicated Circuit Breaker
With the main breaker turned off and confirmed with a voltage tester, install the new double-pole breaker into your electrical panel. Ensure the breaker is the correct amperage rating for your chosen charging configuration. The breaker should snap firmly into the panel's bus bar. If your panel does not have available slots, you may need to consolidate circuits using tandem breakers (where permitted) or upgrade the panel entirely.
Step 3: Run Conduit & Wire
Run conduit from the electrical panel to the charger location. The type of conduit you use depends on your installation environment:
- EMT (Electrical Metallic Tubing): Best for indoor garage installations; lightweight & easy to bend
- PVC conduit: Ideal for outdoor runs or areas exposed to moisture
- Flexible metal conduit (FMC): Useful for short transitions or tight spaces
Pull the appropriate number of conductors through the conduit: two hot wires (black & red), one neutral (white, if required), and one ground (green or bare copper). The Emporia EV Charger is a hardwired unit that requires two hot wires and a ground. A neutral wire is not required for most Level 2 charger installations, but check your local code and the Emporia installation documentation to confirm.
Step 4: Mount the Charger Unit
Using the mounting template included with the Emporia EV Charger, mark and drill pilot holes into your wall. If mounting to drywall, ensure you are anchoring into studs or using appropriate heavy-duty anchors — the unit weighs several pounds and must be securely fastened. Attach the mounting bracket, then hang the charger unit on the bracket and secure it with the provided screws.
Step 5: Make the Electrical Connections
Open the wiring compartment on the Emporia charger and connect the wires:
- Connect the two hot wires (black & red) to the L1 & L2 terminals on the charger
- Connect the ground wire to the ground terminal
- Use a torque screwdriver to tighten all terminal connections to the manufacturer's specified torque values — this is a common inspection checkpoint
- Tuck wires neatly into the wiring compartment and secure the cover
At the panel end, connect the hot wires to the new breaker terminals and the ground wire to the panel's ground bus bar. Double-check all connections before proceeding.
Step 6: Power On & Configure via the Emporia App
Turn the main breaker back on, followed by the new charger circuit breaker. The Emporia EV Charger should power up and display indicator lights. Download the Emporia app (available on iOS & Android) and follow the in-app setup wizard to:
- Connect the charger to your home Wi-Fi network
- Configure the maximum amperage to match your circuit breaker rating
- Set up charging schedules to take advantage of off-peak electricity rates
- Link the charger to your Emporia Vue energy monitor (if installed) for real-time energy tracking & solar integration
The app also allows you to enable features like automatic solar diversion, which routes excess solar production directly to your EV — a standout feature of the Emporia ecosystem. For a deeper look at smart charging features, read our smart EV charging guide.
Permits & Inspection: What You Need to Know
One of the most overlooked aspects of EV charger installation is the permitting process. In most jurisdictions across the United States, adding a new 240-volt circuit requires an electrical permit and a subsequent inspection. Skipping this step can result in fines, voided insurance coverage, and problems when selling your home.
Why Permits Matter
Electrical permits exist to ensure that all work meets the safety standards outlined in the National Electrical Code. An inspector will verify that your wire sizing, breaker rating, conduit installation, grounding, and physical mounting all comply with local and national codes. According to the NEC, EV charging equipment falls under Article 625, which covers Electric Vehicle Charging System Equipment and includes specific requirements for disconnecting means, ventilation (for indoor installations), and cord-and-plug vs. hardwired connections.
How to Obtain a Permit
- Contact your local building department: Most jurisdictions allow you to apply for electrical permits online or in person. Fees typically range from $50 to $200 depending on your location.
- Submit your application: You will need to describe the scope of work, including the circuit amperage, wire gauge, conduit type, and charger model.
- Schedule the rough-in inspection: If conduit and wire are run but not yet connected, some jurisdictions require a rough-in inspection before you close up walls or make final connections.
- Schedule the final inspection: Once the charger is fully installed, connected, and operational, the inspector will verify the completed work.
What Inspectors Check
- Correct breaker size & wire gauge for the circuit
- Proper grounding & bonding
- Conduit fill (not exceeding NEC limits)
- Secure mounting of the charger unit
- Accessible disconnecting means (the breaker itself often serves this purpose for hardwired installations)
- GFCI protection (NEC Article 625 requires GFCI protection for EV charging outlets; for hardwired units, requirements vary by jurisdiction)
- Proper labeling at the electrical panel
If you hire a licensed electrician, they will typically handle the permit application and inspection scheduling as part of their service. For more context on electrical codes and EV charging, the Department of Energy's home charging resource page is an excellent reference.
DIY Installation vs. Hiring a Professional Electrician
One of the most common questions homeowners ask is whether they can install the Emporia EV Charger themselves. The answer depends on your experience level, local regulations, and comfort with high-voltage electrical work.
When DIY Makes Sense
A DIY installation may be feasible if you meet all of the following criteria:
- You have prior experience working with 240-volt circuits (such as installing a dryer or oven outlet)
- Your electrical panel has ample spare capacity & available breaker slots
- The wire run from the panel to the charger location is short & straightforward (e.g., same room or adjacent wall)
- Your local jurisdiction allows homeowner-permitted electrical work (some areas require a licensed electrician for all work over a certain amperage)
- You are comfortable reading electrical diagrams & using a torque screwdriver
When to Hire a Professional
You should strongly consider hiring a licensed electrician if any of the following apply:
- Your panel needs an upgrade or a sub-panel installation
- The wire run is long (over 50 feet) or requires routing through finished walls, attics, or underground
- Your local code requires a licensed professional for 240-volt installations
- You are unfamiliar with NEC requirements or your local electrical code amendments
- You want to ensure warranty coverage — some manufacturers require professional installation for warranty validity
Cost Comparison
| Factor | DIY Installation | Professional Installation |
|---|---|---|
| Charger unit | $600 – $800 | $600 – $800 |
| Materials (wire, conduit, breaker) | $100 – $300 | Included or $100 – $300 |
| Labor | $0 (your time) | $500 – $1,500+ |
| Permit fees | $50 – $200 | $50 – $200 (often included) |
| Total estimated cost | $750 – $1,300 | $1,250 – $2,800+ |
Keep in mind that complex installations — such as those requiring panel upgrades, trenching for underground conduit, or long wire runs through finished walls — can push professional installation costs well above $2,500. For a broader perspective on budgeting, see our EV charger installation cost breakdown.
Complete Cost Breakdown & Available Incentives
Understanding the full financial picture helps you plan your installation budget and take advantage of savings opportunities.
Charger Unit Cost
The Emporia EV Charger typically retails between $600 & $800, making it one of the most affordable smart Level 2 chargers available. This price includes the charging unit, mounting hardware, & a 24-foot charging cable. The optional Emporia Vue energy monitor, which enables advanced energy tracking & solar integration, adds approximately $100 – $150 to the total.
Electrical Materials
Wire, conduit, breakers, fittings, & miscellaneous hardware typically cost between $100 & $300 for a standard installation. Longer wire runs, larger wire gauges, & specialty conduit (such as underground-rated PVC) will increase this estimate.
Labor Costs
Electricians typically charge between $75 & $150 per hour, with most standard installations taking 2 to 4 hours. Complex installations that require panel upgrades, sub-panels, or extensive conduit runs can take a full day or more.
Federal & Local Incentives
The Alternative Fuel Vehicle Refueling Property Credit (IRS Form 8911) may allow you to claim a federal tax credit of up to 30% of the cost of EV charging equipment & installation, capped at $1,000 for residential installations. Eligibility depends on whether you live in a qualifying census tract. Many states, utilities, & municipalities also offer additional rebates or incentives — check with your local utility provider and your state energy office for current programs.
The combination of competitive pricing, available incentives, & long-term fuel savings makes the Emporia EV Charger an outstanding value proposition. Visit our EV tax credits & incentives guide for a comprehensive overview of savings opportunities.
Safety Tips & Best Practices
Electrical safety should never be an afterthought. Follow these best practices to ensure your Emporia EV Charger installation is safe, code-compliant, & built to last.
Before You Start
- Always turn off the main breaker before working inside the electrical panel
- Verify power is off using a non-contact voltage tester at both the panel & the installation location
- Use a lockout/tagout device on the main breaker to prevent someone from accidentally restoring power while you work
- Wear insulated gloves & safety glasses when handling wires & breakers
During Installation
- Never exceed conduit fill limits — the NEC specifies maximum fill percentages based on conduit type & number of conductors
- Torque all terminal connections to the manufacturer's specifications using a calibrated torque screwdriver; loose connections cause arcing & fire hazards
- Use properly rated wire — THHN/THWN-2 copper conductors are standard for indoor conduit runs
- Label the new breaker clearly in the panel directory (e.g., "EV Charger – 60A")
- Maintain proper bend radius on conduit to avoid damaging wire insulation during pulls
After Installation
- Test the charger with your vehicle before closing up any access panels
- Monitor the first several charging sessions for unusual heat at the breaker, wire connections, or charger unit
- Install a surge protector at the panel or use the Emporia app's scheduling features to protect against grid fluctuations
- Keep the charger firmware updated through the Emporia app for the latest safety & performance improvements
- Inspect the charging cable periodically for signs of wear, cracking, or damage — replace if necessary
Troubleshooting Common Installation Issues
Even with careful planning, you may encounter issues during or after installation. Here are solutions to the most common problems reported by Emporia EV Charger owners.
Charger Will Not Power On
If the charger shows no signs of life after installation:
- Verify the circuit breaker is fully in the ON position (some breakers require a firm push past a middle "tripped" position)
- Check that the hot wires are properly connected at both the breaker & the charger terminals
- Use a multimeter to confirm 240 volts at the charger's wiring terminals
- Ensure the main breaker is on & the panel is energized
Charger Connects to Power but Will Not Charge the Vehicle
- Confirm the amperage setting in the Emporia app matches or is less than the breaker rating
- Check that the vehicle is properly plugged in & the connector is fully seated
- Verify your vehicle's charge timer or preconditioning settings are not preventing charging
- Restart the charger by toggling the breaker off for 30 seconds & back on
Wi-Fi Connectivity Issues
- The Emporia charger requires a 2.4 GHz Wi-Fi network — it will not connect to 5 GHz-only networks
- Ensure the charger is within range of your Wi-Fi router; consider a Wi-Fi extender for detached garages
- Reset the charger's network settings through the app & re-pair
Breaker Trips During Charging
- Verify the amperage setting in the app does not exceed 80% of the breaker rating
- Check for loose wire connections at the breaker & charger terminals
- Inspect for shared loads on the same circuit — the EV charger must be on a dedicated circuit
- If the breaker trips repeatedly, consult an electrician to check for wiring faults or an undersized breaker
Emporia App Shows Incorrect Energy Data
- Ensure the Emporia Vue energy monitor (if used) has correctly identified the charger circuit
- Recalibrate the CT (current transformer) clamps in the panel
- Update the Emporia app & charger firmware to the latest versions
Frequently Asked Questions
Can I install the Emporia EV Charger myself without an electrician?
Technically, yes — if you have experience with 240-volt electrical work & your local jurisdiction allows homeowner-permitted installations. However, because the Emporia charger is a hardwired unit that requires running a new dedicated circuit from your panel, most homeowners are better served by hiring a licensed electrician. Professional installation ensures code compliance, passes inspection, & protects your home insurance coverage. If you are uncertain about any step in this Emporia EV Charger Level 2 installation manual, err on the side of safety & call a professional.
Does the Emporia EV Charger require a neutral wire?
No, the Emporia EV Charger does not require a neutral wire for standard operation. It is a hardwired 240-volt device that uses two hot conductors & a ground. This simplifies the wiring process & reduces material costs compared to installations that require a neutral. Always confirm this with the specific model documentation & your local electrical inspector, as requirements can vary by jurisdiction.
How long does a typical Emporia EV Charger installation take?
A straightforward installation — where the electrical panel is near the charger location & has spare capacity — typically takes 2 to 4 hours. Installations that require long conduit runs, panel upgrades, sub-panel installations, or trenching for outdoor runs can take 6 to 8 hours or more. Plan for a full day if your installation involves any complexity beyond a simple garage wall mount adjacent to the panel.
Will installing an Emporia EV Charger increase my electric bill significantly?
Your electric bill will increase to reflect the energy used for charging, but the cost per mile is typically far lower than gasoline. On average, charging an EV at home costs the equivalent of $1.00 to $1.50 per gallon of gasoline, depending on your local electricity rates. The Emporia app helps you minimize costs by scheduling charging during off-peak hours when utility rates are lowest. Many owners pair the charger with solar panels & the Emporia Vue monitor to charge their vehicles using free solar energy during the day.
Is the Emporia EV Charger compatible with all electric vehicles?
Yes, the Emporia EV Charger uses the standard J1772 connector, which is compatible with virtually all electric vehicles sold in North America. Tesla vehicles can use the Emporia charger with a J1772-to-Tesla adapter, which is included with most Tesla vehicles. The charger's adjustable amperage settings also make it compatible with any EV's onboard charger capacity, from plug-in hybrids with smaller batteries to full-electric vehicles with large battery packs. For more details on charger compatibility, see our EV charger compatibility guide.
Final Thoughts
The Emporia EV Charger represents one of the best values in Level 2 home charging, combining smart features, solar integration, & competitive pricing in a single package. Proper installation is the key to unlocking all of these benefits safely & reliably. Whether you choose to tackle the project yourself or hire a licensed electrician, understanding the requirements outlined in this Emporia EV Charger Level 2 installation manual will help you make better decisions, communicate more effectively with your installer, & ensure a result that passes inspection & stands the test of time.
Ready to explore more EV charging options? Browse our best Level 2 EV charger reviews or learn about setting up your complete home EV charging station for everything you need to charge smarter.