Why a Buick LeSabre Supercharged EV Conversion Demands a Charging Plan First
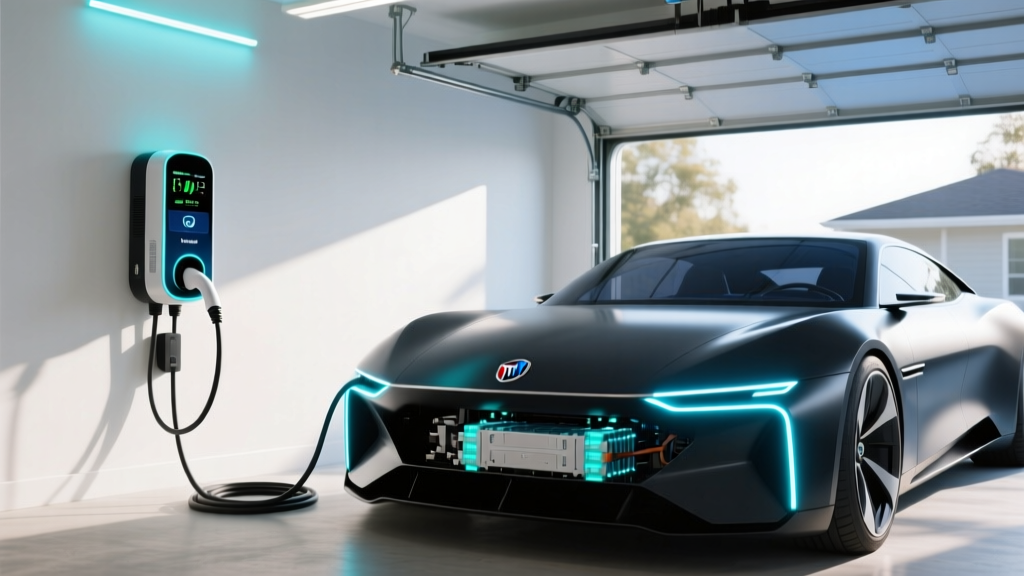
The Buick LeSabre Supercharged — with its supercharged 3800 Series V6 and smooth highway manners — remains a beloved platform among enthusiasts. For a growing subset of builders, that spacious engine bay and robust chassis make it an appealing candidate for an electric-vehicle conversion. But before you pull the 3.8L V6 and drop in a NetGain Hyper9 motor or a salvaged Tesla drive unit, you need to solve the charging equation. An EV-converted LeSabre will likely carry a 40–80 kWh battery pack, and how you feed that pack determines daily usability, road-trip viability, and whether your electrical panel survives the experience.
This guide breaks down every charging variable an EV-swap LeSabre builder faces: charging levels and real speeds, home installation costs and panel realities, connector selection, per-mile economics versus the original supercharged V6, and the specific equipment that earns a spot in your garage.
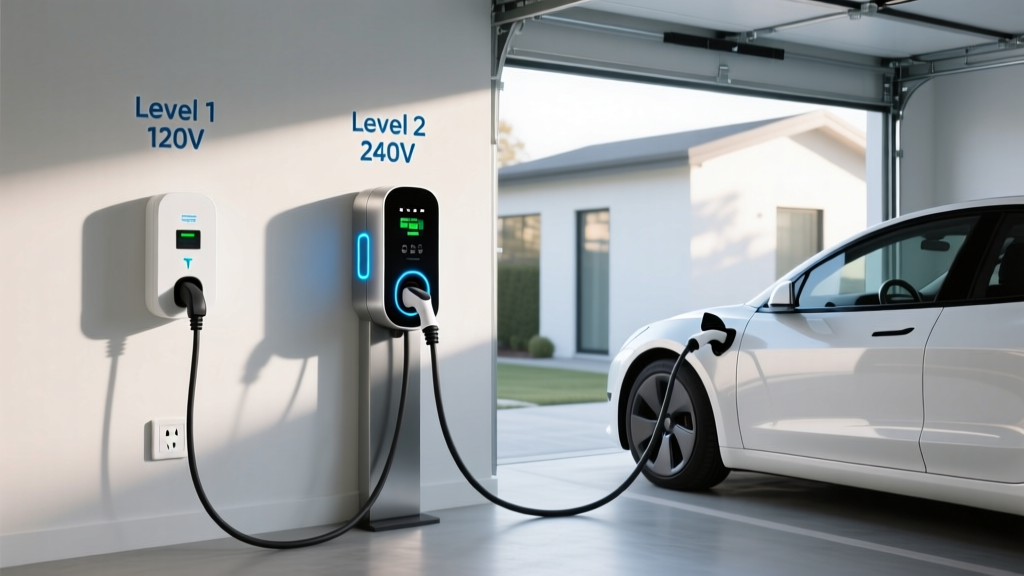
Charging Levels Explained: Speeds, Power, and What Each Adds Per Hour
The single most common mistake new EV builders make is confusing kW (kilowatts — the rate of power delivery, like water pressure) with kWh (kilowatt-hours — the energy stored in your battery, like gallons in a tank). Your charger delivers kW; your battery stores kWh. A 60 kWh battery charged at 7.2 kW takes roughly 8.3 hours from empty to full (60 ÷ 7.2 = 8.3).
| Level | Voltage | Power (kW) | Miles of Range Added per Hour | Best For |
|---|---|---|---|---|
| Level 1 | 120V AC | 1.0–1.4 kW | 3–5 mi/hr | Overnight top-off, low-mileage days |
| Level 2 | 240V AC | 3.3–19.2 kW | 12–75 mi/hr | Daily home charging, most conversions |
| DC Fast Charge | 200–900V DC | 50–350 kW | 150–1,000+ mi/hr (peak) | Road trips, rapid replenishment |
For an EV-swapped LeSabre running a typical 60 kWh pack and achieving roughly 3.0 mi/kWh (a realistic efficiency for a heavy, aerodynamically blunt sedan), Level 2 at 7.2 kW adds about 22 miles of range per hour. A full charge from 10% to 90% takes approximately 7 hours — perfectly suited to overnight charging. DC fast charging, if your conversion includes a CCS or NACS inlet and a compatible BMS/charger controller, can push a 10–80% charge in 30–45 minutes depending on peak kW acceptance.
Home Charger Installation: Electrical Requirements, Panel Upgrades, and Real Costs
A Level 2 home charger is the backbone of EV conversion ownership. Here is what the installation actually requires and what it costs — not the optimistic estimates you see in marketing, but the real numbers builders encounter.
Electrical Requirements
Most Level 2 chargers for home use run on a 240V dedicated circuit at 40A, 48A, or 60A. A 40A circuit (delivering up to 9.6 kW continuous, since NEC requires circuits be loaded to no more than 80% of breaker rating) covers most conversion builds. If your LeSabre's onboard charger accepts 11.5 kW or higher, you'll want a 60A circuit (48A continuous, 11.5 kW).
- Wire gauge: 6 AWG copper for 40A/50A circuits; 4 AWG for 60A
- Breaker: Double-pole, correctly sized to the circuit
- Outlet vs. hardwired: NEMA 14-50 outlet offers flexibility; hardwired avoids GFCI nuisance trips common with 240V receptacles on some panels
- Permit: Required in nearly all US jurisdictions for new 240V circuits — budget $50–$250 depending on your municipality
Panel Upgrade Reality
If you drive a Buick LeSabre, there's a reasonable chance your home's electrical panel is original to a house built in the 1970s–1990s with a 100A or 150A main service. Adding a 40A–60A continuous EV load may exceed your panel's spare capacity. Signs you need an upgrade:
- Your panel is at or above 80% of rated capacity with existing loads
- You have a 100A main breaker (upgrade to 200A is common)
- No physical breaker spaces remain
- Your utility requires a load calculation before approving the circuit
A panel upgrade to 200A service typically costs $1,500–$4,000 depending on local labor rates, utility involvement, and whether new meter hardware is needed. This is the cost that blindsides most EV builders — budget for it upfront.
| Component | Typical Range | Notes |
|---|---|---|
| Level 2 Charger (Equipment) | $300–$750 | Smart WiFi-enabled units; dumb units from $200 |
| Electrician Labor (standard install) | $400–$1,200 | Varies by run length, wall type, conduit needs |
| Permit & Inspection | $50–$250 | Municipal fee; required for code compliance |
| Electrical Panel Upgrade (if needed) | $1,500–$4,000 | 200A upgrade; not required in all homes |
| Total (no panel upgrade) | $750–$2,200 | Most common scenario for modern panels |
| Total (with panel upgrade) | $2,250–$6,200 | Older homes with 100A/150A service |
Connector Compatibility: NACS, CCS1, and CHAdeMO for a Conversion Build
When you build an EV from a gas car, you choose the charge inlet. This decision locks in which public chargers you can use without adapters. For a LeSabre conversion in 2026, the landscape is clear:
| Connector | AC Level 2 | DC Fast Charge | Network Access | Best For Conversion? |
|---|---|---|---|---|
| NACS (Tesla/J3400) | Yes | Yes | Tesla Supercharger + growing third-party | Top pick — widest DC network |
| CCS1 (Combo) | Yes (J1772 + DC pins) | Yes | Electrify America, EVgo, ChargePoint | Strong pick — open standard |
| CHAdeMO | Separate J1772 inlet needed | Yes | Limited; mostly legacy Nissan/Mitsubishi | Avoid for new builds |
For a Buick LeSabre Supercharged EV swap, I recommend NACS as the primary inlet. The Tesla Supercharger network remains the most reliable DC fast-charging infrastructure in the US, and by 2026, most major automakers have adopted the J3400 (NACS) standard. You'll source a NACS inlet and a compatible charge controller (such as an OpenInverter stack or an Elcon PFC charger for AC side). If you prefer CCS1 for its open-standard flexibility, plan to carry a NACS-to-CCS adapter ($150–$250) for Supercharger access.
Cost to Charge: Per-Mile Economics vs. the Supercharged 3800 V6
The original Buick LeSabre Supercharged returned roughly 18 city / 27 highway MPG on premium fuel (per fueleconomy.gov historical data). Let's compare that to EV conversion charging costs across realistic scenarios.
| Scenario | Cost per kWh / Gallon | Cost per Mile | Annual Fuel Cost (12,000 mi) |
|---|---|---|---|
| Stock 3.8L Supercharged (22 MPG combined, $3.50/gal) | $3.50/gallon | $0.159 | $1,909 |
| Home Level 2 (off-peak, $0.13/kWh, 3.0 mi/kWh) | $0.13/kWh | $0.043 | $520 |
| Home Level 2 (standard rate, $0.18/kWh) | $0.18/kWh | $0.060 | $720 |
| Public Level 2 ($0.35/kWh) | $0.35/kWh | $0.117 | $1,400 |
| DC Fast Charge ($0.48/kWh avg) | $0.48/kWh | $0.160 | $1,920 |
The math is clear: home Level 2 charging at off-peak rates saves $1,200–$1,400 per year compared to fueling the supercharged V6. Even at standard residential rates, you're cutting fuel costs by 60–70%. The breakeven against premium gasoline comes almost immediately. However, exclusive reliance on DC fast charging roughly matches gas costs — another reason your home Level 2 setup is non-negotiable.
Recommended Level 2 Chargers for an EV Conversion Garage
Not every charger suits a conversion build. You want units with adjustable amperage (to match your onboard charger's acceptance rate), robust cable length (the LeSabre is 200+ inches long — inlet location varies by build), and smart scheduling for off-peak rates.
ChargePoint Home Flex
- Power: Up to 12 kW (50A) adjustable down to 16A
- Connector: J1772 (NACS adapter available)
- Cable: 23 ft
- Smart features: WiFi, app scheduling, Alexa, load sharing
- Price: ~$549
- Best for: Flexible amperage matching to conversion onboard charger
Emporia Vue EV Charger
- Power: Up to 11.5 kW (48A)
- Connector: J1772 or NACS (selectable at purchase)
- Cable: 24 ft
- Smart features: Energy monitoring, solar integration, scheduling
- Price: ~$399
- Best for: Budget-conscious builds with energy tracking
Tesla Wall Connector (J3400/NACS)
- Power: Up to 11.5 kW (48A)
- Connector: NACS native
- Cable: 24 ft
- Smart features: WiFi, power sharing, OTA updates
- Price: ~$450
- Best for: NACS-inlet conversions seeking native Supercharger-ecosystem hardware
For a LeSabre conversion using a NACS inlet, the Tesla Wall Connector is the natural fit. If your build uses a J1772/CCS1 inlet, the ChargePoint Home Flex's adjustable amperage is invaluable — many conversion onboard chargers max out at 6.6 kW (28A), and the Flex lets you set the circuit to match without wasting capacity.
Charging Time Examples: 10–80% for Common Conversion Battery Sizes
How long you'll actually wait depends on battery size, state of charge, and charger power. DC fast charging follows a charge curve — peak kW is only sustained between roughly 10–50% SoC, then tapers significantly above 80% to protect battery cells. This is why the industry measures 10–80%, not 0–100%.
| Battery Pack | Level 2 @ 7.2 kW | Level 2 @ 11.5 kW | DC Fast @ 50 kW | DC Fast @ 150 kW (peak) |
|---|---|---|---|---|
| 40 kWh | ~4.0 hrs | ~2.5 hrs | ~40 min | ~18 min |
| 60 kWh | ~6.0 hrs | ~3.7 hrs | ~55 min | ~25 min |
| 80 kWh | ~8.0 hrs | ~5.0 hrs | ~75 min | ~32 min |
For a typical LeSabre conversion with a 60 kWh pack, overnight Level 2 at 7.2 kW is the sweet spot — plug in at 10 PM, wake up to a full battery. DC fast charging at 50 kW (common at older Electrify America and EVgo stations) will add roughly 120 miles in 30 minutes, enough for a highway lunch stop.
Safety, Code Compliance, and Outdoor Installation Considerations
A conversion vehicle may be a hobby build, but your home electrical system is not a hobby. Follow these non-negotiable safety requirements:
- Dedicated circuit: Your Level 2 charger must have its own breaker — never share with a dryer, oven, or HVAC circuit
- GFCI protection: NEC 2020+ requires GFCI for 240V receptacles in garages; hardwiring the charger avoids nuisance tripping that plagues some GFCI breakers at high continuous loads
- Outdoor rating: If charging in a carport or driveway, select a NEMA 4-rated charger enclosure; the ChargePoint Home Flex and Tesla Wall Connector both carry outdoor ratings
- Cable management: A 200-inch LeSabre demands 20+ ft of cable reach — plan your charger location relative to your inlet position before mounting
- Load calculation: Per NEC Article 220, your electrician must perform a load calculation to verify the panel can handle the EV circuit alongside existing loads; this is what the inspector will check
- Permit and inspection: Skipping the permit risks insurance denial if an electrical fire occurs — always pull the permit and schedule the inspection
Frequently Asked Questions
How much does it cost to install a home EV charger for my conversion?
A standard Level 2 installation with an existing 200A panel runs $750–$2,200 (equipment, labor, permit). If your home needs a panel upgrade from 100A/150A to 200A, add $1,500–$4,000, bringing the total to $2,250–$6,200. Always get a load calculation from a licensed electrician before committing.
How fast will each charging level add range to an EV-swapped LeSabre?
Assuming ~3.0 mi/kWh efficiency: Level 1 adds 3–5 miles per hour, Level 2 at 7.2 kW adds roughly 22 miles per hour, and DC fast charging at 50 kW adds approximately 150 miles per hour at peak (tapering above 80% SoC). Your actual rate depends on pack size, onboard charger acceptance, and cell temperature.
Which connector should I install on my EV conversion?
For a 2026 conversion, NACS (J3400) provides the widest DC fast-charge network access via Tesla Superchargers and growing third-party adoption. CCS1 is a strong open-standard alternative. Avoid CHAdeMO — its infrastructure is shrinking. For Level 2 home charging, J1772 is the universal AC standard, and a NACS-equipped vehicle can use a J1772-to-NACS adapter.
How much does charging cost per mile versus gas?
Home Level 2 at off-peak rates ($0.13/kWh) costs about $0.043/mile — roughly 73% cheaper than fueling the stock supercharged V6 at $0.159/mile. Even at standard residential rates ($0.18/kWh), you save ~62%. DC fast charging at $0.48/kWh roughly matches gasoline costs, which is why home charging is essential for real savings.
What electrical upgrades might I need?
The most common upgrade is a 200A panel replacement for homes with 100A or 150A service ($1,500–$4,000). You may also need additional breaker spaces, a new meter socket, or utility coordination. Some utilities offer smart-panel solutions (like Span or Lumin) that manage loads dynamically, potentially avoiding a full panel upgrade. Ask your electrician about load-management options before committing to a panel swap.