Transitioning to an electric vehicle (EV) is an exciting step toward sustainable driving, but the true convenience of EV ownership begins at home. While a standard wall outlet can trickle-charge your vehicle overnight, investing in the best EV charger home installation unlocks the full potential of your vehicle's battery, reducing charge times from days to mere hours. This comprehensive guide covers everything you need to know about setting up a Level 2 home charging station.
Difficulty Level: Moderate to Advanced (High-voltage electrical work required)
Estimated Cost: $500 to $2,500+ (depending on panel upgrades & labor)
Whether you are exploring the best Level 2 EV chargers on the market or preparing your garage for a hardwired unit, understanding the electrical, structural, and legal requirements is paramount for a safe and efficient setup.
Essential Requirements for Home EV Charger Installation
Before purchasing a charging unit or scheduling an electrician, you must evaluate your home's electrical infrastructure. A Level 2 charger operates on a 240-volt circuit, similar to what your electric oven or clothes dryer uses. Understanding the differences between Level 1 & Level 2 charging will help you grasp why these specific requirements exist.
Electrical Panel Capacity
Most modern homes with a 200-amp electrical service panel have enough spare capacity to support a Level 2 EV charger. However, older homes with 100-amp panels may require a costly service upgrade. An electrician will perform a load calculation to ensure your panel can handle the continuous draw of an EV charger alongside your air conditioning, heating, and major appliances.
Circuit Sizing & The Continuous Load Rule
The National Electrical Code (NEC) classifies EV charging as a "continuous load," meaning it is expected to run for three hours or more. According to NEC guidelines, continuous loads must not exceed 80% of the circuit breaker's rated capacity. Therefore, a 40-amp charger requires a 50-amp breaker, and a 48-amp charger requires a 60-amp breaker. Sizing your wire gauge & breaker correctly is non-negotiable for fire safety.
Receptacle vs. Hardwired Connections
You have two primary installation options:
- NEMA 14-50 Receptacle: This 240-volt outlet allows you to plug in your charger. It offers flexibility, as you can take the charger with you if you move or easily swap it for a newer model. However, the plug & receptacle can be a point of failure if not installed with high-quality, industrial-grade materials.
- Hardwired: The charger is wired directly into your electrical panel via a junction box. Hardwired installations are generally safer, support higher amperages (up to 60 amps or more), and eliminate the need for expensive GFCI breakers, which are prone to nuisance tripping with EV chargers.
Step-by-Step Installation Process
While the physical mounting of the charger is straightforward, the electrical routing requires precision. Here is the standard workflow a licensed professional will follow to ensure your setup meets all safety codes.
1. Load Calculation & Planning
The electrician will assess your main service panel to determine available amperage. They will map out the most efficient route from the panel to the desired charging location, considering the length of the wire run, which directly impacts voltage drop & wire gauge requirements.
2. Routing Conduit & Pulling Wire
For exposed garage walls, electrical metallic tubing (EMT) or PVC conduit is installed to protect the wiring. The electrician will pull individual THHN/THWN copper wires (typically two hots, a neutral, and a ground for a NEMA 14-50, or just two hots and a ground for a hardwired setup). For long runs, thicker gauge wire is necessary to prevent voltage drop, which can degrade charging speeds & damage the vehicle's onboard charger.
3. Mounting the Charger
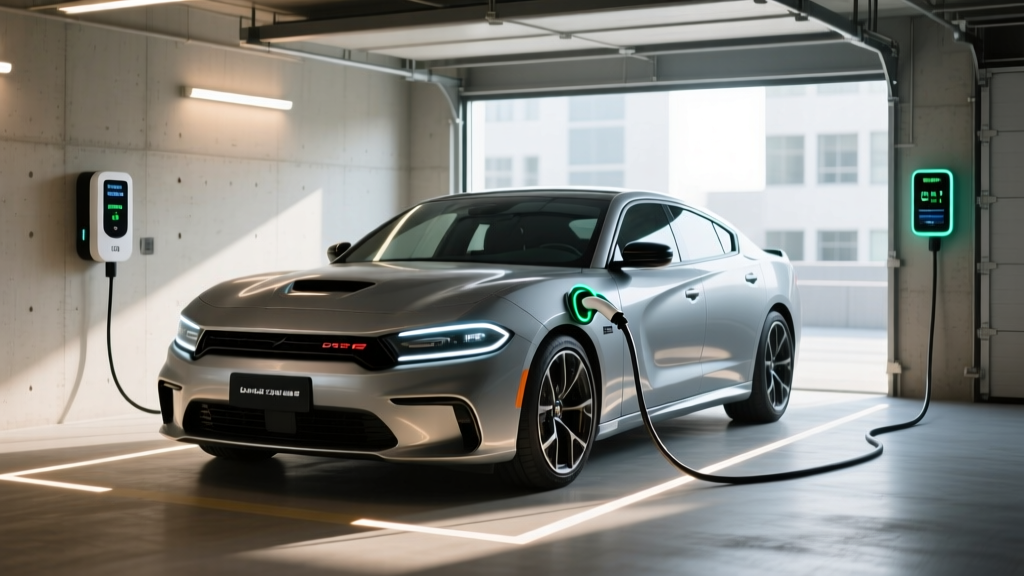
The charging unit is mounted securely to a wall stud or masonry surface. Proper placement ensures the EV charging cables can comfortably reach your vehicle's charge port without stretching across walkways or creating tripping hazards.
4. Terminating Connections
This is the most critical safety step. All wire connections at the breaker panel & the charger must be torqued to the manufacturer's exact specifications using a calibrated torque screwdriver. Loose connections create resistance, which generates extreme heat & is a leading cause of electrical fires in EV charging setups.
5. System Testing & Configuration
Once wired, the electrician will test the voltage & grounding. After powering on the unit, you will configure the charger's software, set the maximum amperage output to match your breaker size, and connect it to your home Wi-Fi network for smart charging features.
Navigating Permits and Inspections
Skipping the permitting process is a dangerous gamble that can result in fines, voided home insurance policies, and severe fire hazards. According to the National Electrical Code (NEC) Article 625, all electric vehicle charging system equipment must be installed in accordance with local building codes & the Authority Having Jurisdiction (AHJ).
Why Permits Matter
When you pull an electrical permit, your local municipality assigns an independent inspector to verify the work. The inspector will check that the wire gauge is correct, the breaker is properly sized, the grounding is secure, and the installation complies with the latest safety standards. This third-party verification provides peace of mind that your high-voltage equipment will not burn down your garage.
The Inspection Process
After the installation is complete, the inspector will visit your home. They will open the electrical panel to verify the torque marks on the breaker terminals, inspect the conduit routing, and test the receptacle or hardwired junction. Once passed, you will receive a final approval card, which is often required to claim local utility rebates or state tax incentives for EV infrastructure.
DIY vs. Professional Installation
The internet is filled with tutorials on how to wire a 240-volt outlet, leading many homeowners to consider a DIY approach. However, when it comes to the best EV charger home installation, hiring a licensed professional is overwhelmingly the recommended path.
The Risks of DIY High-Voltage Work
Working with 240 volts and 50+ amps is lethal if handled incorrectly. Unlike standard 120-volt household circuits, a mistake on a Level 2 circuit can cause immediate, catastrophic arcing. Furthermore, EV chargers draw maximum current continuously for hours, exposing any minor wiring flaws to extreme thermal stress. A DIY error might not cause an immediate short circuit but could slowly melt wire insulation over several months.
Warranty & Insurance Implications
Almost all premium EV charger manufacturers stipulate that their hardware warranties are void if the unit is not installed by a licensed, certified electrician. Additionally, if an electrical fire occurs and the insurance investigator discovers unpermitted, DIY high-voltage work, your claim will likely be denied, leaving you personally liable for hundreds of thousands of dollars in property damage.
Comprehensive Cost Breakdown
The total cost of installing a Level 2 home charger varies wildly based on your home's existing electrical infrastructure. According to the Department of Energy (DOE), home charging remains significantly cheaper than public fast charging, making the upfront installation cost a worthwhile long-term investment.
- The Charger Unit: $300 to $700. Prices depend on amperage, cable length, and smart features.
- Standard Installation (Panel to Garage): $500 to $1,200. This covers labor, conduit, and copper wiring for a short run (under 50 feet) where no panel upgrade is needed.
- Long Wire Runs: Add $200 to $600. Longer distances require thicker, more expensive copper wire to mitigate voltage drop.
- Electrical Panel Upgrade: $1,500 to $3,500+. If your home has a 100-amp service or lacks physical breaker slots, you will need to upgrade to a 200-amp panel or install a sub-panel.
- Permits & Inspections: $50 to $200, depending on your local municipality.
Pro Tip: Always look for ENERGY STAR certified chargers, as local utility companies frequently offer instant rebates ranging from $200 to $500 for installing certified, smart-enabled equipment.
Crucial Safety Tips and Best Practices
Safety in EV charging extends beyond the initial installation. Maintaining a secure environment requires attention to hardware ratings, environmental factors, and routine maintenance.
Outdoor Installations & Weatherproofing
If you park in a driveway or carport, your charger must be rated for outdoor use. Look for units with a NEMA 4 or NEMA 4X enclosure rating, which protects against rain, sleet, and hose-directed water. Ensure the charging cable is never left resting in puddles or buried under snow, as freezing & thawing cycles can degrade the cable jacket over time.
GFCI Breaker Nuances
Modern electrical codes often require Ground Fault Circuit Interrupter (GFCI) protection for 240-volt receptacles. However, many EV chargers already have internal GFCI protection. Stacking a GFCI breaker on top of a GFCI-equipped charger frequently causes "nuisance tripping," where the breaker shuts off randomly during a charge. To avoid this, opt for a hardwired installation, which often exempts you from the GFCI breaker requirement under current NEC guidelines.
Cable Management
Heavy, thick EV cables can become tripping hazards and are susceptible to damage if run over by vehicle tires. Install a simple wall-mounted cable organizer or holster to keep the connector head clean, dry, and safely out of the way when not in use.
Troubleshooting Common Installation Issues
Even with a professional installation, you may encounter hardware or software hiccups. Here is how to address the most common post-installation issues.
The Breaker Keeps Tripping
If your breaker trips immediately, you likely have a wiring fault or a ground loop. If it trips after 30 to 60 minutes of charging, the breaker or wire connections are overheating. This indicates loose terminal connections that were not properly torqued during installation. Turn off the power immediately & call your electrician to re-torque the connections with a calibrated tool.
Slower Than Advertised Charging Speeds
If your 48-amp charger is only delivering 32 amps to your vehicle, check your software settings. Most smart chargers require you to manually configure the "breaker size" in the companion app during setup. If the installer forgot to set this, the charger will default to a lower, safer amperage. Additionally, extreme battery temperatures (very hot or very cold) will cause the vehicle's battery management system to throttle charging speeds to protect the cells.
Wi-Fi Connectivity Failures
Smart chargers rely on Wi-Fi for scheduling, solar integration, and over-the-air updates. Garages are notorious Wi-Fi dead zones. If your charger frequently drops offline, consider installing a Wi-Fi mesh extender in the garage or switching the charger to a 2.4GHz network, which penetrates walls much better than 5GHz networks.
Frequently Asked Questions (FAQ)
Can I plug my EV charger into a standard household outlet?
Yes, but only for Level 1 charging. Every EV comes with a Level 1 cordset that plugs into a standard 120-volt (NEMA 5-15) household outlet. However, Level 1 charging delivers only about 3 to 5 miles of range per hour of charging. For daily drivers, this is often insufficient, which is why a 240-volt Level 2 home installation is highly recommended for speeds of 25 to 45 miles of range per hour.
Do I need to upgrade my electrical panel for a Level 2 charger?
Not necessarily. If your home has a modern 200-amp electrical service and you have spare breaker slots, an electrician can usually add a 50-amp or 60-amp breaker without a full panel upgrade. However, if you have a 100-amp service, or if your panel is already at maximum capacity with heavy loads like electric heating & cooking, you will need to upgrade your main service or install a dedicated sub-panel to safely support the EV charger.
How long does a typical home EV charger installation take?
A standard installation where the electrical panel is located on the same wall or an adjacent wall to the garage typically takes 2 to 4 hours. If the electrician needs to route conduit through attics, crawlspaces, or underground via trenching to reach a detached garage, the project can take a full day or require multiple visits.
Will installing an EV charger increase my home insurance premiums?
In most cases, adding a permitted, professionally installed Level 2 EV charger will not increase your home insurance premiums. Insurance companies view permitted installations as safe & code-compliant. However, you should always notify your insurance provider of major home improvements. If you perform an unpermitted DIY installation and a fire occurs, your insurer will likely deny the claim due to unauthorized electrical modifications.