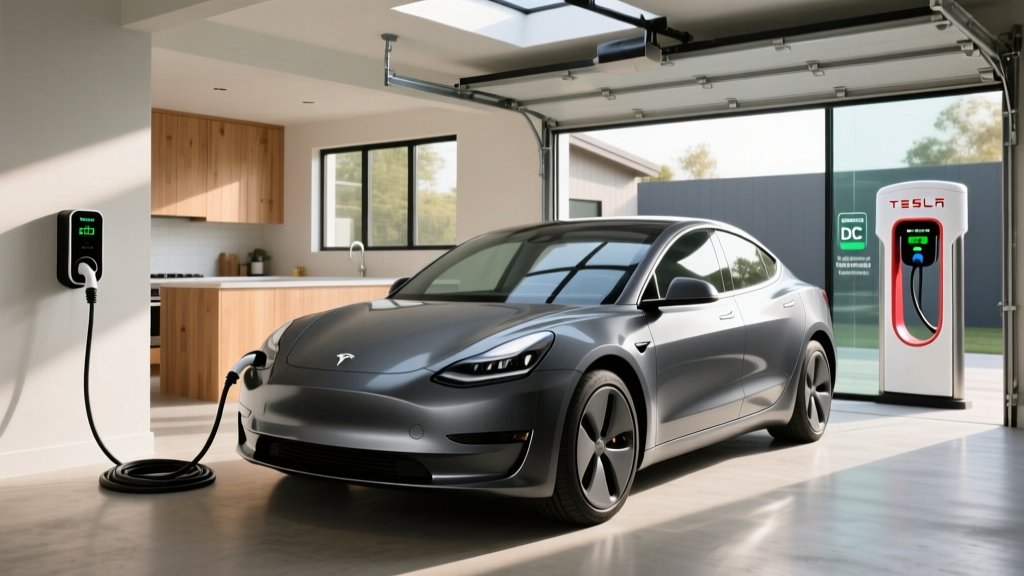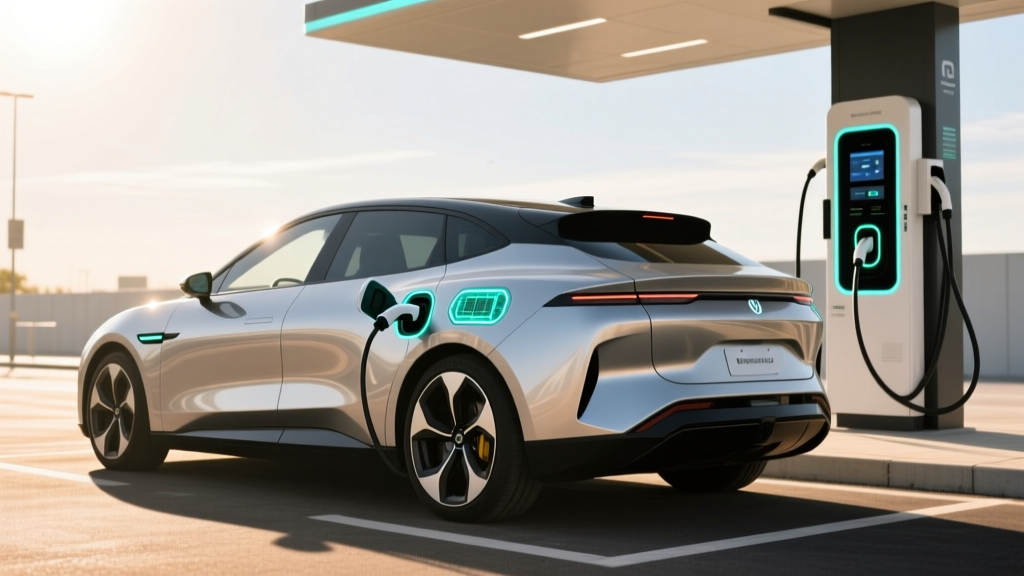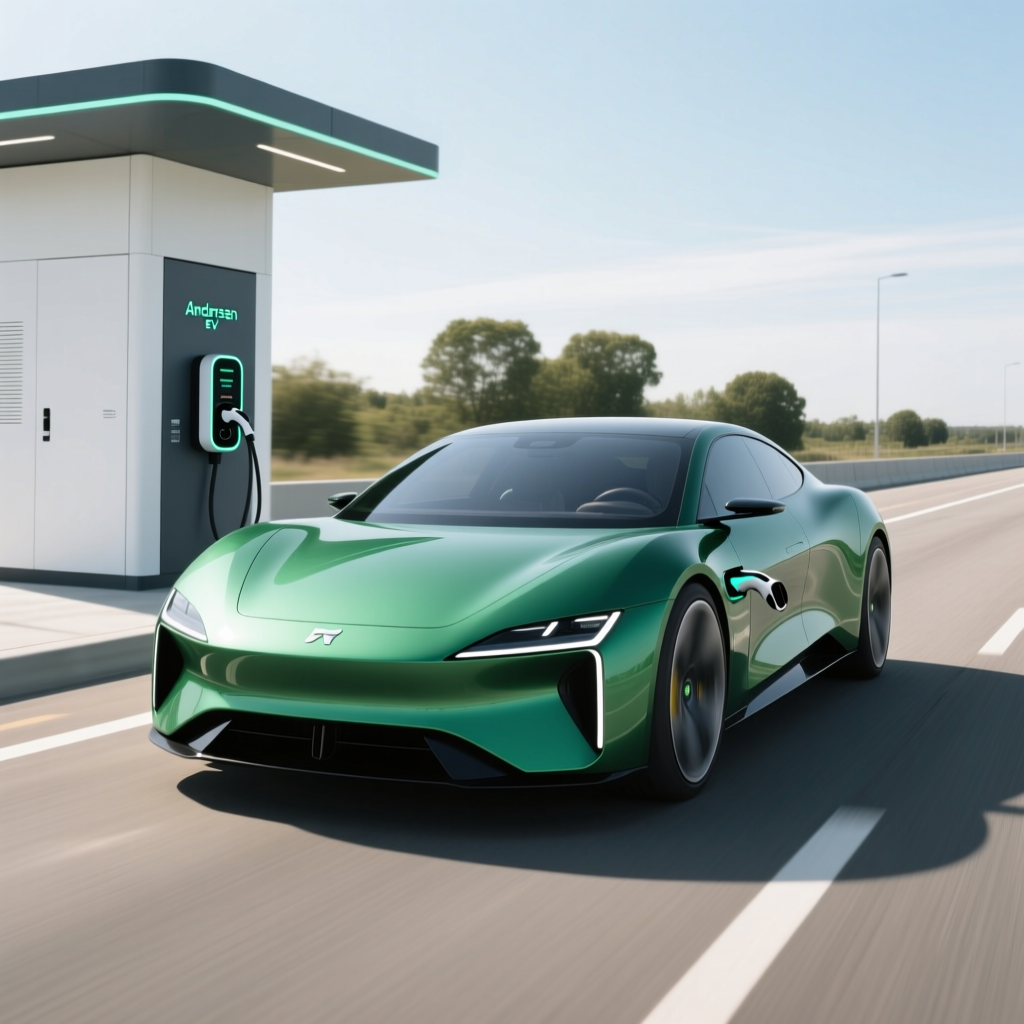
When investing in a premium electric vehicle charging solution, the Andersen EV charger stands out for its stunning aesthetics, robust build quality, and advanced smart features. Whether you have chosen the classic Andersen A2 or the modern, ultra-slim Andersen A3, proper installation is critical to ensure safety, longevity, and optimal charging speeds. Many homeowners and electricians search for the Andersen EV charger installation manual PDF to understand the specific wiring schematics, DIP switch configurations, and commissioning processes required for these high-end units.
In this comprehensive guide, we will break down everything you need to know about installing an Andersen EV charger. We will cover the technical requirements outlined in the official manufacturer documentation, explore the step-by-step installation process, and discuss local permitting.
Difficulty Level: Advanced. Hardwiring a 240V or 400V EV charger requires deep electrical knowledge, specialized tools, and adherence to strict safety codes. This is not a standard DIY project.
Estimated Cost: $1,200 to $3,500+ (including the premium charger unit, electrical panel upgrades, wiring materials, and professional labor).
Understanding the Andersen EV Charger Installation Manual & PDF Resources
The official Andersen EV charger installation manual PDF is a highly technical document designed primarily for certified electricians and EVSE (Electric Vehicle Supply Equipment) installers. Unlike standard plug-in chargers that simply require a heavy-duty receptacle, Andersen units are predominantly designed to be hardwired directly into your home’s electrical distribution board or connected via an industrial commando socket, depending on your regional electrical codes.
When you locate the Andersen EV official support documentation, you will notice that the manual is divided into several critical sections:
- Physical Dimensions & Mounting Templates: Precise measurements for drilling, ensuring the heavy metal and wood-faced units are securely anchored to masonry or stud walls.
- Electrical Schematics: Detailed wiring diagrams for single-phase (7kW) and three-phase (up to 22kW) configurations, including the proper routing of Live (L1, L2, L3), Neutral (N), and Protective Earth (PE) cables.
- DIP Switch Configurations: Internal hardware switches that must be manually adjusted by the installer to tell the charger its maximum current output and whether it is operating on a single or three-phase supply.
- Commissioning & App Pairing: Instructions for connecting the unit to your home Wi-Fi network and registering the serial number in the Andersen app to unlock smart charging features and solar integration.
Because Andersen chargers feature premium materials like brushed stainless steel and accoya wood, the manual also includes specific care instructions and IP65 weatherproofing guidelines to ensure the internal electronics remain sealed against moisture and dust during and after installation.
Pre-Installation Requirements & Electrical Assessment
Before unboxing your Andersen charger or downloading the installation manual PDF, a thorough electrical assessment of your property is mandatory. The U.S. Department of Energy (DOE) strongly recommends having a licensed electrician evaluate your home’s electrical capacity before installing any Level 2 or Level 3 home charging equipment.
Electrical Panel Capacity & Load Calculations
Andersen chargers draw a significant continuous load. According to the National Electrical Code (NEC) Article 625, EV charging equipment is considered a continuous load. This means the circuit breaker and wiring must be rated for at least 125% of the charger’s maximum amperage. For example, a 40-amp continuous charge requires a 50-amp breaker and appropriately gauged wire (typically 6 AWG copper for single-phase runs up to 50 feet). If your main electrical panel is already near capacity, you may need a panel upgrade or a service line upgrade from your utility provider.
Load Balancing & CT Clamps
Many modern installations utilize dynamic load balancing to prevent tripping the main household breaker when high-draw appliances (like electric ovens or HVAC systems) are used simultaneously. The Andersen installation manual details how to install Current Transformer (CT) clamps around your main incoming supply cables. These clamps communicate with the charger, automatically throttling the power delivery to your EV if the home’s overall energy demand spikes.
Network & Connectivity Requirements
To utilize the smart features detailed in our Andersen A3 review, the charger must connect to the internet. While the unit will charge a vehicle offline, features like scheduled off-peak charging, solar diversion, and remote monitoring require a stable 2.4GHz Wi-Fi signal at the installation site. If your charger is located in a detached garage or a thick-walled basement, you may need to install a Wi-Fi extender or hardwire an Ethernet connection prior to mounting the unit.
Step-by-Step Installation Process
Disclaimer: The following steps are for educational purposes to help you understand the process outlined in the Andersen EV charger installation manual PDF. All hardwired electrical work must be performed by a licensed and certified electrician.
Step 1: Site Preparation & Mounting the Backplate
The installer will first use the provided physical template to mark the drilling points on the wall. Because Andersen units are heavier than standard plastic EVSEs due to their metal chassis and wood facades, heavy-duty masonry anchors or structural stud mounting is required. Once the backplate is secured, the installer will prepare the cable entry points, ensuring the IP65 waterproof seals are correctly aligned.
Step 2: Routing & Preparing the Supply Cable
For hardwired installations, Steel Wire Armored (SWA) cable or flexible metallic conduit is typically run from the main distribution board to the charger location. The electrician will carefully strip the outer sheath and terminate the cable using a waterproof cable gland, securing it tightly to the base of the Andersen unit to maintain the weatherproof seal.
Step 3: Internal Wiring & DIP Switch Configuration
Following the schematics in the manual, the installer will connect the Live, Neutral, and Earth wires to the designated terminal blocks. A calibrated torque screwdriver is used to ensure the connections are tight enough to prevent arcing, but not so tight that they damage the terminal threads. Next, the installer will adjust the internal DIP switches to match the specific electrical supply (e.g., setting the unit to 32A or 40A, and selecting single-phase or three-phase mode).
Step 4: Connection to the Distribution Board
At the main panel, the electrician will install a dedicated Type A or Type B RCBO (Residual Current Breaker with Overcurrent protection) or a standard MCB paired with a GFCI/ground fault protector, as mandated by local codes. The circuit is then energized, and the electrician will use a multimeter to verify the correct voltage and phase rotation before closing the Andersen chassis.
Step 5: Commissioning & App Setup
Once powered on, the Andersen charger’s LED ring will illuminate. The installer (or homeowner) will download the Andersen app, create an account, and scan the QR code located inside the unit or on the documentation. The app will guide the user through the commissioning process, connecting the charger to Wi-Fi, updating the firmware, and configuring smart charging schedules. For more on maximizing your setup, check out our guide to the best home EV chargers currently on the market.
Permits, Inspections, and NEC Compliance
Skipping the permitting process is a common but dangerous mistake. Installing a high-amperage, continuous-load device like an Andersen EV charger alters the electrical profile of your home. Most local municipalities require an electrical permit before installation begins.
The permitting process ensures that your installation complies with the latest iteration of the National Electrical Code (NEC), specifically Article 625, which governs Electric Vehicle Charging Systems. Key code requirements often include:
- GFCI Protection: Ensuring ground-fault protection for personnel, which is critical for outdoor installations or garages with concrete floors that may conduct electricity.
- Disconnecting Means: A readily accessible switch or breaker to disconnect the charger from the power source in an emergency.
- Strain Relief: Proper support for the heavy charging cable to prevent tension on the internal charging connections.
After the installation is complete, a local electrical inspector will visit the property to verify that the wire gauge, breaker size, grounding, and physical mounting meet all safety standards. Failing to get an inspection can void your home insurance policy in the event of an electrical fire and may cause issues when selling your home. For a deeper dive into the legalities, read our comprehensive EV charger permit guide.
DIY vs. Professional Installation: What You Need to Know
While some homeowners are adept at basic electrical work, installing an Andersen EV charger is strictly a job for a professional. Here is why attempting a DIY installation is highly discouraged:
- Warranty Voidance: Andersen explicitly states in their terms and conditions that the warranty is only valid if the unit is installed and commissioned by a certified, licensed electrician. If a DIY error fries the internal logic board, you will be entirely responsible for the replacement cost.
- Fire Hazards: EV chargers draw maximum current for hours at a time. A loosely torqued terminal or an undersized wire will generate immense heat, potentially leading to melted insulation and catastrophic electrical fires.
- Complex Commissioning: The Andersen app requires verification codes and installer certifications in certain regions to unlock the full amperage and smart features of the device.
Hiring a professional ensures that the job is done safely, legally, and in a way that protects your significant investment in a premium charging unit.
Cost Breakdown for Andersen Charger Setup
The Andersen A2 and A3 are luxury EV chargers, and the installation costs reflect the premium nature of the equipment and the heavy-duty electrical work required. Here is a general cost breakdown:
- The Charger Unit: $1,000 - $1,800 (depending on the model, finish, and tethered vs. untethered configuration).
- Standard Installation (Near Panel): $600 - $1,200. This assumes the charger is mounted on a wall directly adjacent to or very close to the main electrical panel, requiring minimal wire runs and no drywall repair.
- Complex Installation (Long Wire Runs): $1,500 - $3,000+. If your electrical panel is in the basement and the charger is in a detached garage, the electrician will need to trench the yard, lay PVC conduit, and pull heavy-gauge wire over a long distance.
- Electrical Panel Upgrade: $1,500 - $3,500. If your home has an older 100-amp service, you will likely need to upgrade to a 200-amp service to safely accommodate the EV charger alongside your home’s other appliances.
Essential Safety Tips & Best Practices
Safety should always be the paramount concern when dealing with high-voltage EV charging equipment. Follow these best practices to ensure your Andersen charger operates safely for years to come:
- Verify IP Ratings: Ensure the installer uses the correct waterproof grommets and cable glands. The Andersen unit is IP65 rated, meaning it is dust-tight and protected against water jets, but only if the physical seals are not compromised during wiring.
- Cable Management: Never leave the heavy charging cable resting in puddles or dragging across sharp gravel. Utilize the integrated cable management system or install an aftermarket holster to keep the connector clean and dry.
- Annual Inspections: Have a qualified electrician inspect the terminal connections and the physical condition of the charging cable every few years to check for signs of thermal stress or UV degradation.
- Surge Protection: Consider installing a whole-home surge protector or a dedicated Type 2 surge protection device (SPD) at the distribution board to protect the charger’s sensitive internal electronics from lightning strikes and grid fluctuations.
Troubleshooting Common Setup Issues
Even with a professional installation, you may encounter minor hiccups during the initial setup or daily operation. If you are consulting the installation manual PDF for troubleshooting, here are solutions to the most common issues:
Wi-Fi Pairing Fails During Commissioning
The Andersen charger only supports 2.4GHz Wi-Fi networks. If your router uses a combined 2.4GHz/5GHz SSID, the charger may fail to connect. Temporarily separate the bands in your router settings, or use a mobile hotspot set to 2.4GHz to complete the initial pairing. Once commissioned, the charger will remember the network.
Breaker Trips Immediately Upon Powering On
If the dedicated RCBO or GFCI breaker trips the moment the unit is energized, there is likely a ground fault or a wiring error. The installer must verify that the Neutral and Earth wires are not crossed or touching, and that the DIP switches are set to the correct phase configuration. Consult the troubleshooting section of the manual for specific LED error codes.
App Shows 'Offline' or 'Disconnected'
If the charger charges the car perfectly but the app shows it as offline, the issue is network-related. Check the Wi-Fi signal strength at the charger’s location. Thick brick or concrete walls can easily block 2.4GHz signals. A simple Wi-Fi mesh extender placed near the garage usually resolves this.
Charging Speed is Lower Than Expected
If you purchased a 22kW three-phase Andersen charger but are only seeing 7kW charging speeds, your home likely only has a single-phase electrical supply. Alternatively, the vehicle’s onboard charger may be limited to 7kW or 11kW. Always verify both the home’s supply and the vehicle’s maximum AC acceptance rate.
For more generalized fixes, our EV charger troubleshooting guide covers a wide array of brand-agnostic solutions.
Frequently Asked Questions (FAQ)
Where can I download the official Andersen EV charger installation manual PDF?
The official installation manuals for the Andersen A2 and A3 are typically included in the box with the physical unit. However, if you need a digital copy, you can download the latest PDF versions directly from the Andersen EV official support page. Always ensure you are downloading the manual that matches your specific hardware revision and regional model.
Do I need a 3-phase power supply for the Andersen A3?
No, a 3-phase power supply is not strictly required. The Andersen A3 is highly versatile and can be configured by your electrician to operate on a standard single-phase 240V supply (delivering up to 7kW or 9kW depending on the region and amperage) or a 3-phase 400V supply (delivering up to 22kW). The internal DIP switches and app commissioning process will adapt the charger to your home’s specific electrical infrastructure.
Can I install an Andersen EV charger outdoors?
Yes. Andersen chargers are built with premium, weather-resistant materials and carry an IP65 rating, making them fully suitable for outdoor installation. They are designed to withstand rain, dust, and extreme temperatures. However, it is highly recommended to install the unit under an eave, carport, or protective awning to minimize prolonged exposure to direct UV rays and heavy snow accumulation, which helps preserve the beautiful wood or metal front fascia.
How do I reset my Andersen charger if the setup fails?
If the charger becomes unresponsive or the app commissioning fails, you can perform a hard reset. Locate the dedicated RCBO or breaker for the EV charger in your main electrical panel and switch it to the OFF position. Wait for 60 seconds to allow all internal capacitors to discharge, then switch it back ON. The LED ring will reboot, and you can attempt the Wi-Fi pairing process again via the app.
Does the Andersen charger require an internet connection to work?
No, an active internet connection is not required for the charger to function as a standard EVSE. If your Wi-Fi goes down or you install the unit in a location without internet access, you can still plug in your vehicle and it will charge immediately at its maximum configured amperage. However, you will lose access to smart features like off-peak scheduling, solar diversion, remote monitoring, and over-the-air firmware updates until the connection is restored.