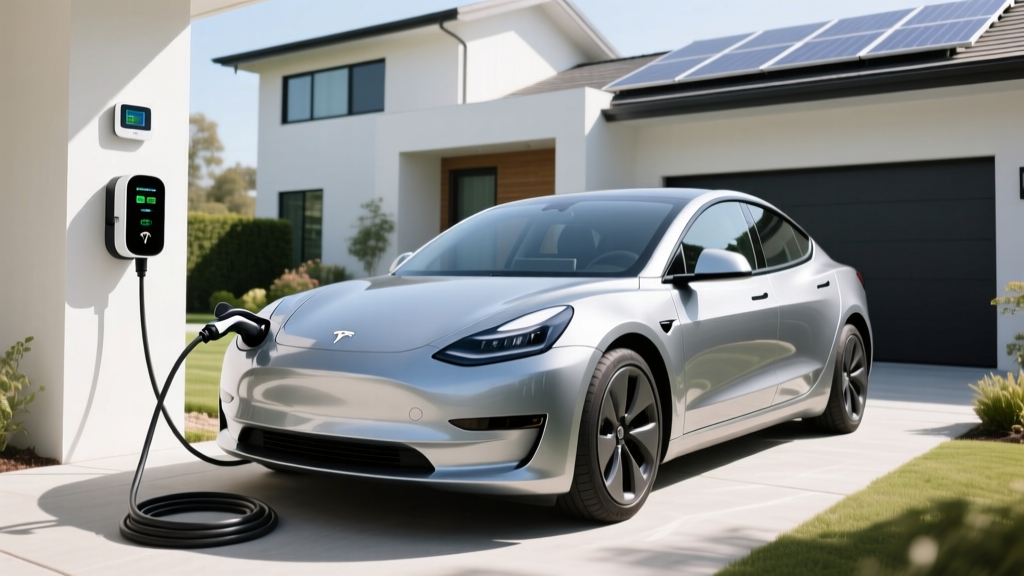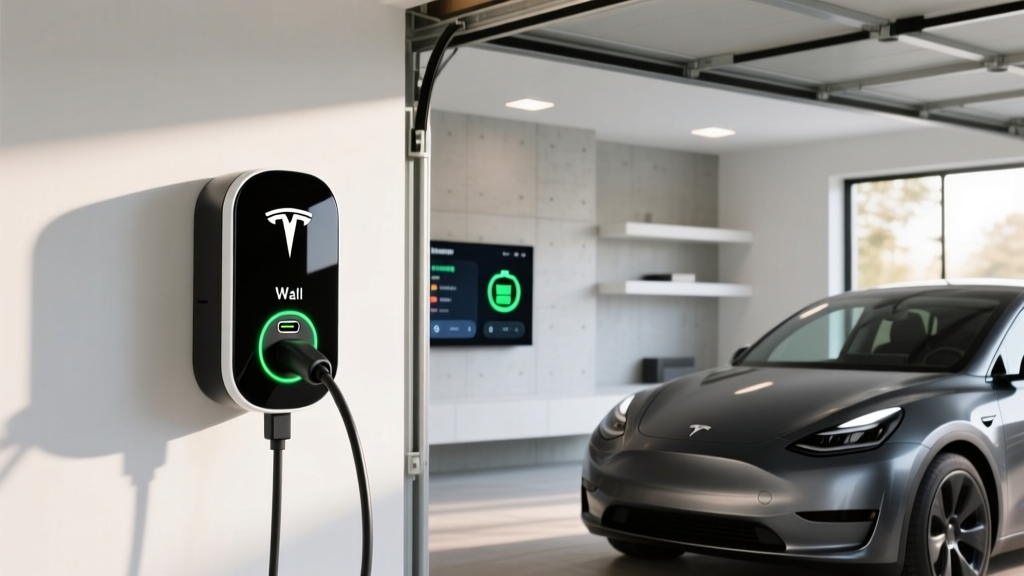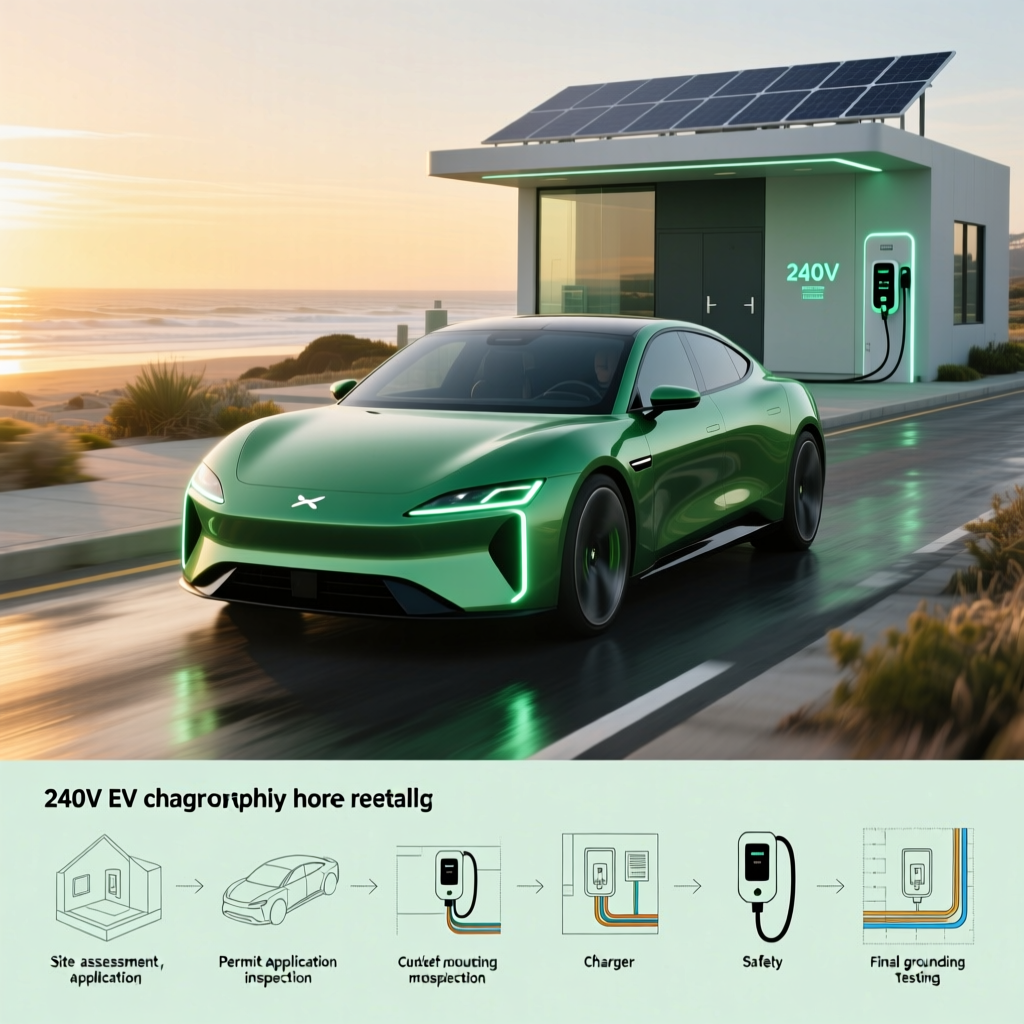
240V EV Charger Installation: The Complete Home Setup Guide
Upgrading to a 240V EV charger — commonly known as Level 2 charging — is one of the most impactful improvements you can make to your electric vehicle ownership experience. While a standard 120V outlet (Level 1) might add 3 to 5 miles of range per hour, a properly installed 240V charger can deliver anywhere from 12 to 60 miles of range per hour, depending on the amperage of the circuit and your vehicle's onboard charger capacity.
If you have been relying on Level 1 charging or public stations, a home 240V installation will fundamentally change how you interact with your EV. Most drivers wake up to a fully charged vehicle every morning, eliminating range anxiety and reducing dependence on public charging infrastructure.
Quick Overview
- Difficulty Level: Advanced (electrical work required)
- Estimated Cost: $500 to $2,500+ (charger + installation)
- Time Required: 4 to 10 hours for professional installation
- Permits Required: Yes, in most jurisdictions
- Recommended Skill Level: Licensed electrician strongly recommended
This comprehensive guide walks you through everything you need to know about 240V EV charger installation, from understanding electrical requirements to passing your final inspection. Whether you are planning to hire a professional or considering a DIY approach, this resource will help you make informed decisions every step of the way.
Electrical Requirements & Prerequisites for 240V EV Charging
Before you purchase a charger or schedule an electrician, you need to understand the electrical foundation required for a safe and effective 240V EV charging setup. Skipping this step can lead to tripped breakers, damaged equipment, or even electrical fires.
Understanding Your Electrical Panel
Your home's electrical panel (also called a breaker box or service panel) is the starting point for any 240V installation. Most modern homes in the United States have a 100-amp or 200-amp main service panel. A 200-amp panel is generally sufficient to support a 240V EV charger alongside your existing household loads, but a 100-amp panel may require an upgrade depending on your current electrical demand.
To determine whether your panel can handle the additional load, you or your electrician will need to perform a load calculation. This calculation accounts for all existing circuits, major appliances (HVAC, water heater, dryer, oven), and general lighting loads. The National Electrical Code (NEC) Article 220 provides the methodology for residential load calculations.
Circuit Amperage & Breaker Sizing
Level 2 EV chargers typically operate on circuits ranging from 20 amps to 60 amps. The most common residential installations use:
- 30-amp circuit: Supports chargers up to 24 amps continuous draw (approximately 5.8 kW). Suitable for plug-in vehicles with smaller batteries or lower-power chargers.
- 40-amp circuit: Supports chargers up to 32 amps continuous draw (approximately 7.7 kW). A popular mid-range option for many EV owners.
- 50-amp circuit: Supports chargers up to 40 amps continuous draw (approximately 9.6 kW). Common for higher-powered home chargers.
- 60-amp circuit: Supports chargers up to 48 amps continuous draw (approximately 11.5 kW). Used by the fastest residential Level 2 chargers available.
The NEC defines a continuous load as one that operates for three hours or more. Since EV charging sessions routinely exceed three hours, the circuit must be rated at 125% of the charger's maximum amperage. For example, a 40-amp charger requires a 50-amp circuit and breaker. This rule is outlined in NEC Article 210.20(A) and Article 511 for electric vehicle charging systems.
Wiring Requirements
The wire gauge must match the circuit amperage to prevent overheating. Common wiring configurations include:
- 10 AWG copper wire: Suitable for 30-amp circuits
- 8 AWG copper wire: Suitable for 40-amp and 50-amp circuits
- 6 AWG copper wire: Suitable for 60-amp circuits
For hardwired installations, you will typically run NM-B (Romex) cable or individual THHN wires through conduit from the panel to the charger location. For plug-in installations using a NEMA 14-50 or NEMA 6-50 receptacle, the wiring requirements are the same, but you will terminate at the outlet rather than directly at the charger.
NEMA Outlet Types for Plug-In Chargers
If you opt for a plug-in charger rather than a hardwired unit, you will need the appropriate 240V receptacle. The most common options are:
- NEMA 14-50: A 50-amp, 4-prong outlet (two hots, neutral, ground). This is the most popular choice for EV charging and is the same outlet type used for electric ranges and RV hookups.
- NEMA 6-50: A 50-amp, 3-prong outlet (two hots, ground). Used by some charger manufacturers and common in welding applications.
- NEMA 14-30: A 30-amp, 4-prong outlet. Suitable for lower-power chargers and often already present in homes with electric dryers.
For a deeper comparison of available chargers and their plug configurations, check out our best Level 2 EV chargers guide.
Step-by-Step 240V EV Charger Installation Process
Whether you are working with a licensed electrician or tackling portions of the project yourself, understanding the installation sequence helps you plan effectively and ensure nothing gets overlooked.
Step 1: Choose the Charger Location
Select a location on your garage wall or exterior that is close to where your vehicle parks and near your electrical panel. Consider the following factors:
- Cable reach: Ensure the charger's cable (typically 18 to 25 feet) can comfortably reach your vehicle's charging port from the mounted position.
- Protection from elements: Indoor garage installations are ideal, but outdoor-rated chargers can be mounted on exterior walls. Look for chargers with a NEMA 4 or IP65 rating for outdoor use.
- Wi-Fi signal strength: Many smart chargers require a Wi-Fi connection for scheduling, monitoring, and firmware updates. Test your signal at the planned installation point.
- Proximity to the electrical panel: Shorter wire runs reduce material costs and voltage drop. If your panel is on the opposite side of the house from your parking spot, expect higher installation costs.
Step 2: Install the Dedicated Circuit Breaker
With the main power turned off at the service disconnect, a new double-pole breaker is installed in the electrical panel. This breaker occupies two adjacent slots in the panel and connects to both 120V bus bars to deliver 240V. The breaker amperage must match the circuit design — for example, a 50-amp breaker for a 40-amp charger.
If your panel is full and has no available slots, you may need to:
- Install a sub-panel to add circuit capacity
- Use tandem breakers to free up space (where permitted by code)
- Upgrade to a larger panel with more circuit positions
Step 3: Run the Wiring
The appropriate gauge wire is routed from the electrical panel to the charger location. The wiring method depends on the installation environment:
- Interior garage walls: NM-B cable can be run through wall cavities or along the surface of finished walls (where protected from physical damage).
- Exposed framing: In unfinished garages, NM-B cable can be stapled directly to studs or run through bored holes in framing members.
- Exterior walls: THHN wires in PVC or metal conduit provide weather protection and are required for outdoor runs.
- Long runs (over 100 feet): Voltage drop becomes a concern, and you may need to upsize the wire gauge to maintain proper voltage at the charger.
Step 4: Mount the Charger or Install the Receptacle
For hardwired installations, the charger unit is mounted to the wall using the manufacturer's bracket, and the wiring is connected directly to the charger's internal terminal block. This involves connecting the two hot wires, the ground wire, and (if applicable) the neutral wire to their designated terminals.
For plug-in installations, a NEMA receptacle is mounted in an appropriate electrical box, and the wiring is terminated at the outlet. The charger is then mounted nearby using its wall bracket, and the plug is inserted into the receptacle.
Step 5: Power On & Test
Once all connections are made and the charger is securely mounted, the circuit breaker is turned on. Most chargers will power up and display status LEDs or a screen indicating readiness. At this stage:
- Verify the charger powers on correctly
- Connect the charger to Wi-Fi (if applicable) and complete any app-based setup
- Plug in your EV and confirm that charging begins
- Monitor the first full charging session for any unusual behavior, sounds, or heat at the breaker, wiring, or connector
Permits, Inspections & Code Compliance
Electrical permits are required for 240V EV charger installations in the vast majority of U.S. jurisdictions. Skipping the permit process can result in fines, complications when selling your home, and potential issues with insurance claims related to electrical fires.
Why Permits Matter
The permit and inspection process exists to verify that your installation meets the safety standards established by the National Electrical Code and your local building department. According to the U.S. Department of Energy, proper permitting ensures that EV charging equipment is installed safely and in compliance with all applicable codes.
How to Obtain a Permit
The permitting process typically involves:
- Contact your local building department: Visit your city or county building department website or office to determine the specific permit type required (usually an electrical permit).
- Submit an application: Provide details about the installation, including the circuit amperage, wire gauge, charger model, and installation location. Some jurisdictions require a load calculation to be submitted.
- Pay the permit fee: Electrical permit fees typically range from $50 to $200, depending on your jurisdiction.
- Schedule the inspection: After installation is complete, schedule an inspection with the local electrical inspector.
What the Inspector Checks
During the inspection, the electrical inspector will verify:
- Correct breaker sizing and type
- Proper wire gauge and wiring method
- Adequate grounding and bonding
- Correct receptacle type and installation (for plug-in setups)
- Proper mounting and physical protection of the charger and wiring
- Load calculation accuracy (ensuring the panel is not overloaded)
- GFCI protection where required by the NEC
The NEC has specific requirements for EV charging in Article 511, and recent code editions have introduced GFCI protection requirements for certain receptacle-based installations. Your inspector will reference the edition of the NEC adopted by your jurisdiction.
Utility Company Notification
Some utility companies require or recommend notification when you install a Level 2 charger. This is especially important if your utility offers special EV charging rates, time-of-use plans, or rebates. Contact your utility provider to ask about:
- EV-specific electricity rate plans that offer lower rates during off-peak hours
- Rebates or incentives for installing Level 2 charging equipment
- Whether a meter upgrade or separate meter is recommended for EV charging
DIY Installation vs. Hiring a Professional Electrician
One of the most common questions EV owners face is whether to install the charger themselves or hire a licensed electrician. The right answer depends on your skill level, local regulations, and comfort with high-voltage electrical work.
When Professional Installation Makes Sense
For the majority of homeowners, hiring a licensed electrician is the recommended path. Here is why:
- Safety: Working inside an electrical panel exposes you to lethal voltages. Even with the main breaker off, the service entrance conductors remain live. A mistake can result in arc flash, electrocution, or fire.
- Code compliance: Licensed electricians are trained on current NEC requirements and local amendments. They know how to perform load calculations, select proper materials, and install to inspection standards.
- Permit handling: Many jurisdictions require that permitted electrical work be performed by a licensed contractor. An electrician can pull the permit on your behalf and coordinate inspections.
- Warranty protection: Some charger manufacturers require professional installation to maintain the equipment warranty. Check your charger's documentation before attempting DIY.
- Insurance considerations: If an electrical fire occurs and the work was performed without a license or permit, your homeowner's insurance may deny the claim.
When DIY Might Be Appropriate
Some experienced homeowners with electrical knowledge may be capable of handling portions of the installation. DIY may be reasonable if:
- You have prior experience working with 240V circuits (such as installing a dryer or range outlet)
- Your jurisdiction allows homeowner-permitted electrical work
- The installation involves a simple wire run in an unfinished garage with easy panel access
- You are comfortable performing load calculations and selecting proper materials
- You plan to have the work inspected regardless of who performs it
Even experienced DIYers should consider having a licensed electrician handle the panel connection while performing the wire routing and charger mounting themselves. This hybrid approach can reduce costs while keeping the most dangerous portion of the work in professional hands.
Cost Comparison
A professional installation typically adds $500 to $1,500 in labor costs to the project, depending on complexity. A straightforward installation in a garage with the panel nearby may cost as little as $300 to $500 in labor, while a complex run requiring conduit, trenching, or a panel upgrade can push labor costs above $2,000.
For more information on selecting the right charger for your setup, see our smart EV charger comparison guide.
Cost Breakdown: What to Budget for Your 240V Installation
Understanding the full cost picture helps you budget accurately and avoid surprises. Here is a detailed breakdown of the expenses involved in a typical 240V EV charger installation.
The Charger Unit
Level 2 chargers range widely in price depending on features, amperage, and brand:
- Basic 16-amp to 32-amp chargers: $200 to $400
- Mid-range 40-amp smart chargers: $400 to $600
- Premium 48-amp smart chargers with advanced features: $550 to $800
Features that affect price include Wi-Fi connectivity, load sharing, integrated cable management, outdoor ratings, and energy metering. Browse our EV charger reviews for detailed assessments of top models across all price ranges.
Electrical Materials
Materials beyond the charger itself include:
- Double-pole breaker: $10 to $50
- Wire (per foot): $1 to $5 per foot depending on gauge
- NEMA 14-50 receptacle and box: $15 to $50
- Conduit and fittings (if required): $50 to $200
- Miscellaneous (connectors, staples, junction boxes): $20 to $75
For a typical 30-foot wire run using 6 AWG NM-B cable with a 50-amp breaker and NEMA 14-50 outlet, expect to spend approximately $150 to $300 on materials.
Professional Labor
Electrician rates vary by region, but most charge between $75 and $150 per hour. A straightforward installation typically takes 3 to 5 hours, while complex jobs can take 8 hours or more.
Permits & Inspections
Budget $50 to $200 for permit fees. Some electricians include permit costs in their overall quote.
Panel Upgrade (If Needed)
If your electrical panel lacks capacity for the new circuit, a panel upgrade can add significant cost:
- Sub-panel installation: $500 to $1,200
- Full service upgrade (100A to 200A): $1,500 to $4,000+
Total Cost Summary
| Component | Low End | High End |
|---|---|---|
| Charger unit | $200 | $800 |
| Materials | $100 | $400 |
| Labor | $300 | $1,500 |
| Permit | $50 | $200 |
| Panel upgrade (if needed) | $0 | $4,000 |
| Total (without panel upgrade) | $650 | $2,900 |
Many utility companies and local governments offer rebates that can offset a significant portion of these costs. The U.S. Department of Energy maintains resources for finding available incentives in your area.
Safety Tips & Best Practices
Electrical safety should be your top priority throughout the installation process and the lifetime of your EV charging setup. Follow these essential safety guidelines to protect your home, your vehicle, and your family.
During Installation
- Always turn off the main breaker before working inside the electrical panel. Use a non-contact voltage tester to confirm that circuits are de-energized before touching any wires.
- Use a torque screwdriver or torque wrench when tightening terminal connections. Both the NEC and charger manufacturers specify torque values for connections. Loose connections create resistance, which generates heat and can cause fires.
- Never undersize wire or breakers. Using wire that is too thin for the circuit amperage creates a fire hazard. Always follow NEC ampacity tables and manufacturer specifications.
- Ensure proper grounding. The equipment grounding conductor must be continuous and properly connected at both the panel and the charger or receptacle. A missing or inadequate ground creates a shock hazard.
- Protect wiring from physical damage. In garages, wires run along walls should be protected by conduit or running board where they could be impacted by vehicles, tools, or storage items.
Ongoing Safety
- Inspect the charging cable regularly for signs of wear, cracking, or damage. Replace damaged cables immediately — do not attempt to repair them with tape or splice kits.
- Check the receptacle periodically for signs of heat damage, discoloration, or loose fit. A plug that feels warm during charging or does not seat firmly should be replaced.
- Keep the charging area clear of flammable materials, standing water, and trip hazards. Ensure adequate ventilation in enclosed garage spaces.
- Install a dedicated GFCI breaker if required by your local code. GFCI protection is especially important for outdoor installations and receptacle-based charging setups.
- Do not use extension cords with your EV charger. Extension cords are not rated for the continuous high-current draw of EV charging and represent a serious fire and shock hazard.
- Consider surge protection. A whole-home surge protector or a dedicated surge protective device at the panel can protect your charger and vehicle from voltage spikes caused by lightning or utility switching events.
Troubleshooting Common 240V EV Charger Issues
Even a properly installed 240V charger can occasionally encounter issues. Here are the most common problems and how to resolve them.
Charger Will Not Power On
If your charger shows no signs of life after installation:
- Verify the circuit breaker is fully in the ON position. A tripped breaker may appear to be in a middle position — switch it fully OFF, then back ON.
- Check that all wire connections are secure at both the breaker and the charger or receptacle.
- Use a multimeter to verify 240V is present at the charger terminals or receptacle. If voltage reads 120V instead of 240V, one of the two hot legs may not be connected properly.
- Consult the charger manufacturer's troubleshooting guide for LED error code interpretations.
Charging Starts but Stops Intermittently
Intermittent charging can be caused by:
- Loose connections: A wire that is not fully tightened at a terminal can make intermittent contact, especially as it heats and cools during charging cycles.
- Overheating: If the breaker, receptacle, or wiring is undersized or connections are loose, thermal protection in the charger or vehicle may pause charging. Feel the breaker, plug, and cable during charging — they should be warm but not hot.
- Wi-Fi connectivity issues: Smart chargers that lose their network connection may behave unexpectedly. Ensure strong Wi-Fi coverage at the charger location or consider a Wi-Fi extender.
- Vehicle-side issues: The vehicle's onboard charger or battery management system may limit or pause charging due to battery temperature, state of charge, or scheduled charging settings.
Breaker Trips Repeatedly
A breaker that trips consistently indicates a serious issue that must be resolved before continuing to use the charger:
- Confirm the breaker is sized correctly for the charger's amperage (125% of continuous load).
- Check for a ground fault or short circuit in the wiring or charger.
- Verify the total panel load does not exceed the service rating. If the breaker trips only when other large appliances are running, your panel may be overloaded.
- Have a licensed electrician evaluate the circuit if the cause is not immediately apparent.
Slow Charging Speeds
If your charger is delivering less power than expected:
- Check the charger's amperage setting. Some chargers allow you to configure the output amperage via dip switches or an app, and it may be set lower than the circuit allows.
- Verify the vehicle's onboard charger capacity. A vehicle with a 6.6 kW onboard charger will never draw more than 6.6 kW regardless of the charger's maximum output.
- Measure the voltage at the charger during an active charging session. Voltage below 220V may indicate an undersized wire run, utility voltage issues, or a problem with the transformer serving your home.
Frequently Asked Questions
Can I install a 240V EV charger myself without an electrician?
While some jurisdictions allow homeowners to perform their own electrical work with a permit, 240V EV charger installation involves working inside your main electrical panel where lethal voltages are present. Unless you have significant electrical experience, hiring a licensed electrician is strongly recommended. Professional installation ensures code compliance, passes inspection, and protects your home warranty and insurance coverage. Many utility rebates also require professional installation to qualify.
Do I need a permit to install a 240V EV charger at home?
Yes, in most U.S. jurisdictions, an electrical permit is required for installing a new 240V circuit and EV charging equipment. The permit ensures the work is inspected and meets the National Electrical Code requirements for safety. Permit fees are typically modest ($50 to $200), and the inspection process provides an important safety checkpoint. Installing without a permit can result in fines, insurance complications, and problems during a home sale.
How long does a 240V EV charger installation take?
A straightforward installation in a garage with the electrical panel nearby typically takes 3 to 5 hours. More complex installations involving long wire runs, conduit, wall penetrations, or panel upgrades can take 6 to 10 hours or more. The permitting and inspection process adds additional time — plan for 1 to 3 weeks from application to final approval, depending on your local building department's schedule.
What is the difference between a hardwired and plug-in 240V charger?
A hardwired charger is connected directly to the circuit wiring with no plug or receptacle. This approach eliminates the outlet as a potential point of failure and is often preferred for higher-amperage installations (48 amps and above). A plug-in charger connects to a 240V receptacle (such as a NEMA 14-50), which offers portability — you can unplug the charger and take it with you if you move, or use the outlet for other purposes like powering an RV or welder. Hardwired installations may not require GFCI protection in some code jurisdictions, while receptacle-based installations increasingly do.
Will a 240V EV charger increase my electricity bill significantly?
The cost to charge your EV at home on a 240V circuit depends on your local electricity rates and how much you drive. On average, charging an EV at home costs the equivalent of $1.00 to $1.50 per gallon of gasoline — significantly less than fueling a comparable gas-powered vehicle. A typical EV driver covering 12,000 miles per year might spend $400 to $700 annually on home charging electricity. Many utility companies offer time-of-use rate plans that provide lower rates during overnight hours, further reducing your charging costs. Check with your local utility for EV-specific rate plans and any available rebates for Level 2 charger installation.
Ready to choose the right charger for your new 240V setup? Explore our complete EV charger reviews and home EV charging guide to find the perfect match for your vehicle and budget.